Disclaimer: These photos do not belong to the owner of this website but were kindly submitted by photographers. Some photos may be PR images produced by marine parks and aquariums. In all cases appropriate credit is given. Photos with multiple whales include identification which is listed from left to right (according to eye patch) unless stated otherwise.
You may repost these photos as long as you credit the photographer and refer back to this website.
Please contact me at inherentlywild@gmail.com if you wish to add to this gallery.
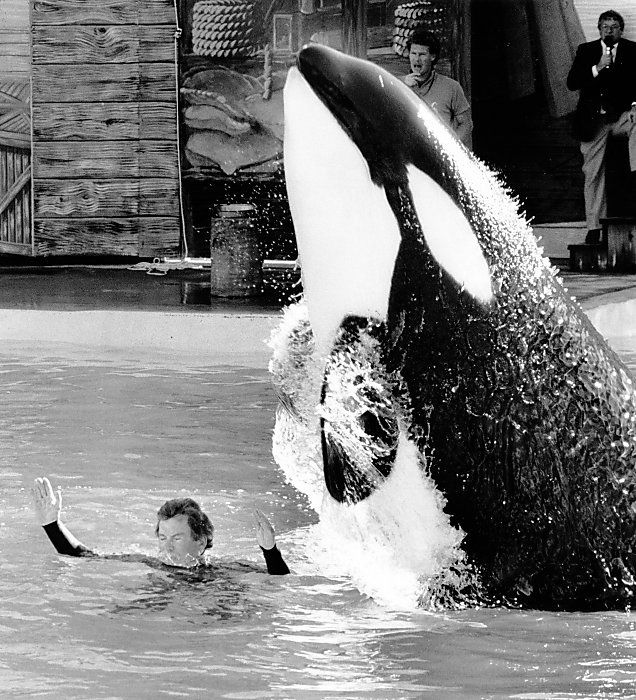
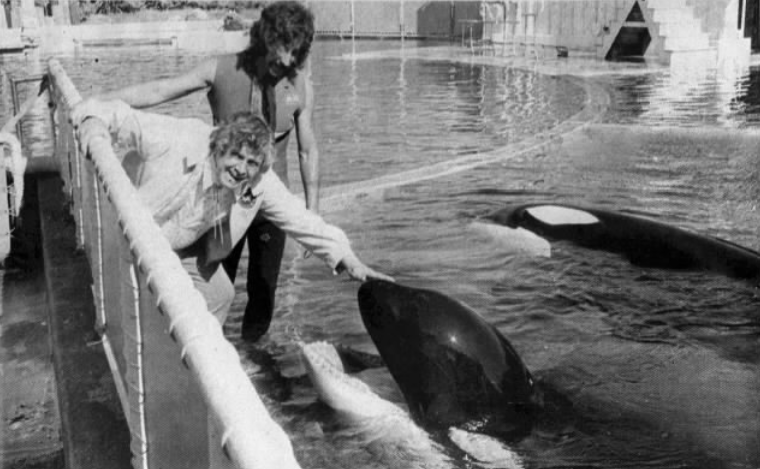
Photo provided by Kimmy Vengeance and Jerry Telfer.

Photo provided by RockinDuckiez99.
Photo provided by WDCS and Kimmy Vengeance.
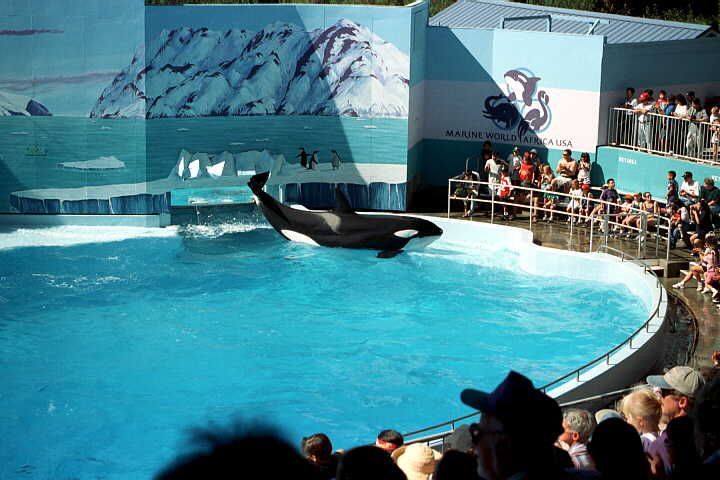
Photos by Marine World Africa (via Orca Pod Wikia).
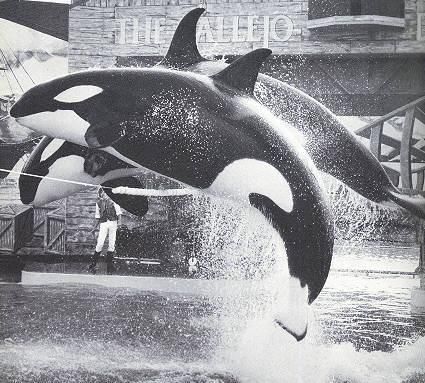
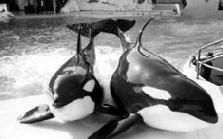
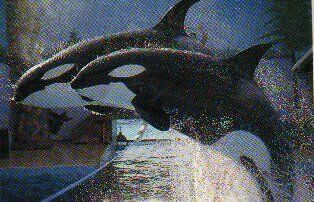
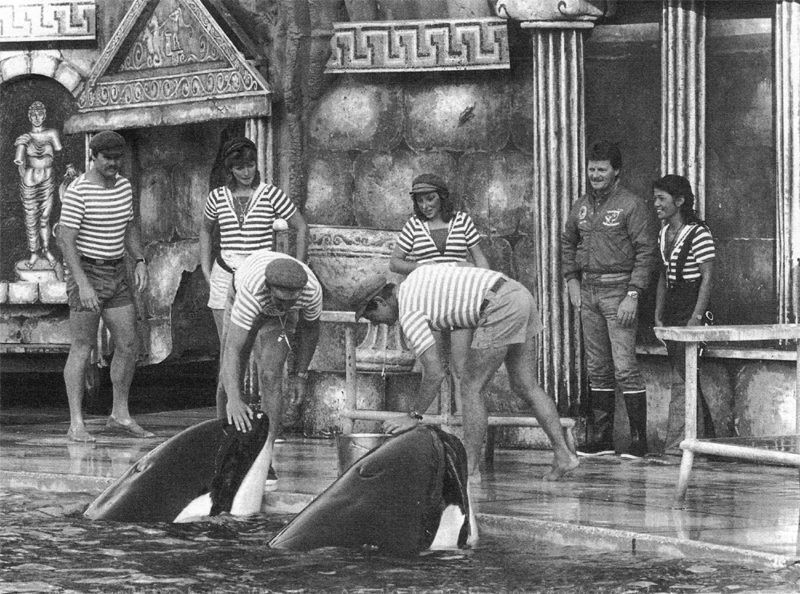
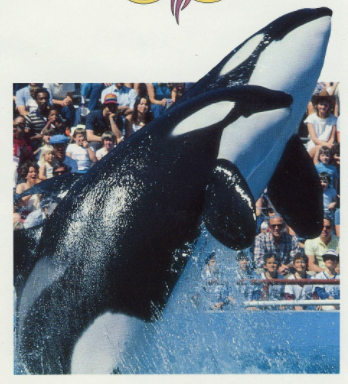
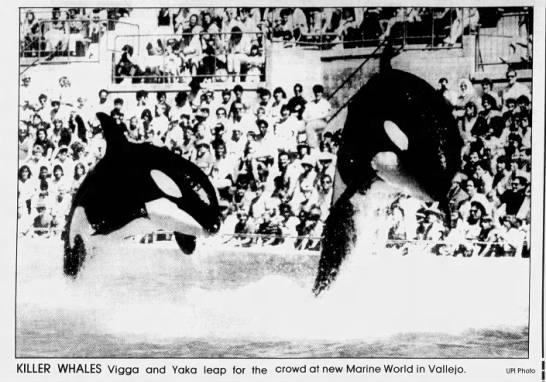
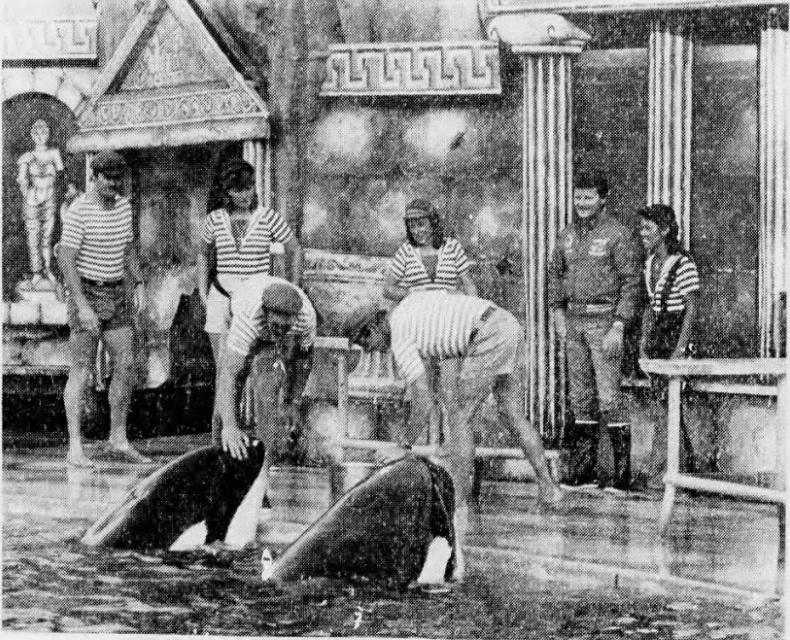
Vigga and Yaka (front to back)
Yaka and Vigga
Photos provided by Rachel Cali.
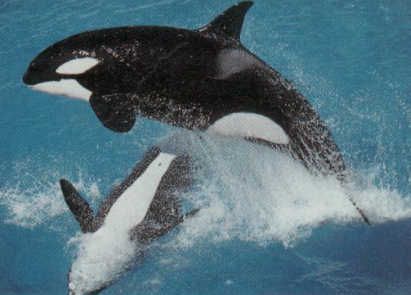
Photo by Joe McDonald/CORBIS, provided by Rachel Cali and Ro-hee.
Photos provided by Emilie Giguère.
Photo provided by KE Wiley.
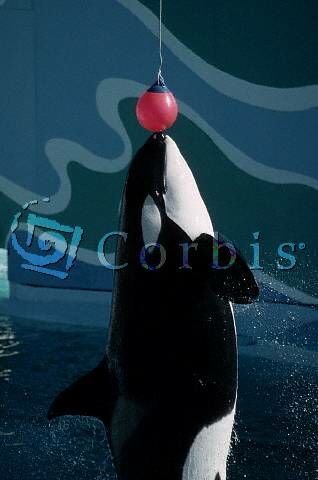
Photo provided by Laurie Néron.
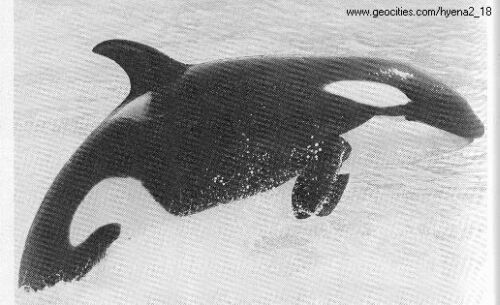
Photos provided by Hyena2_18.
Yaka and Vigga (front to back)
Photo provided by Valérie Meyer.
Photos provided by Orcaholic2001.
Photos provided by Blackmoon2101.

Photos provided by RockinDuckiez99.
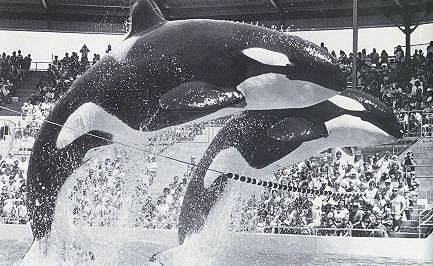
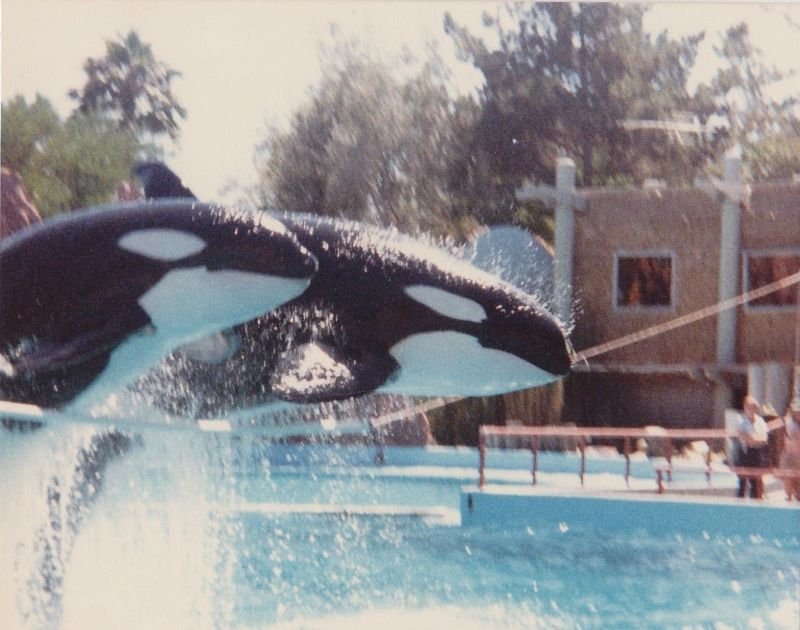
Vigga and Yaka
Photo provided by Esther.

Yaka and Vigga
Vigga and Yaka (front to back)

Photos provided by OrcaArtist.
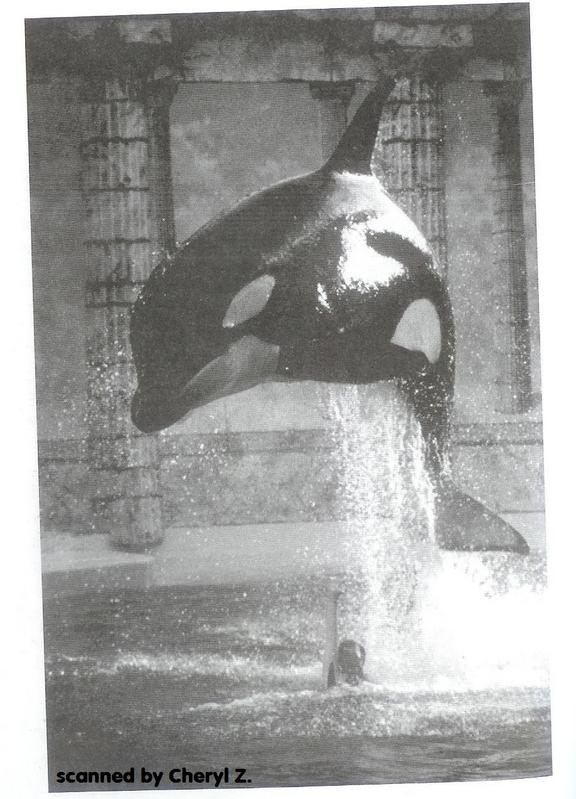
Photo provided by Cheryl Z.
Yaka and Vigga
Yaka and Vigga
Photo provided by Valentin666.
Bjossa, Finna, Benkei 2 and Vigga
Photo provided by HaH.
Photo provided by Kimmy Vengeance.

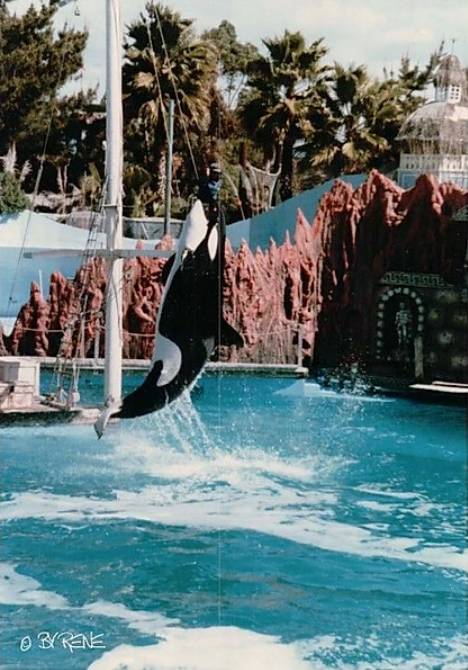
Photos provided by Kimmy Vengeance and Rene.
Vigga and Yaka
Vigga and Yaka (front to back)
Vigga and Yaka (front to back)
Photos provided by HaH.
Yaka and Vigga
Photos by Battaglia Inc., provided by Kimmy Vengeance.
Photo provided by Sara Farrell.
Vigga and Yaka (underneath)
Photo by Boys Life Magazine (provided by Sara Farrell).

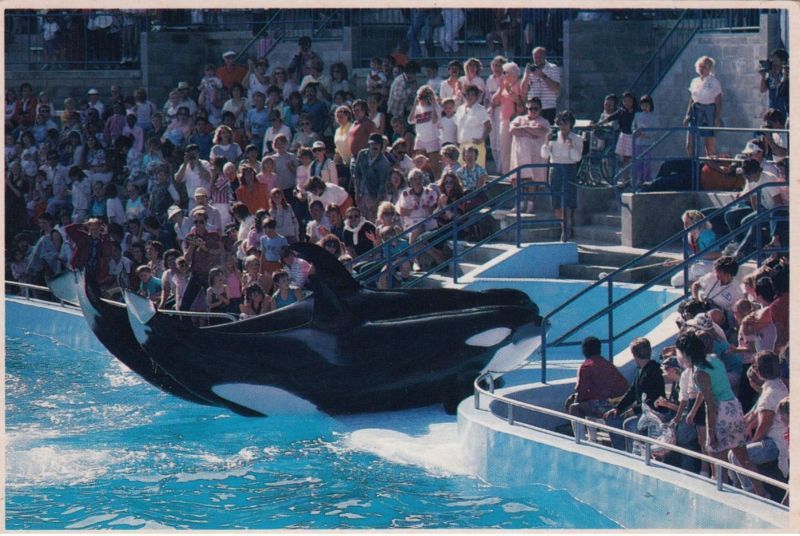
Vigga and Yaka
Photos scanned from the book “Whales, Dolphins and Porpoises at the Zoo” by Roland Smith (provided by anonymous).
Vigga and Yaka
Photo by Marineland (provided by Sara Farrell).
Yaka and Vigga
Yaka and Vigga
Photos provided by Sara Farrell.
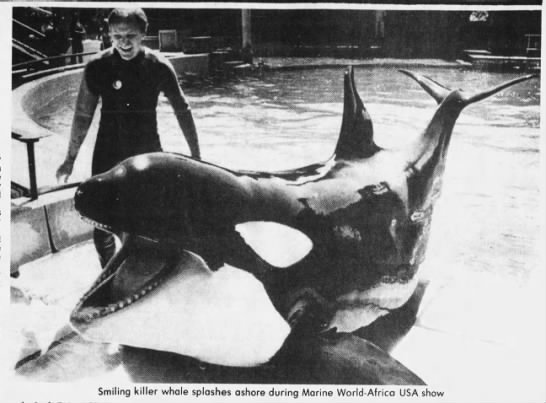
Photo by The Tyler Courier Times (provided by Sara Farrell).
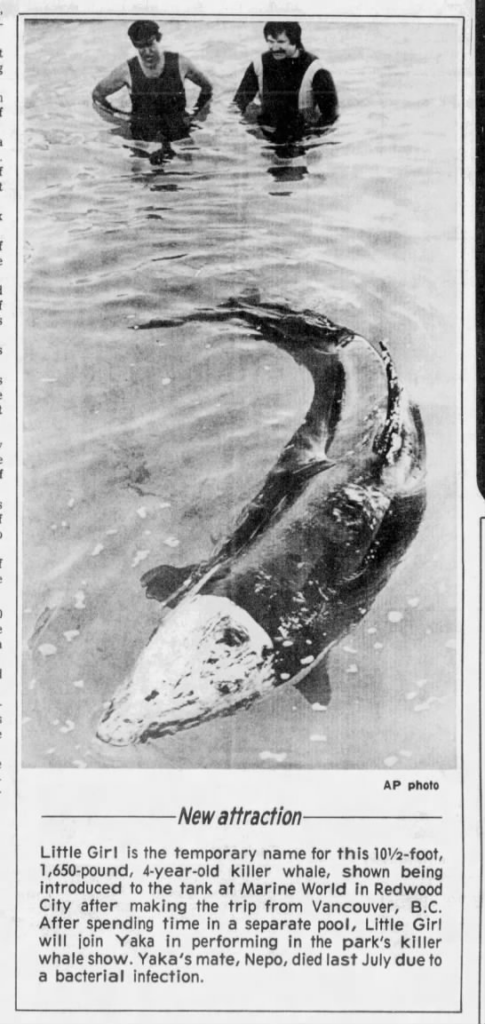
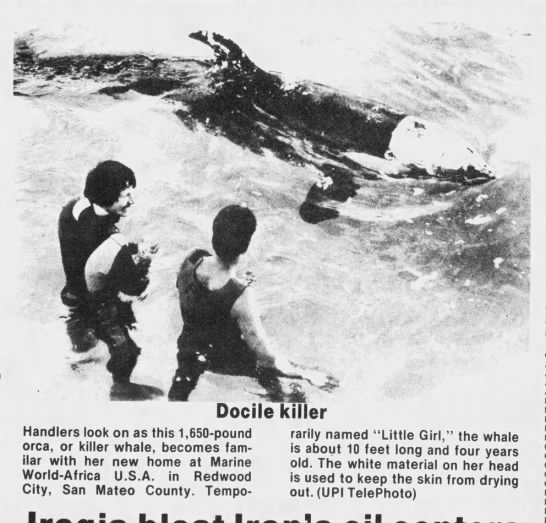
Photo by News-Pilot (provided by Sara Farrell)
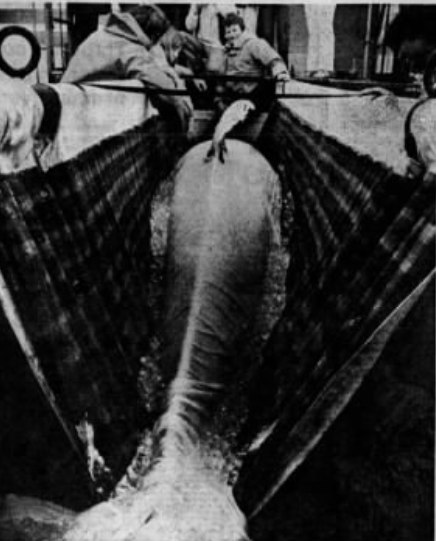
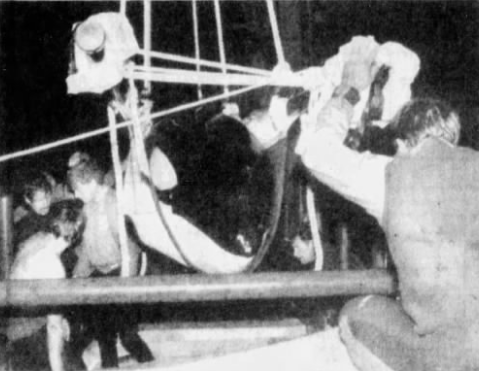
Vigga’s transfer to Marine World
Photo by The San Francisco Examiner (provided by Sara Farrell)

Yaka and Vigga
Photo provided by Sara Farrell
Photo from The Napa Valley Register (provided by Sara Farrell)
Photo from The San Francisco Examiner (provided by Sara Farrell)
Yaka and Vigga
Photo from the Petaluma Argus-Courier (provided by Sara Farrell)
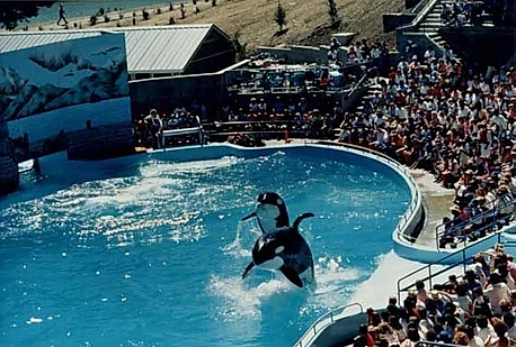
Vigga and Yaka
Photo from The Santa Maria Times (provided by Sara Farrell)
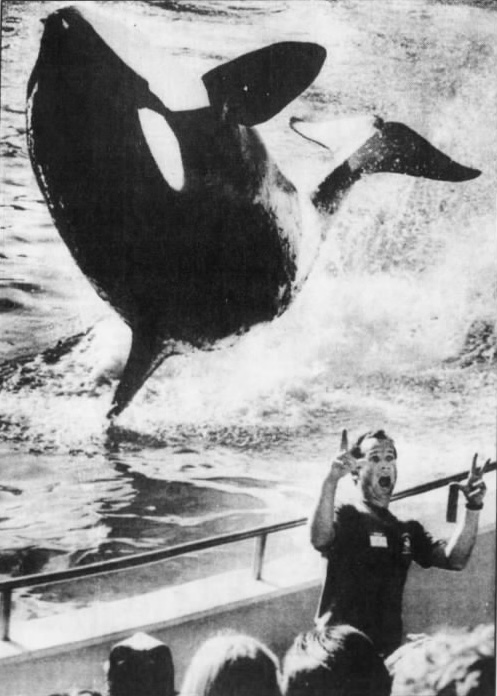
Photo by the Associated Press (provided by Sara Farrell)
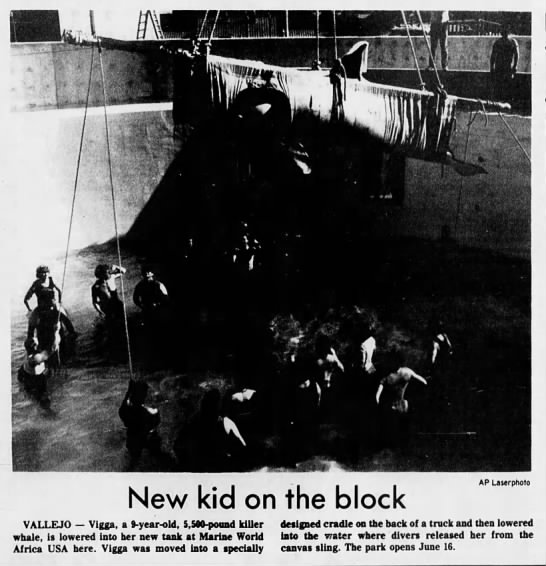
Photo from The Santa Cruz Sentinel (provided by Sara Farrell).

Photo by Associated Press provided by Katerina Studios.
Yaka(top) and Vigga
Photos provided by Katerina Studios.
Yaka and Vigga
Vigga and Yaka
Vigga and Yaka
Vigga and Yaka
Photos provided by Sara Farrell.
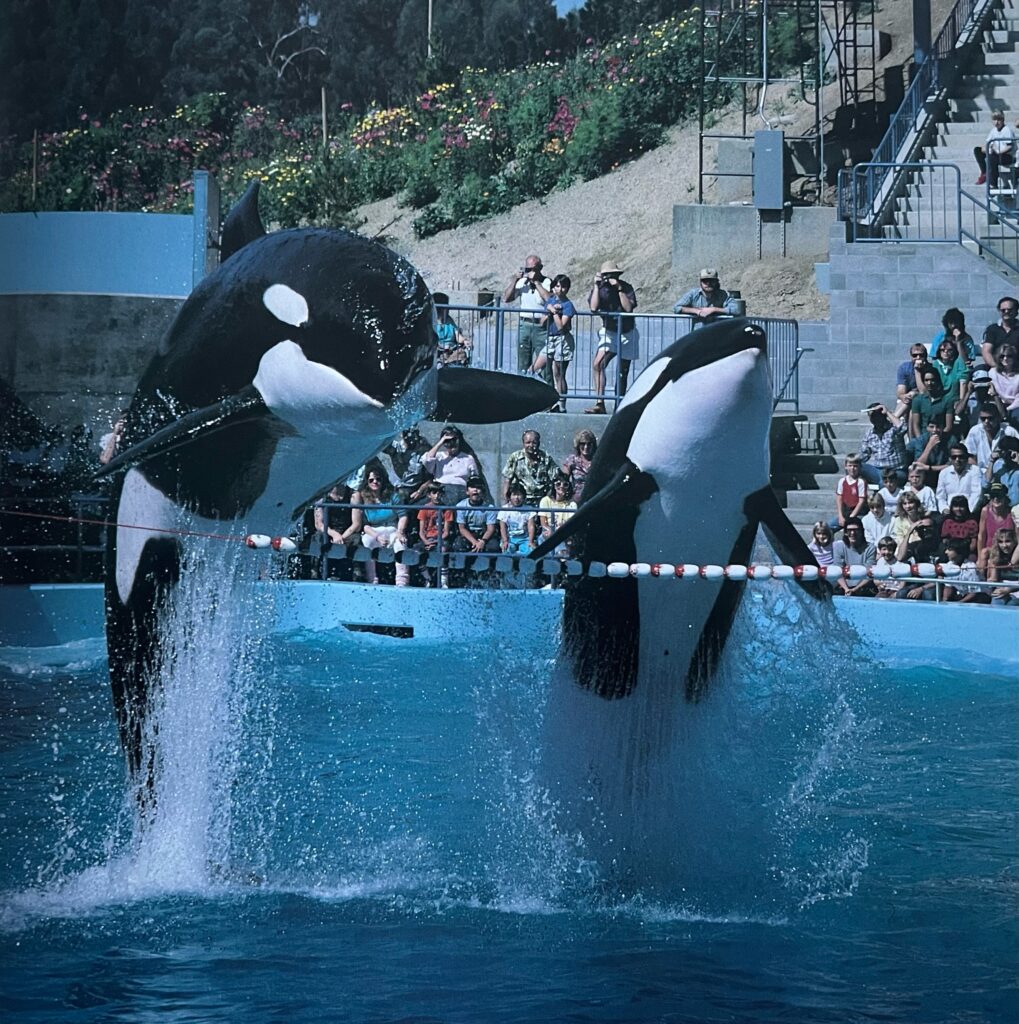
Yaka and Vigga
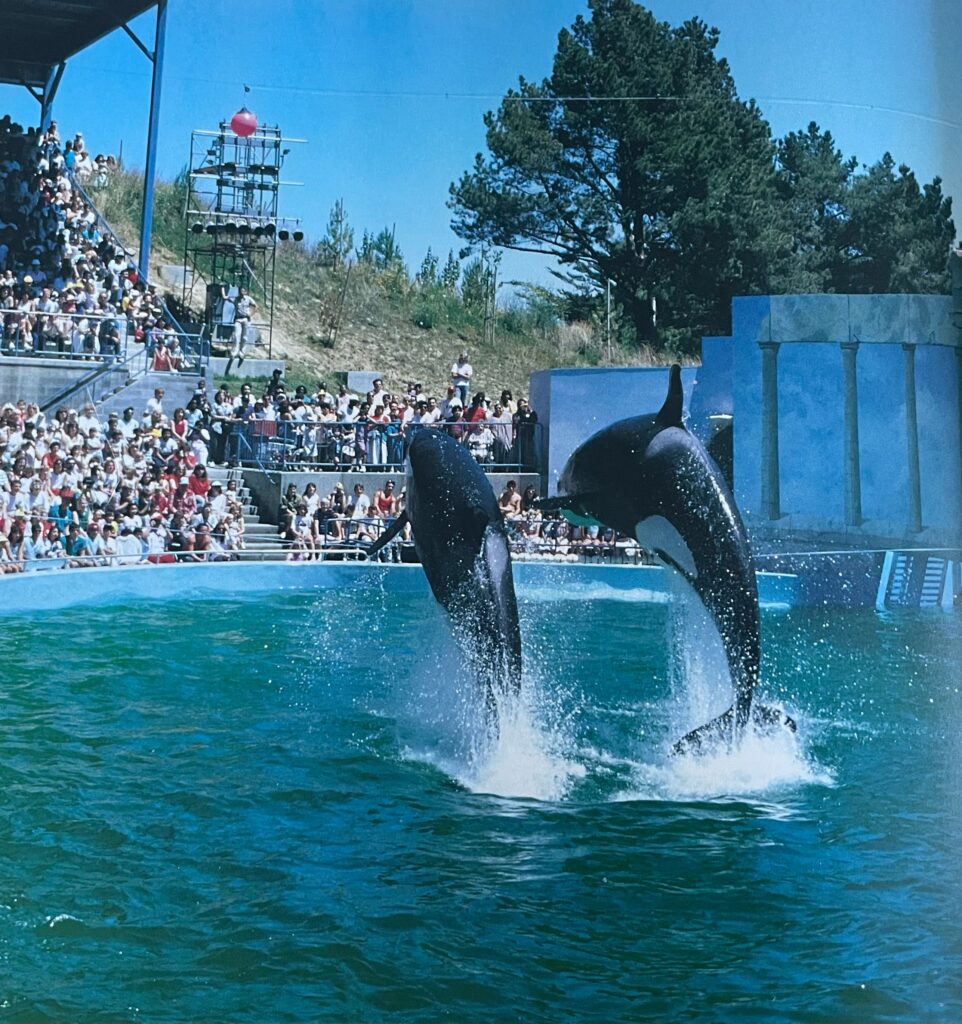
Vigga and Yaka
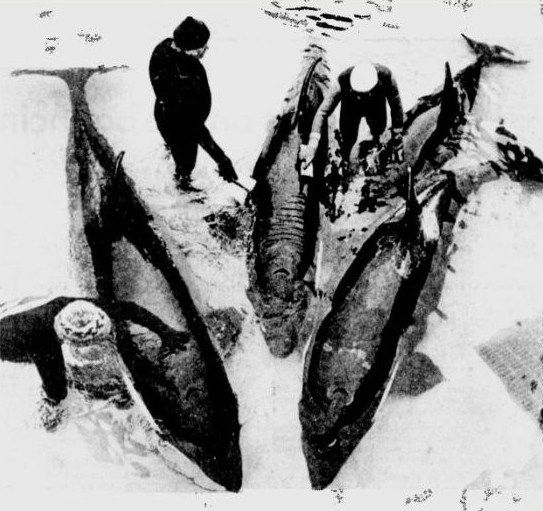
Photo from the book “Dolphins and Porpoises” by Louise Quayle, provided by Lilly Rivard.