Disclaimer: These photos do not belong to the owner of this website but were kindly submitted by photographers. Some photos may be PR images produced by marine parks and aquariums. In all cases appropriate credit is given. Photos with multiple whales include identification which is listed from left to right (according to eye patch) unless stated otherwise.
You may repost these photos as long as you credit the photographer and refer back to this website.
Please contact me at inherentlywild@gmail.com if you wish to add to this gallery.
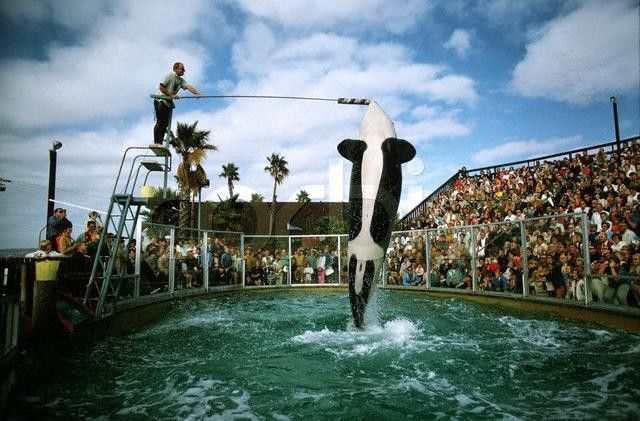
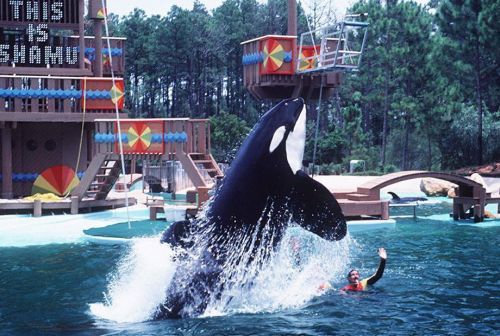
Photo provided by Valentin666 and Kim Zerbe.
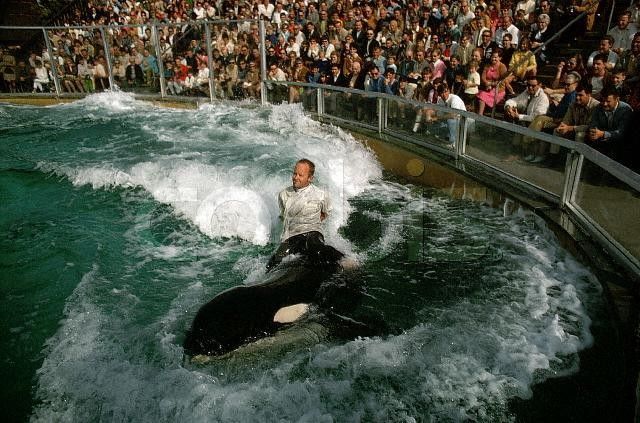
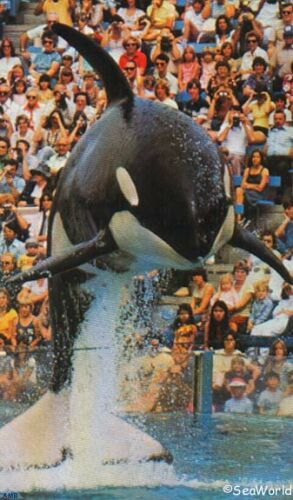
Photo provided by SMSea.
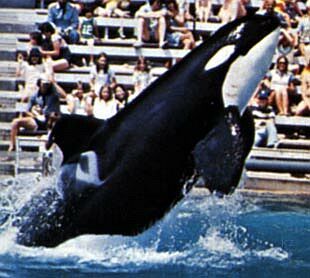
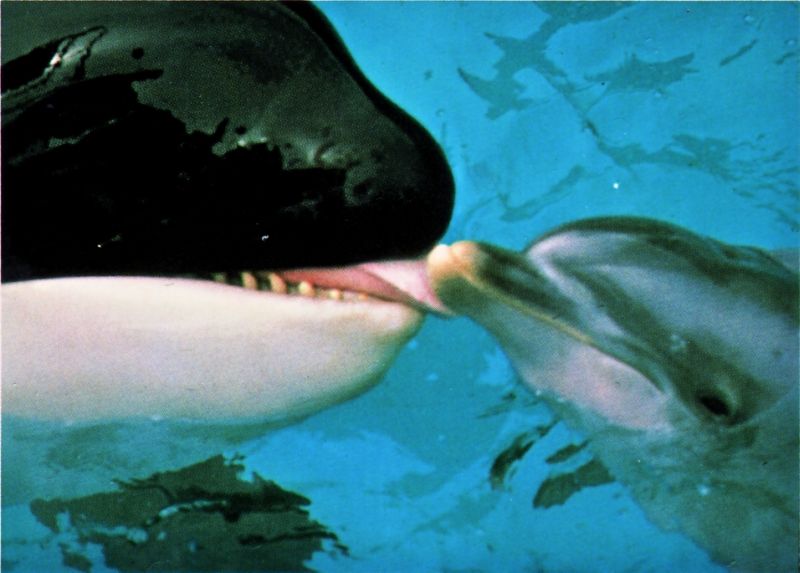
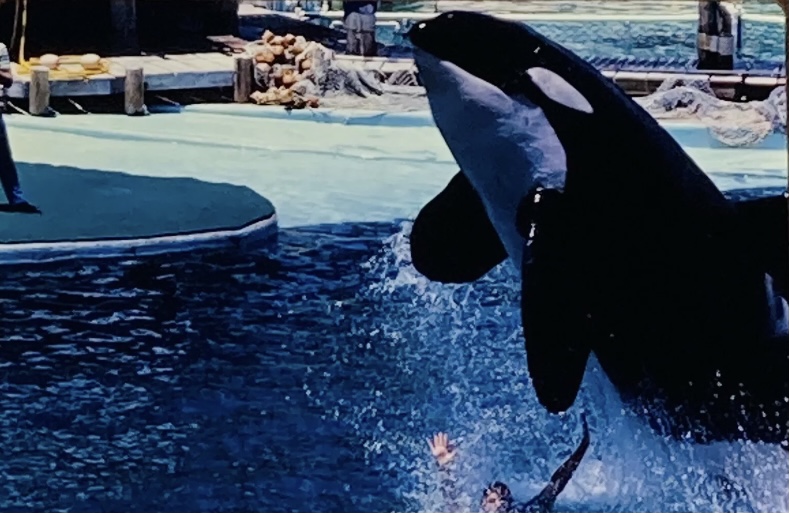
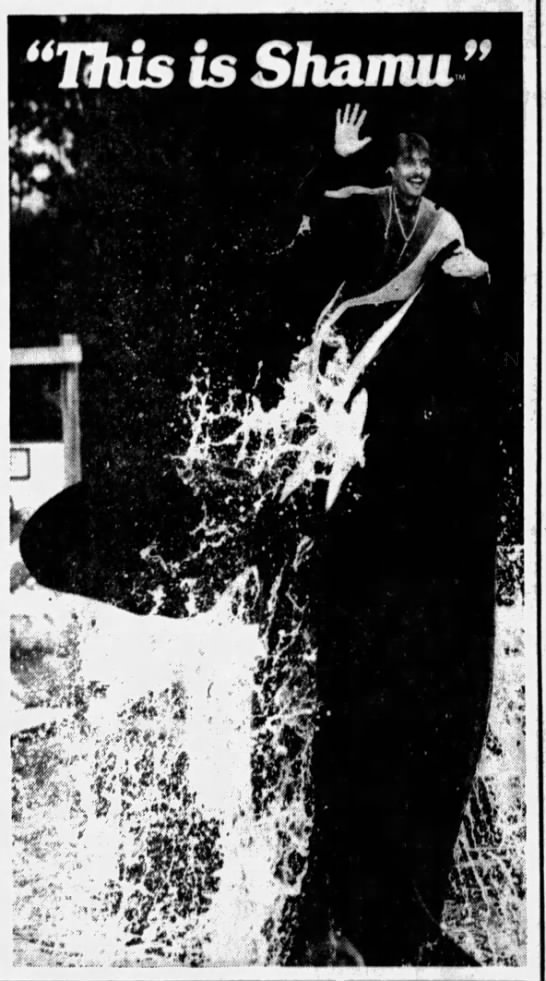
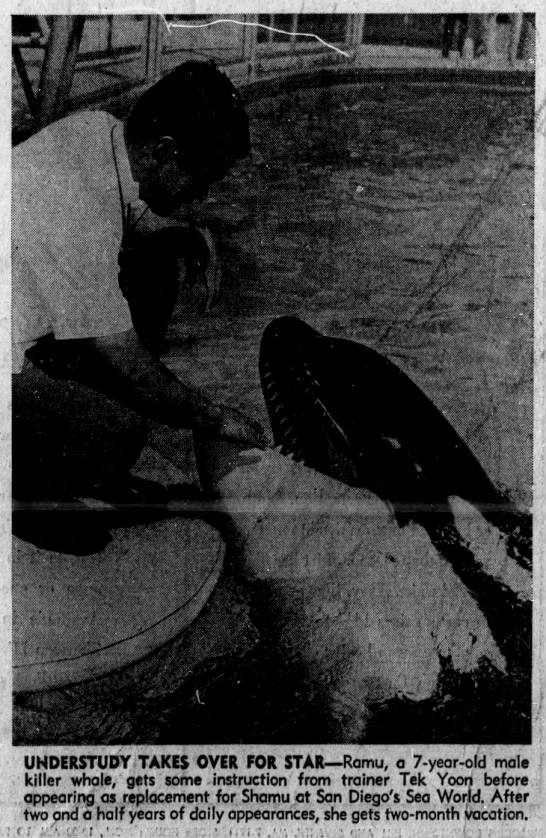
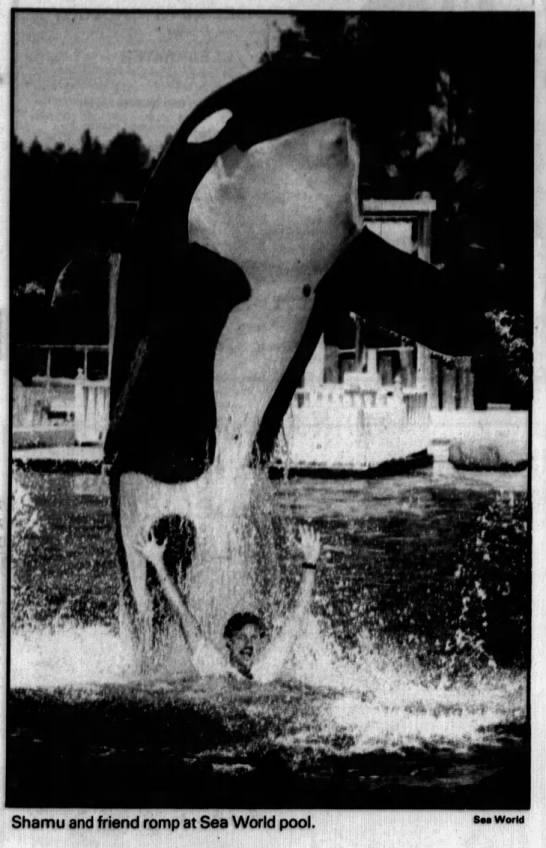
Shamu and Ramu
Photos provided by Blackmoon2101.
Photos provided by Rachel Cali.
Photo provided by Spot645.
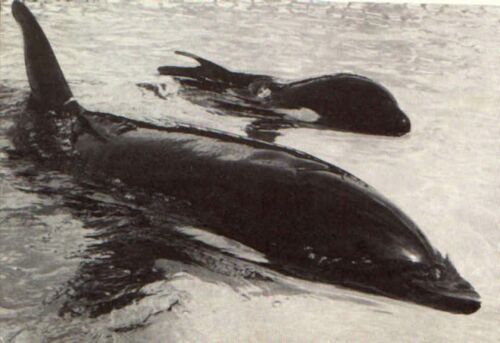
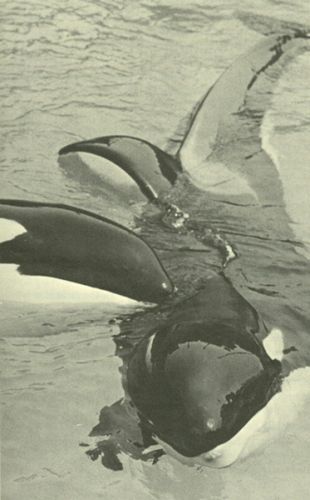
Ramu and Kilroy (front to back)
Photos provided by KE Wiley.
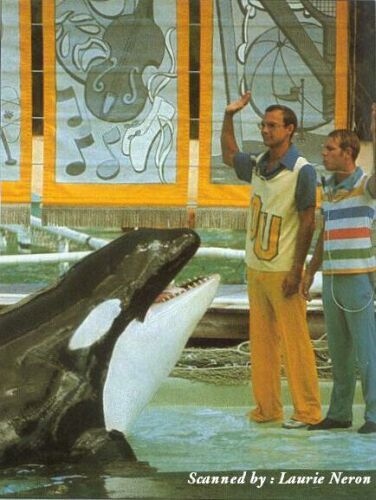
Photos provided by Laurie Néron.

Photos provided by moon_tides.
Photo provided by Kim Zerbe.
Photos provided by Valérie Meyer.
Photos provided by Orcaholic2001.
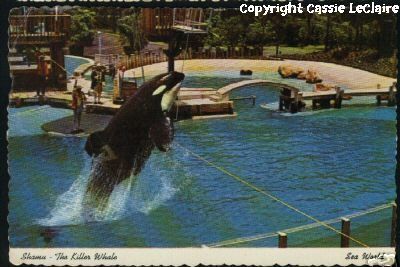
Photo provided by Cassie.
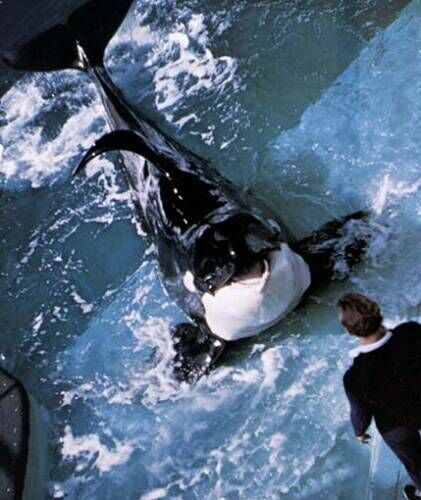
Kona 2 and Ramu (front to back)
Photos provided by Orcaloverw.
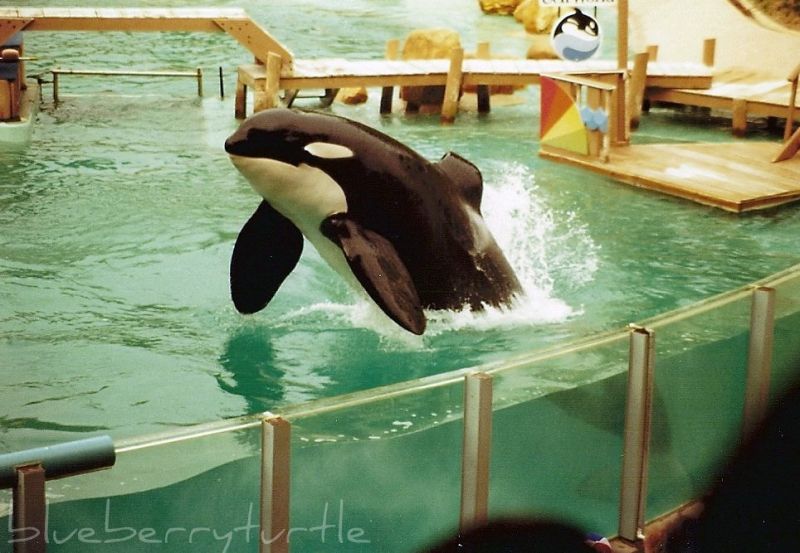
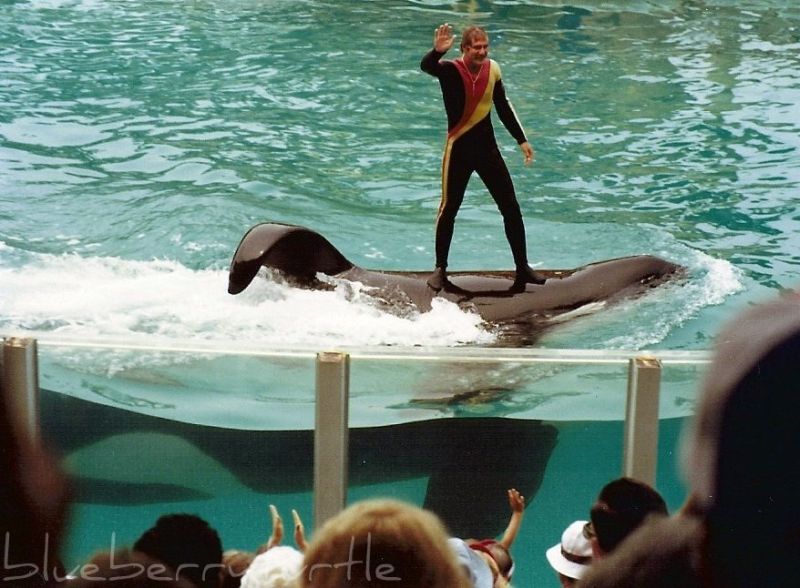
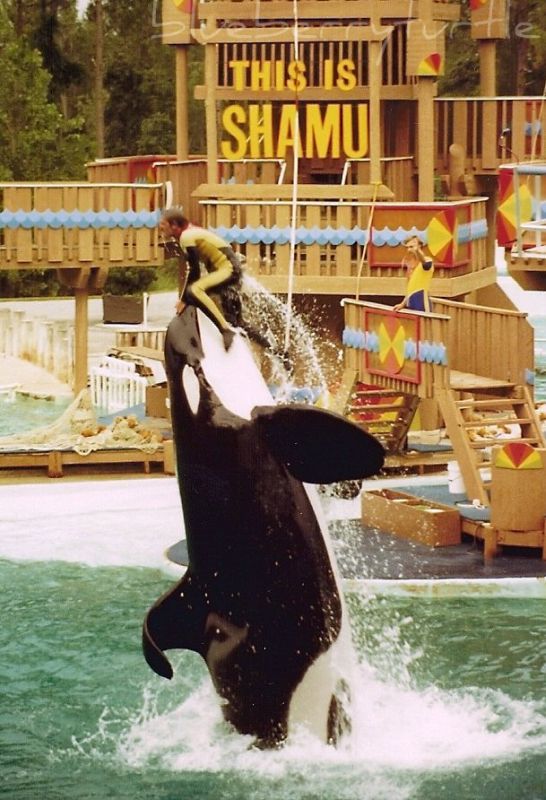
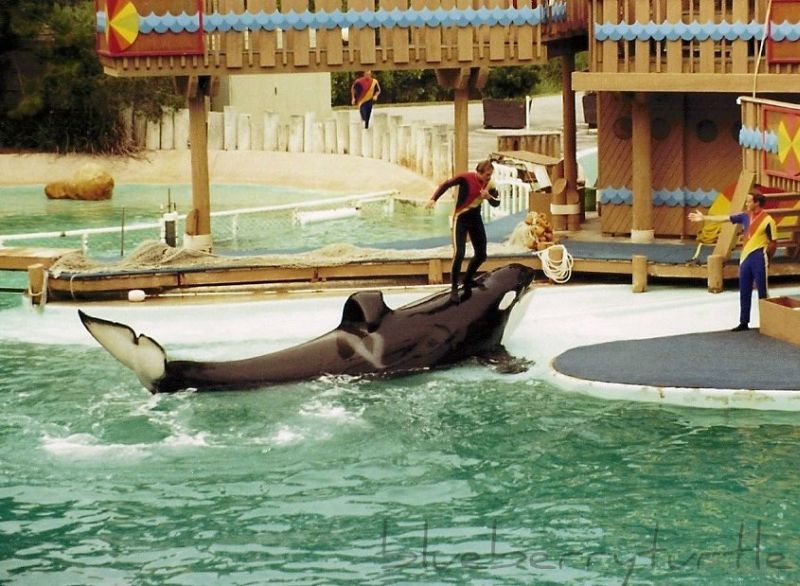
Photos provided by blueberryturtle.
Photos provided by wcbohannon.
Photo provided by alphonse.
Photo provided by Shamufan.
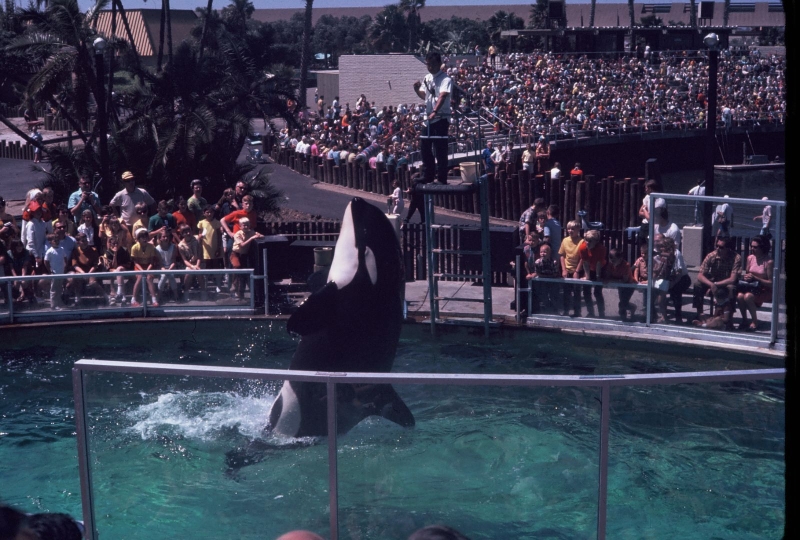
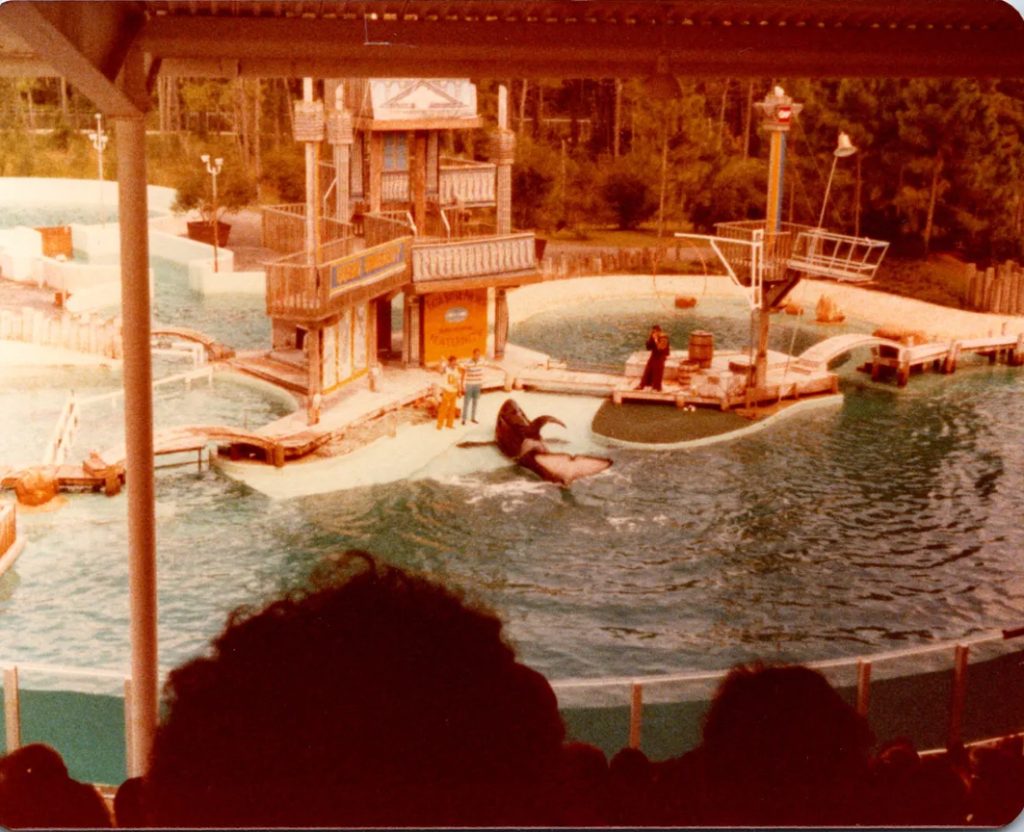
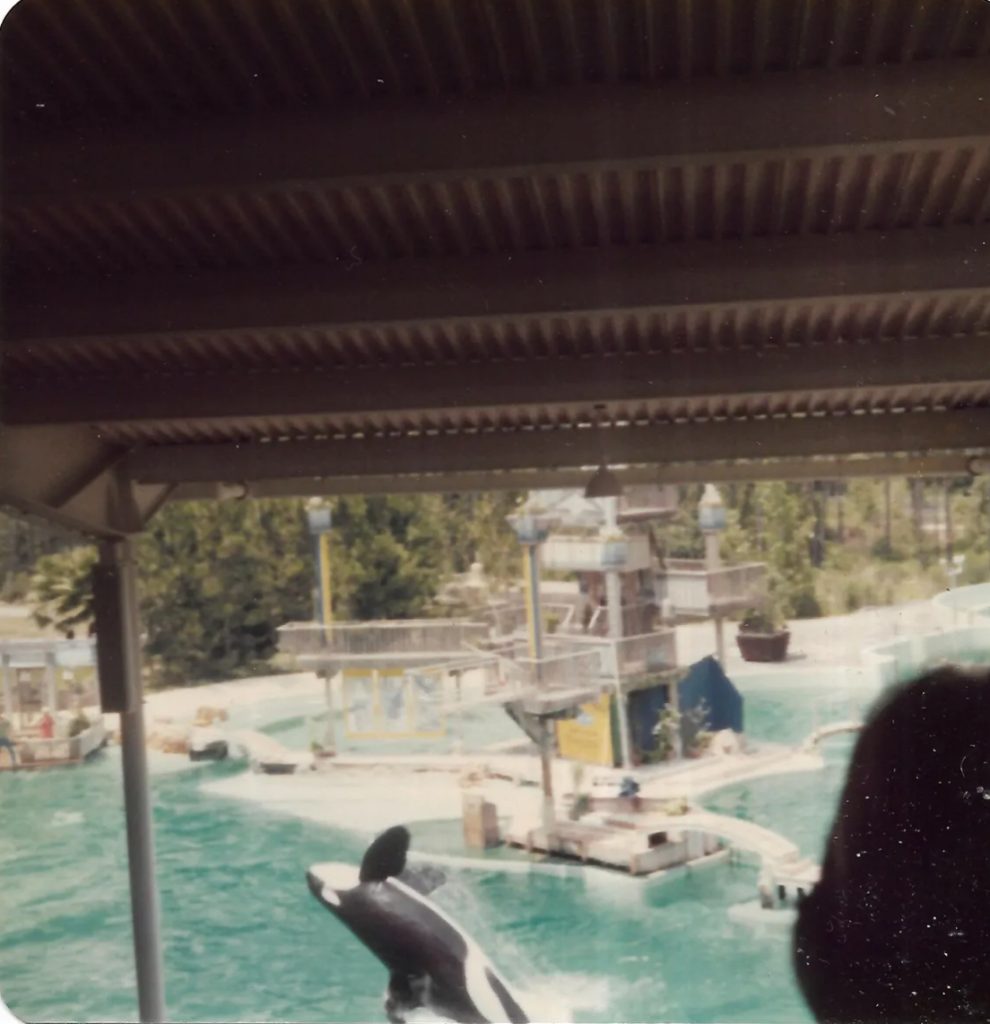
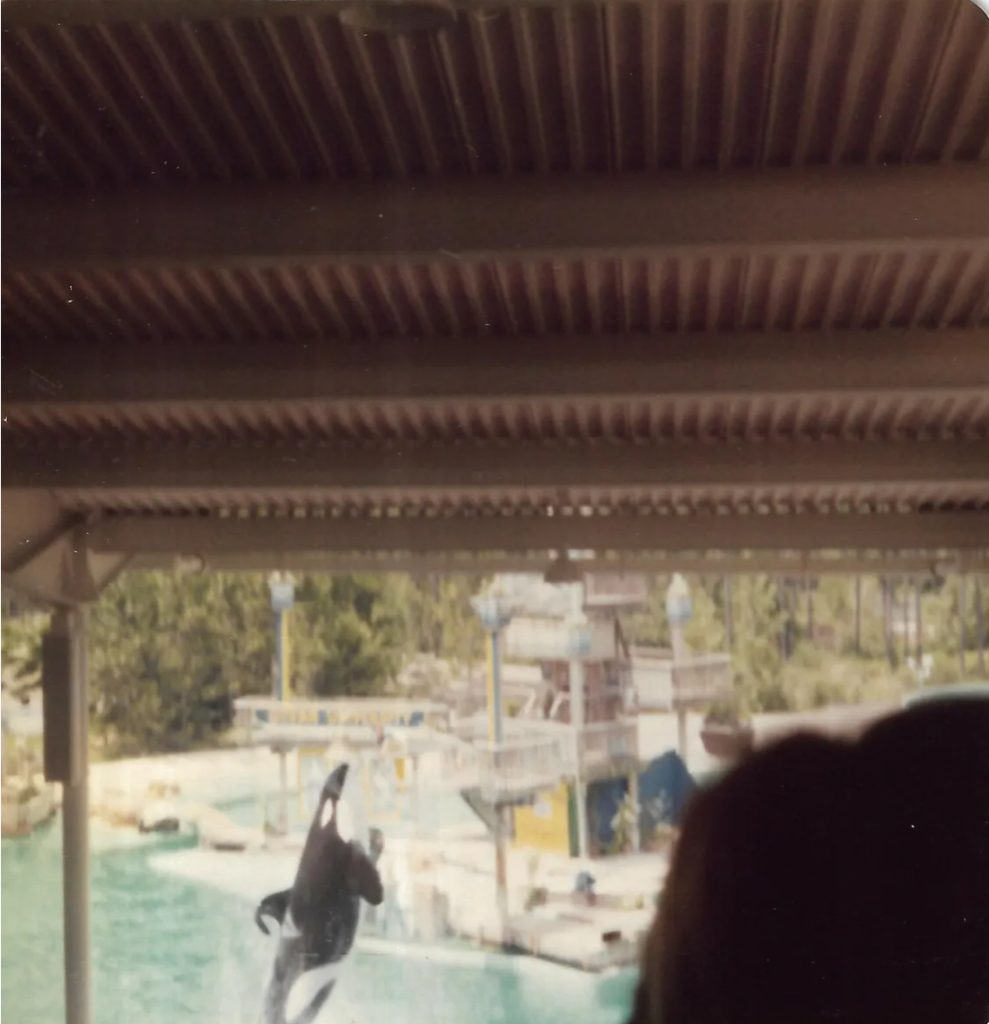
Photos provided by Kimmy Vengeance, Jovana Ivastanin and the State Archives of Florida.
Photo provided by twocollector.
Photo provided by rm20.
Photos provided by Jovana Ivastanin.
Photo provided by Kimmy Vengeance and Cheryl Fleming.
Photo provided by CuriousGirl.
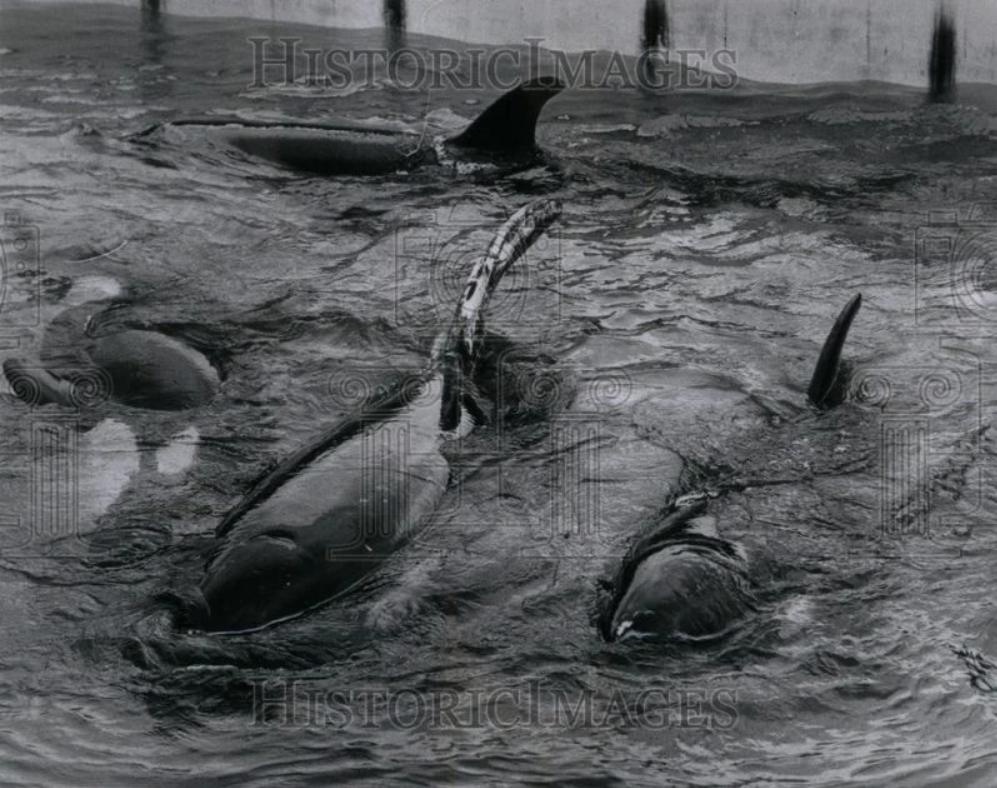
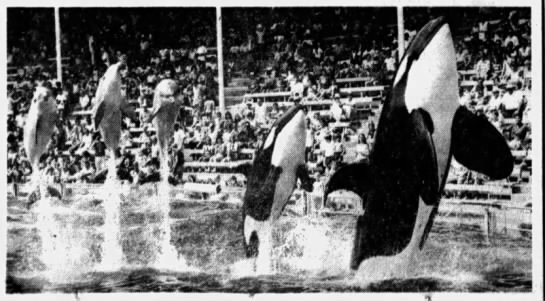
Kilroy, Kandu, Skana and Ramu
Photos provided by anonymous.
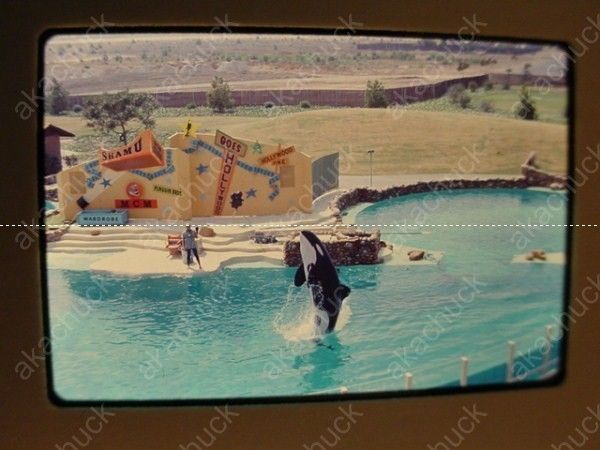
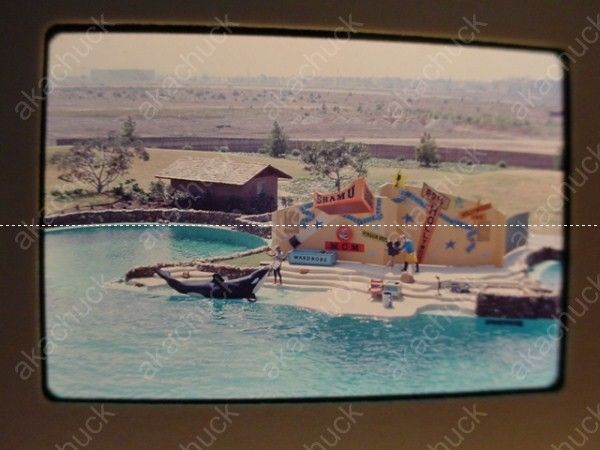

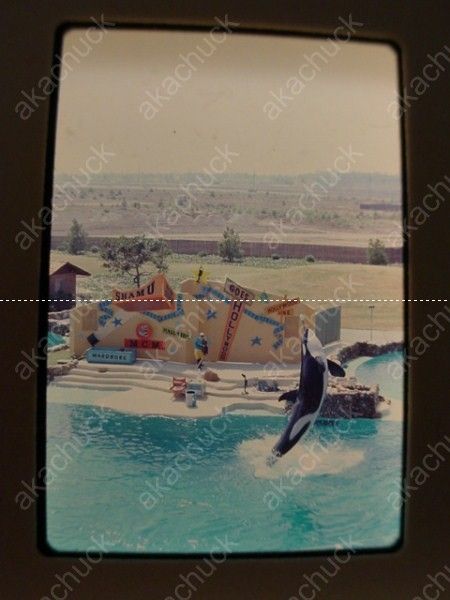
Photos provided by AKAChuck.
Photos provided by Valentin666.
Ramu and Kilroy (front to back)
Ramu and Kilroy
Photos by Pat Hathaway.
Photo provided by HaH.
Photos provided by albino orca.


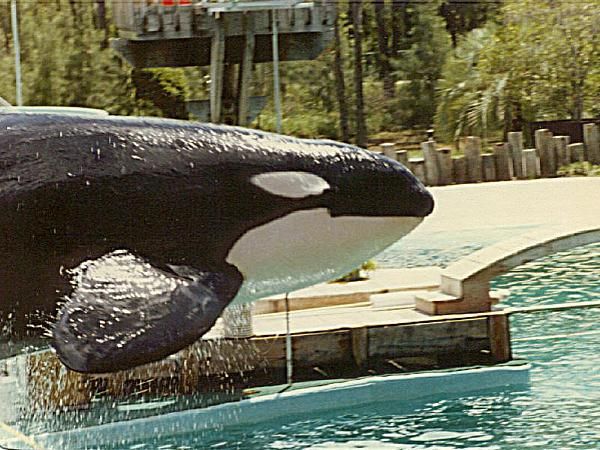
Ramu and Kona (front to back)
Photos provided by Sara Farrell.
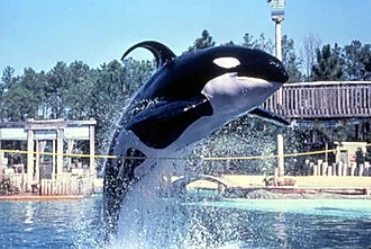
Photo by SeaWorld (via Orca Pod Wiki).
Photo provided by anonymous.
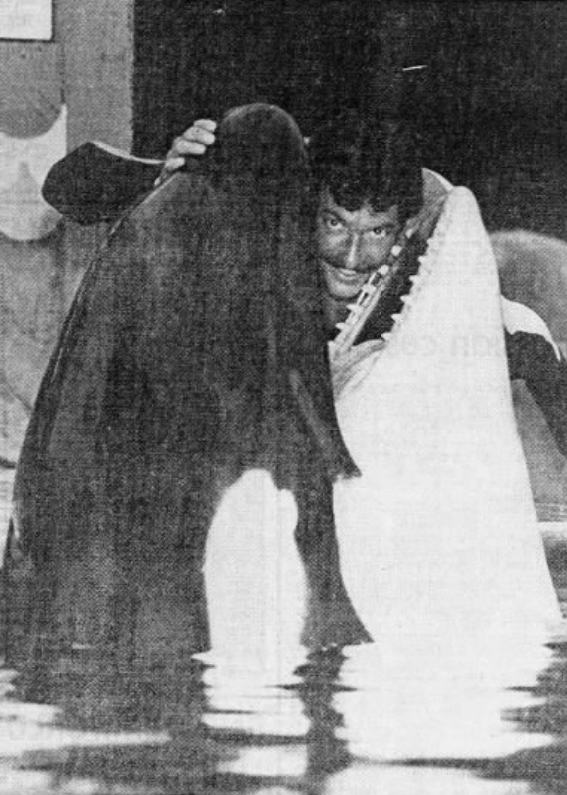
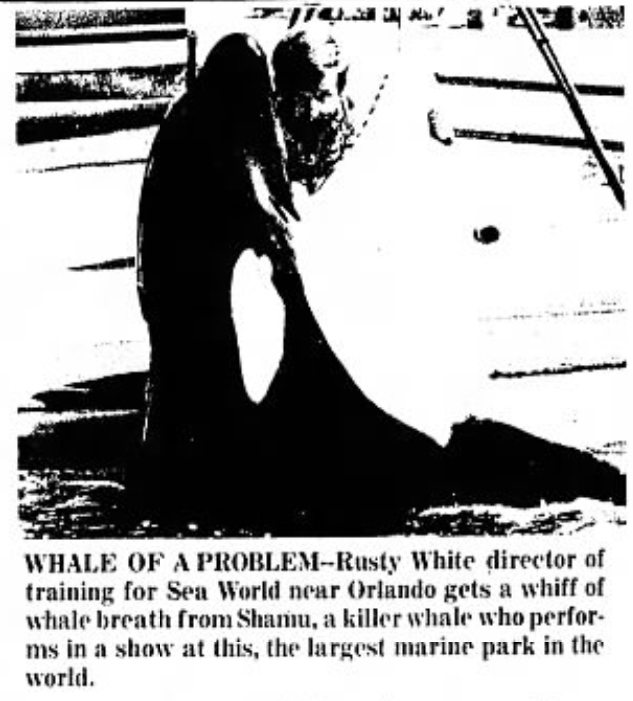
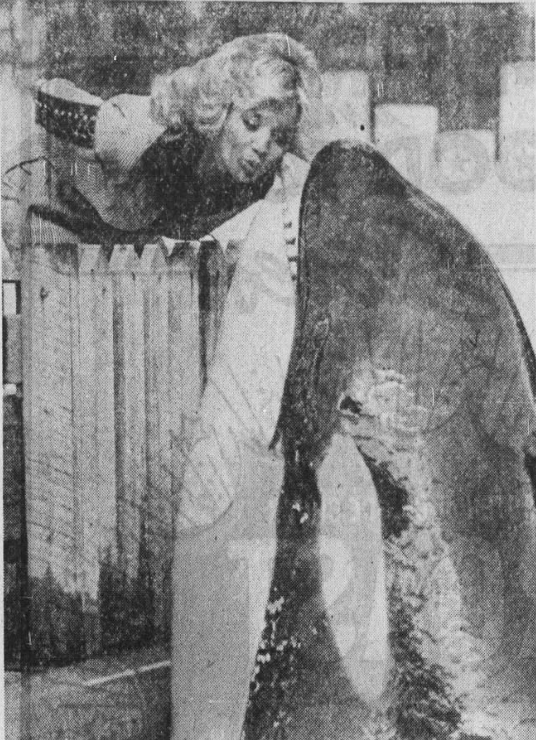
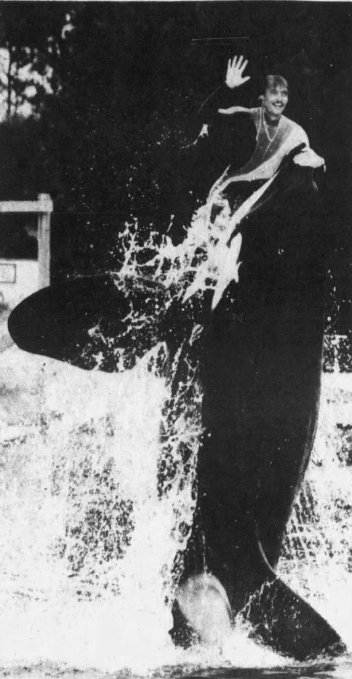
Photo by The Tennessean (provided by Sara Farrell)
Photos by SeaWorld (provided by Sara Farrell)
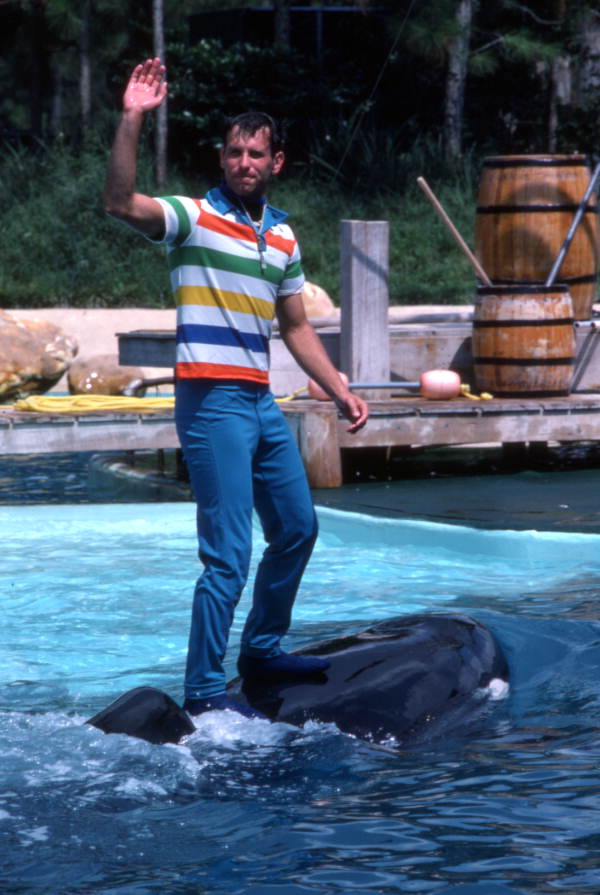
Photos by FloridaMemory.com (provided by Sara Farrell)

Photos provided by Sara Farrell.
Kona 2 and Ramu
Photos provided by Katerina Studios and Sara Farrell.
Photo by The Manhattan Mercury provided by Katerina Studios and Sara Farrell.

Photos provided by Katerina Studios.
Photos by SeaWorld provided by Katerina Studios.
Photo by Fred Victorin, provided by Katerina Studios.
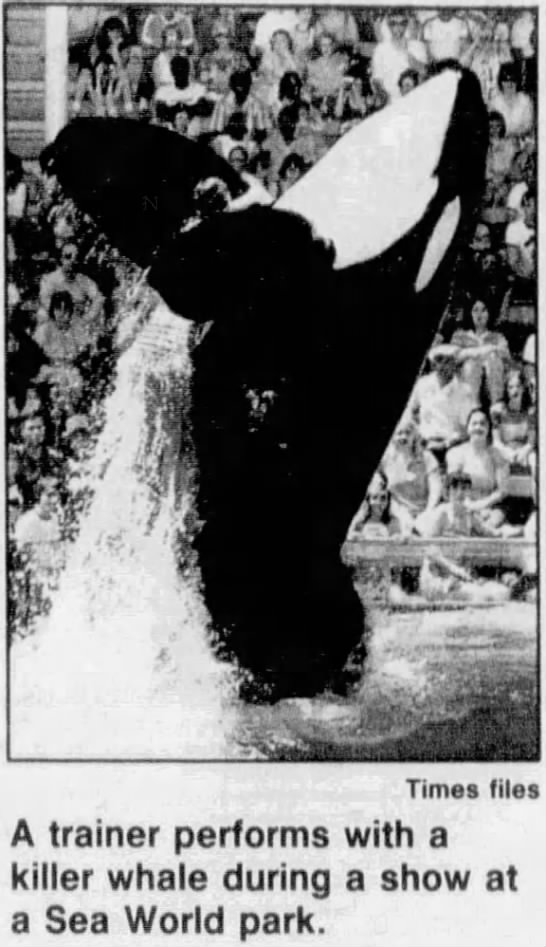
Photo by The Tampa Bay Times, provided by Katerina Studios.


Kahana, Kona 2 and Ramu

Photos provided by Sara Farrell
Photo via Cetacean Collective