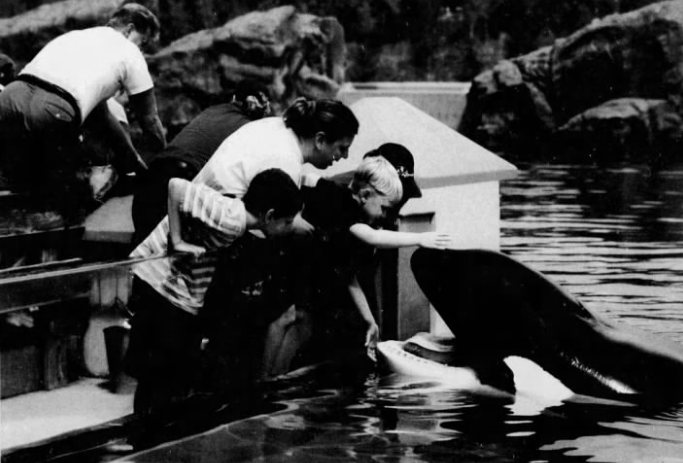
Disclaimer: These photos do not belong to the owner of this website but were kindly submitted by photographers. Some photos may be PR images produced by marine parks and aquariums. In all cases appropriate credit is given. Photos with multiple whales include identification which is listed from left to right (according to eye patch) unless stated otherwise.
You may repost these photos as long as you credit the photographer and refer back to this website.
Please contact me at inherentlywild@gmail.com if you wish to add to this gallery.
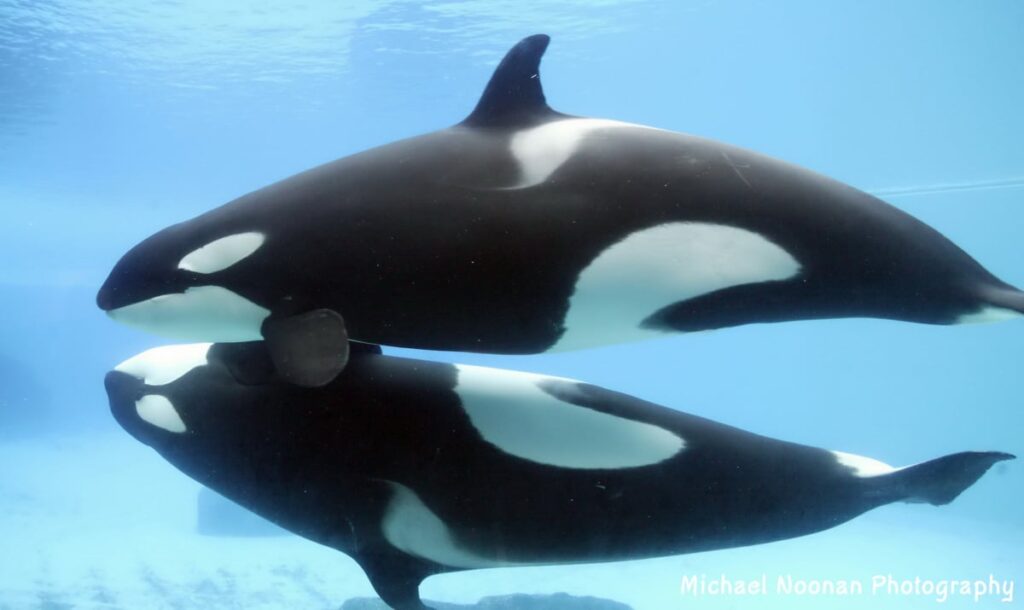
Kiska and Nootka 5 (top to bottom)

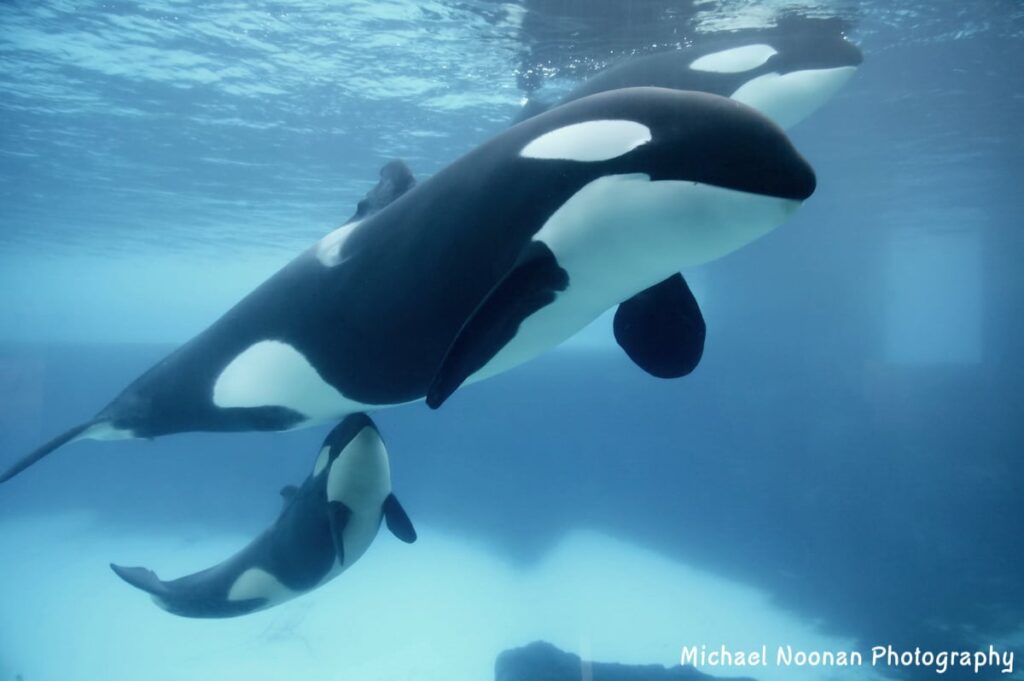
Kiska and Nootka 5
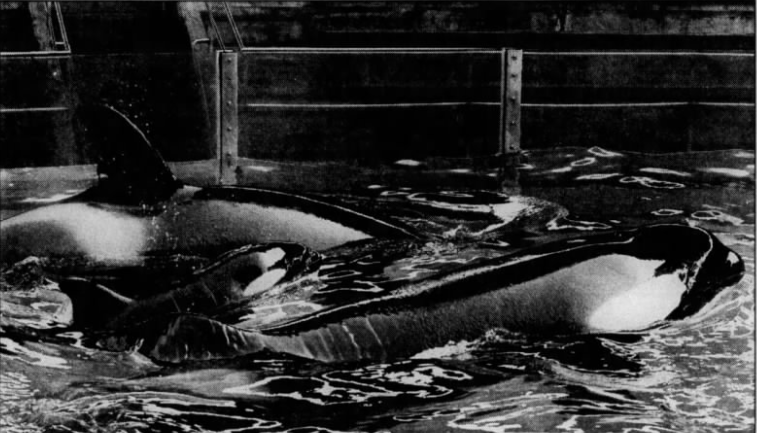
Athena, Kiska and Nootka 5
Photos by Michael Noonan (provided by anonymous).
Photos provided by Verena.
Photos provided by Holly C.
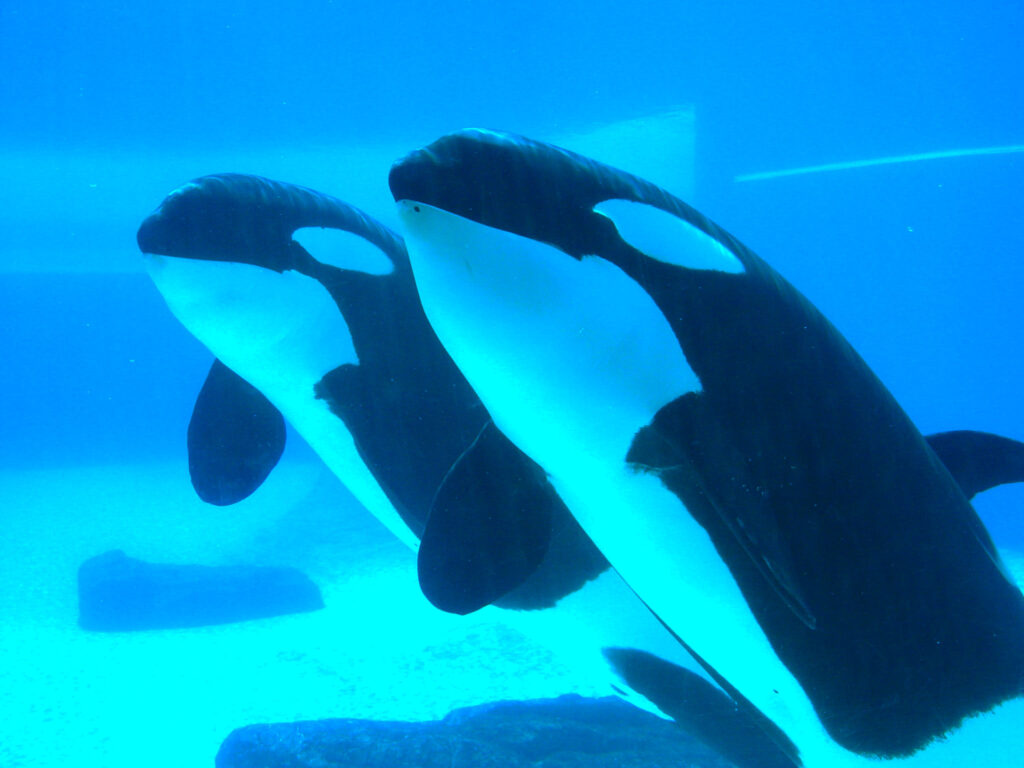
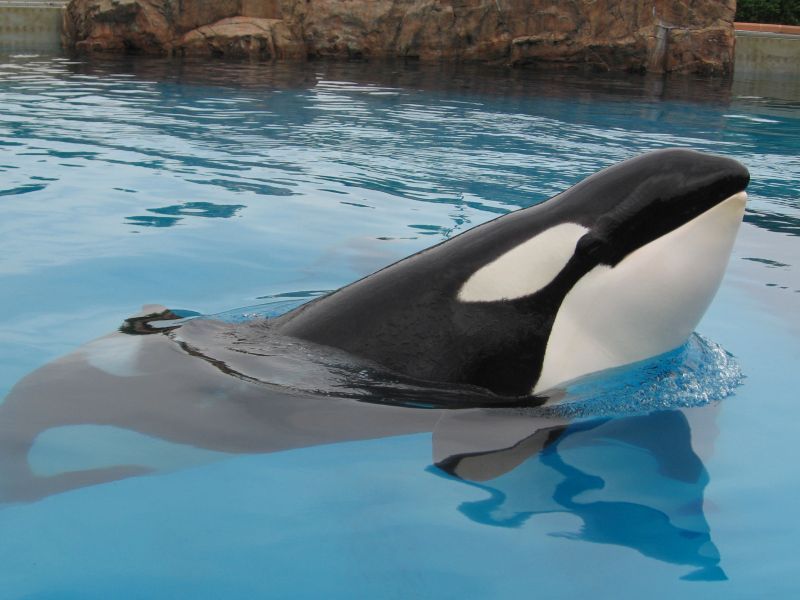
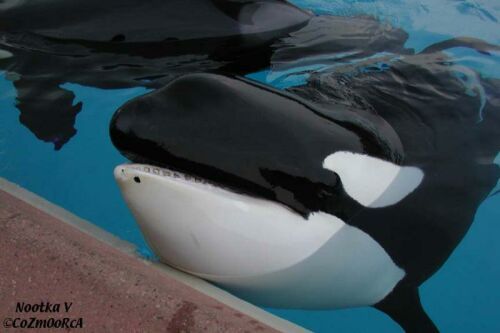
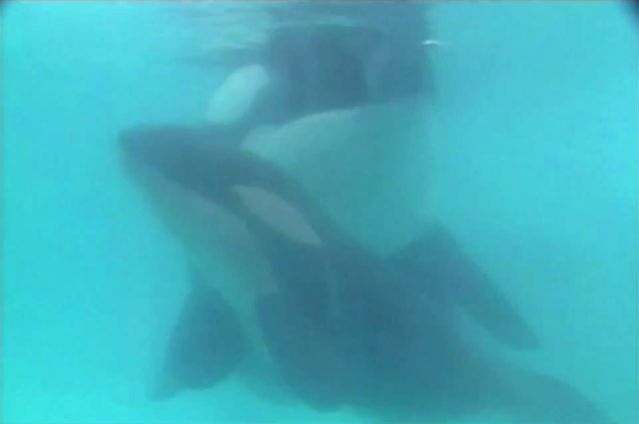
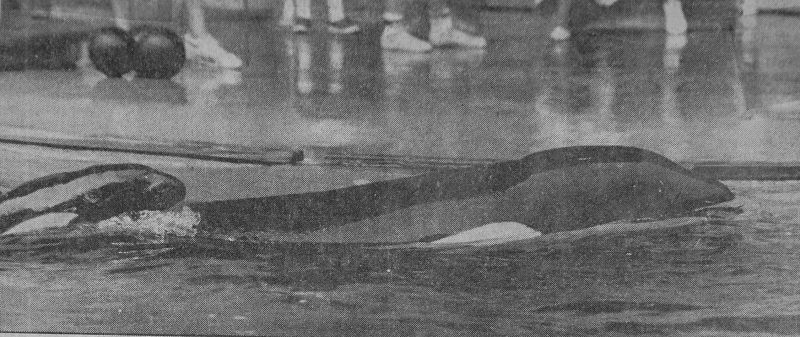
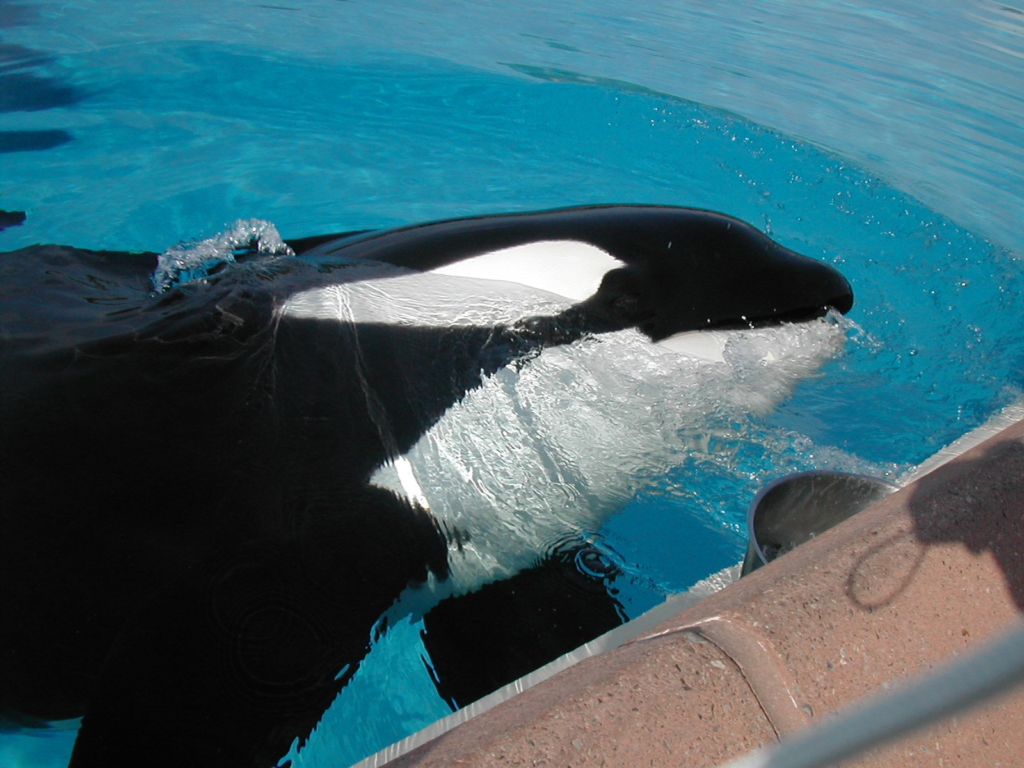
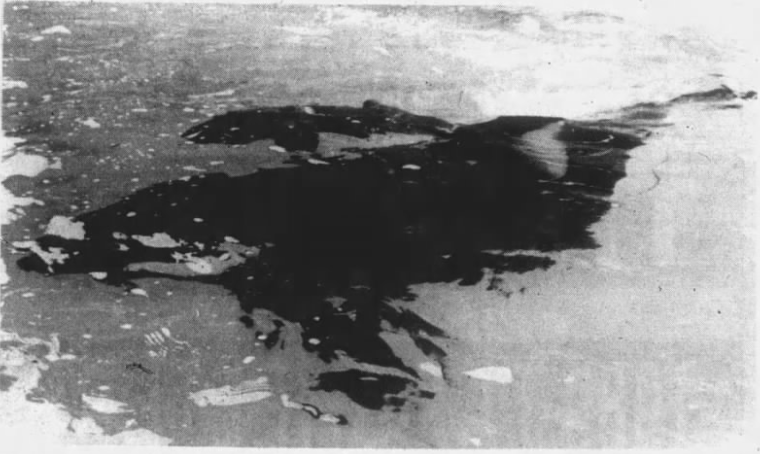
Kiska and Nootka 5
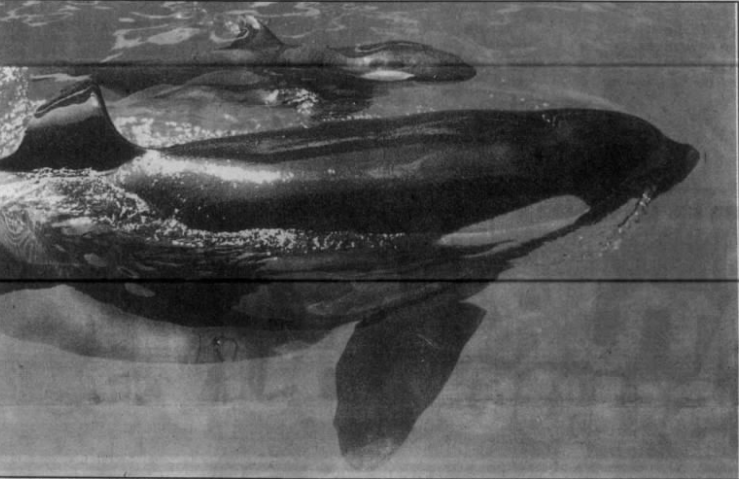
Nootka 5 and Kiska (front to back)
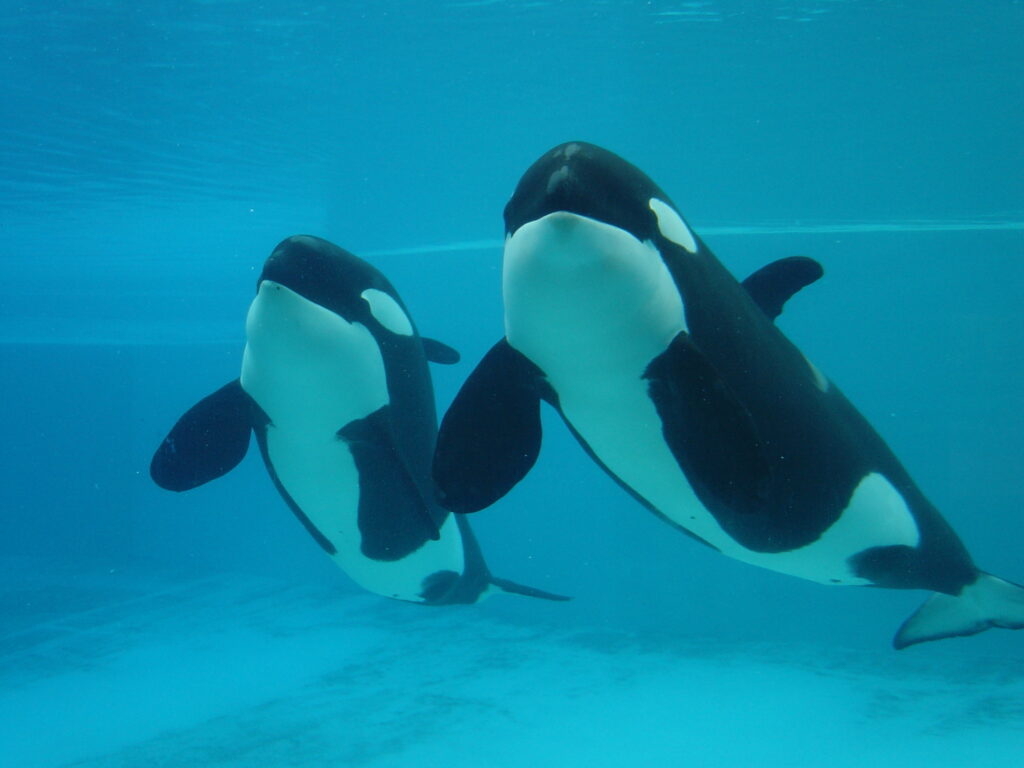
Nootka 5 and Kiska
Photos by Edge0fall (IG).
Photos provided by Suzanne Lavoie.
Photos provided by Emilie Giguère.
Photo provided by Tiggerlily.

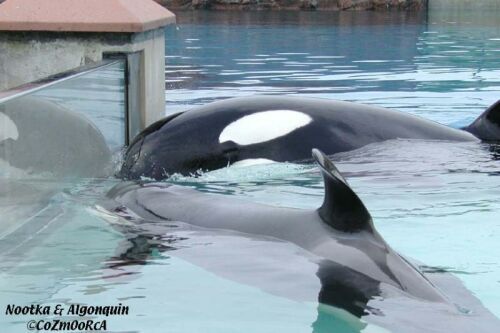
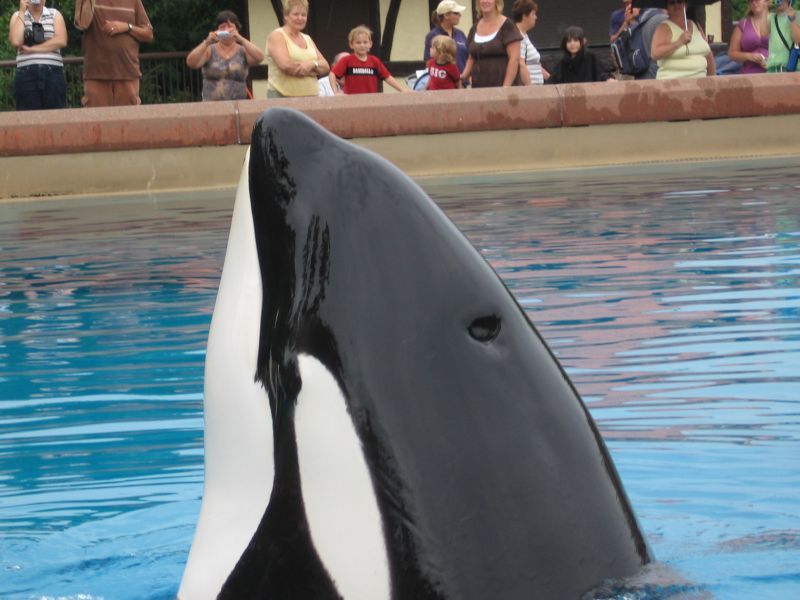
Algonquin and Nootka 5 (front to back)
Photos provided by Kristine.
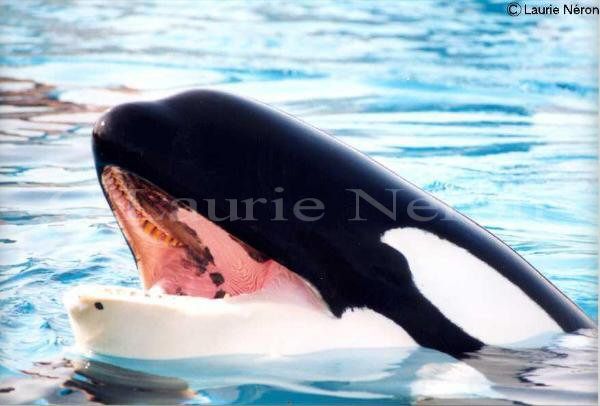
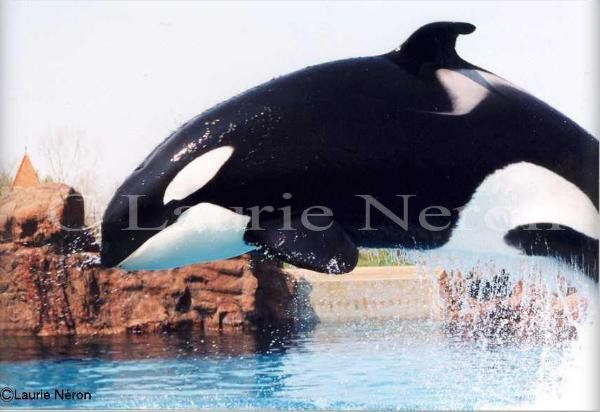
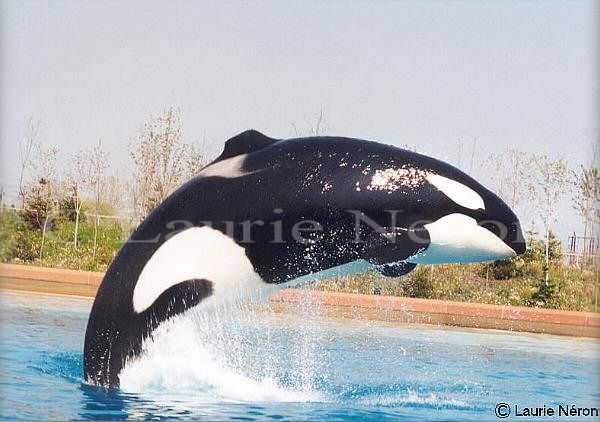
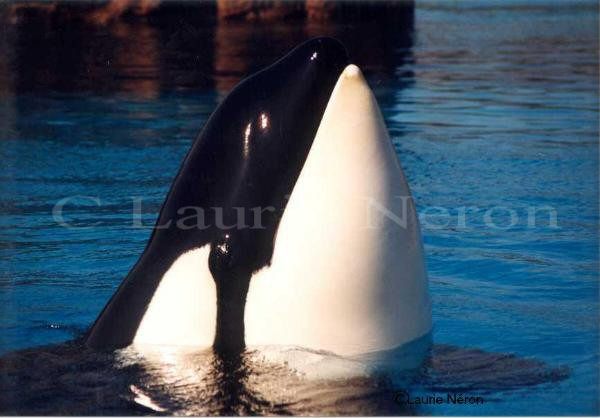
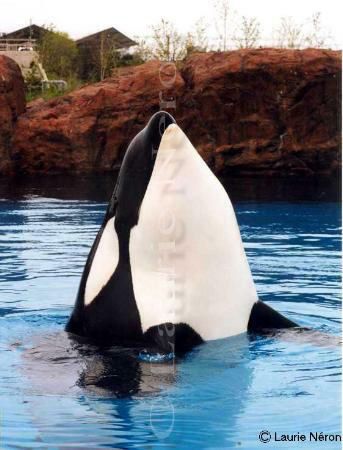
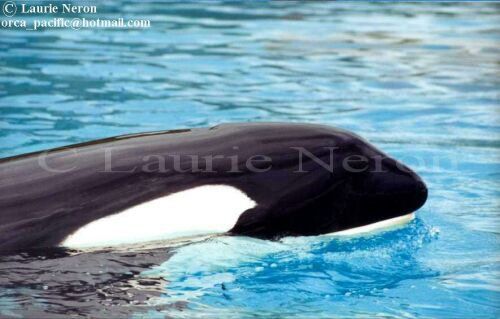
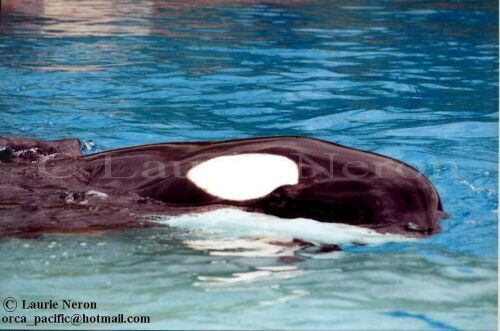
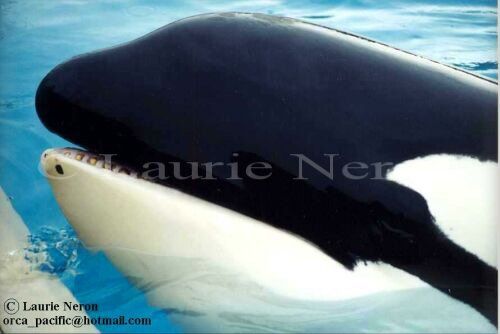
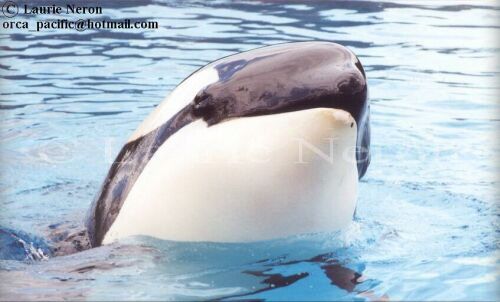
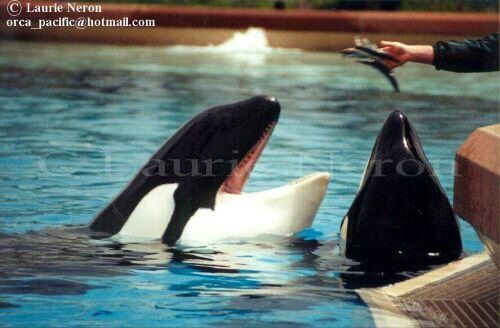
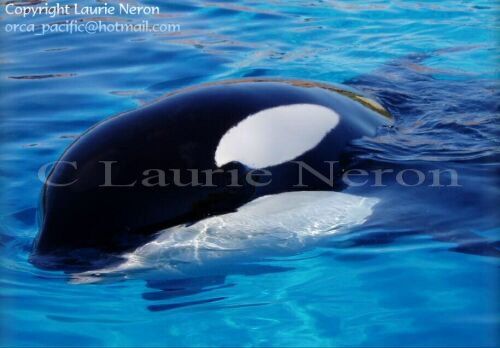
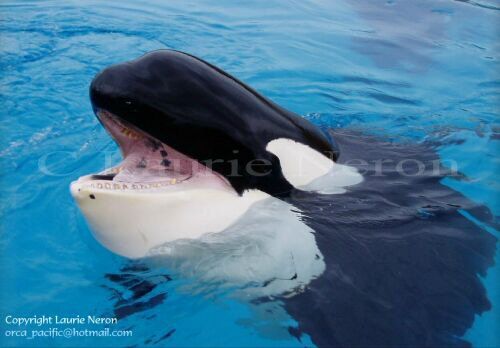
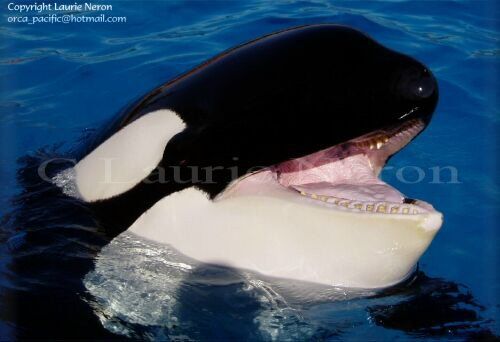
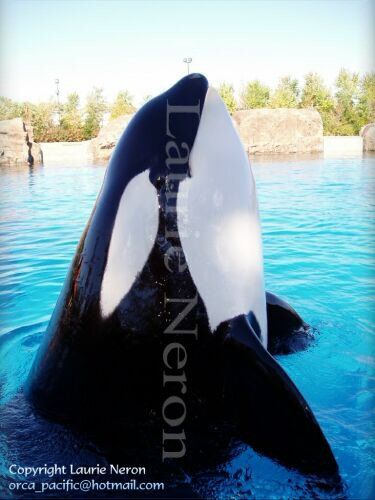
Photos provided by Laurie Néron.
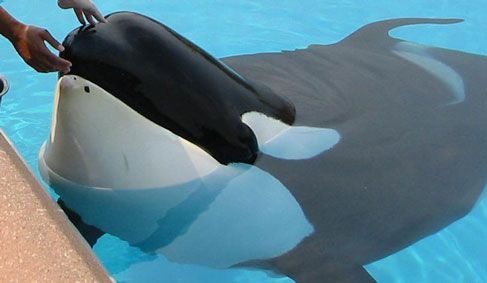
Photo provided by Sherie Hurdle.

Photo provided by Orcasforever.
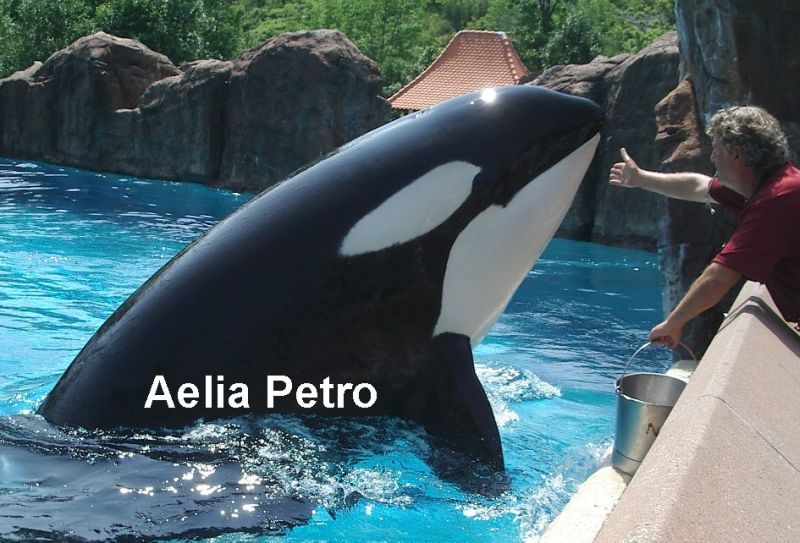
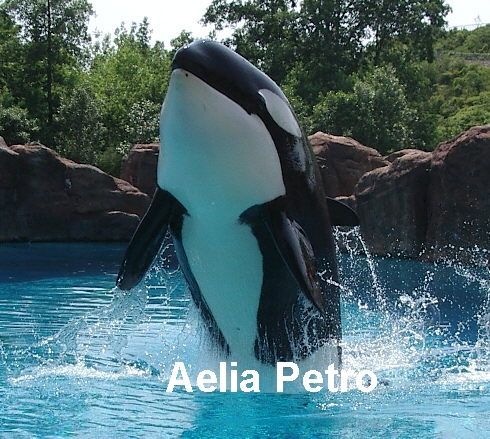
Photos provided by Aelia Petro.
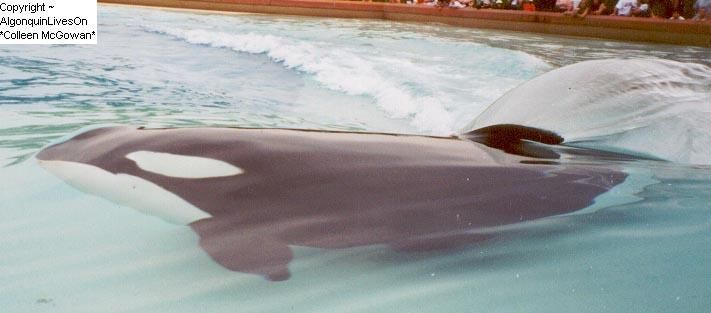
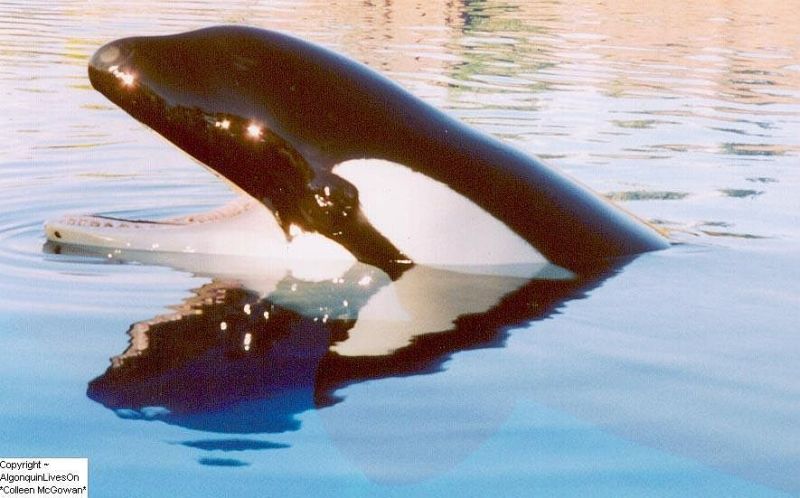
Photos provided by Colleen McGowan.
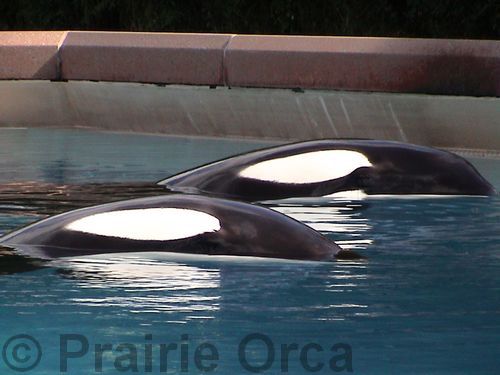
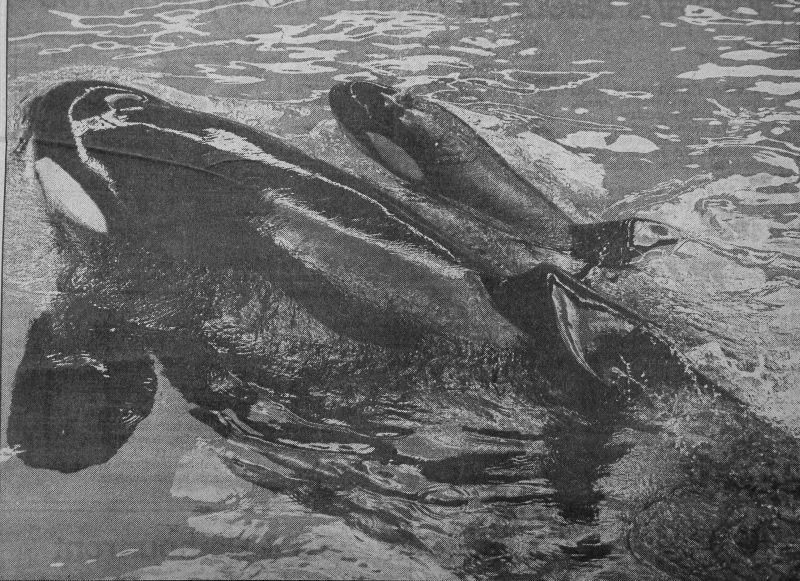
Kiska and Nootka 5
Photo provided by Prairie Orca.
Kiska and Nootka 5
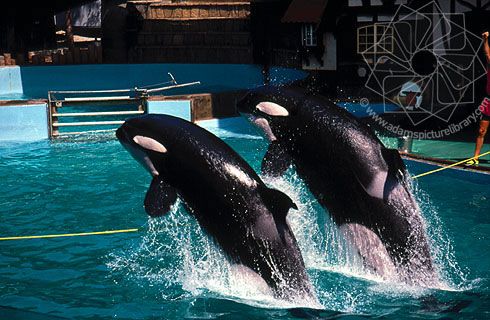
Photo provided by Kimmy Vengeance and Adam’s Picture Library.

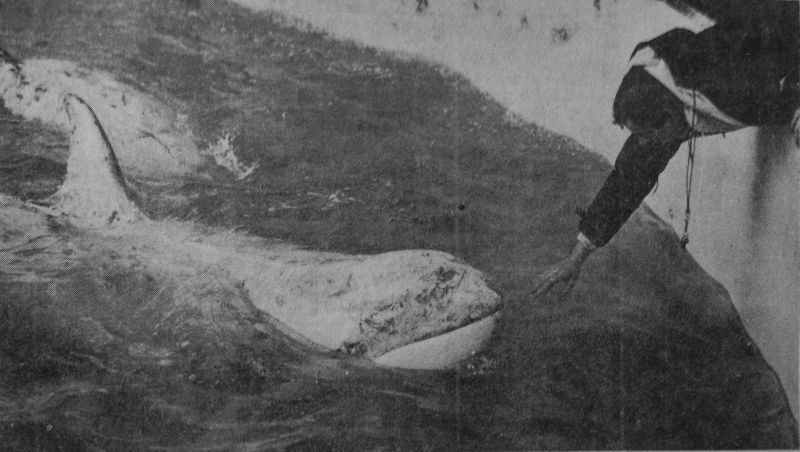
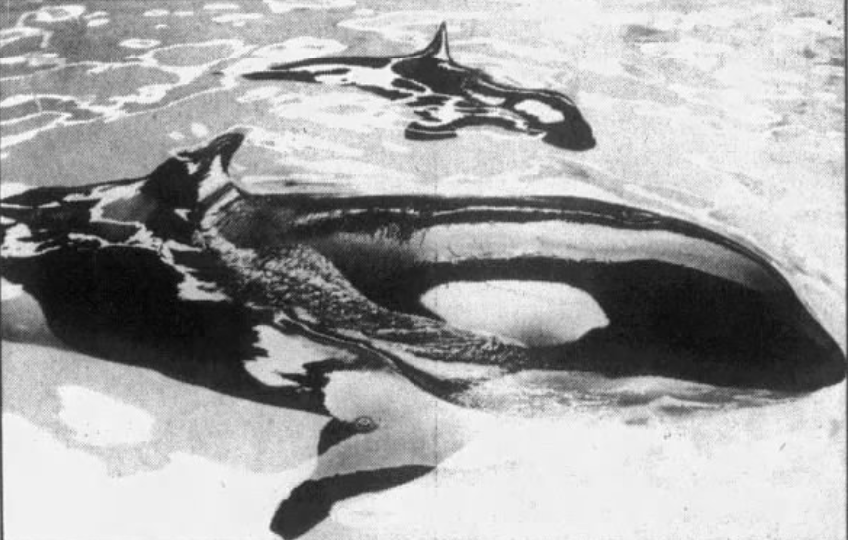
Nootka 5 and Kiska
Kiska and Nootka 5
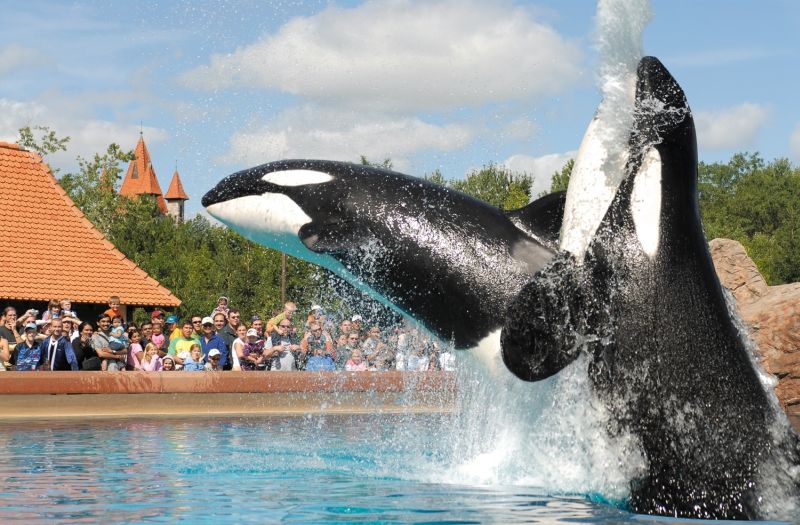
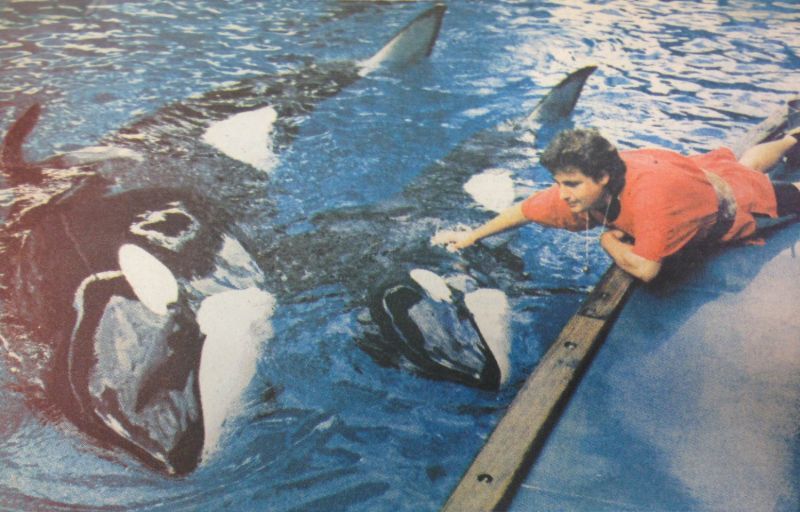
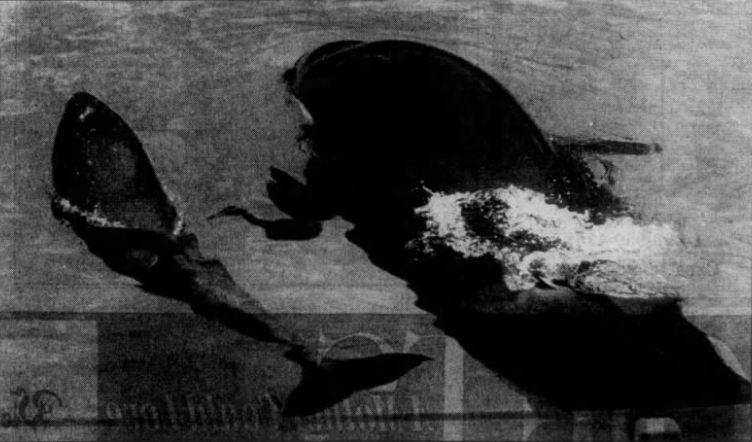
Nootka 5, Kiska and Kandu 7 (left to right)
Photos provided by Kimmy Vengeance.
Splash and Nootka 5
Photo provided by Mr. McBurney and Kimmy Vengeance.
Splash and Nootka 5
Photos provided by HaH.
Nootka 5 and Splash
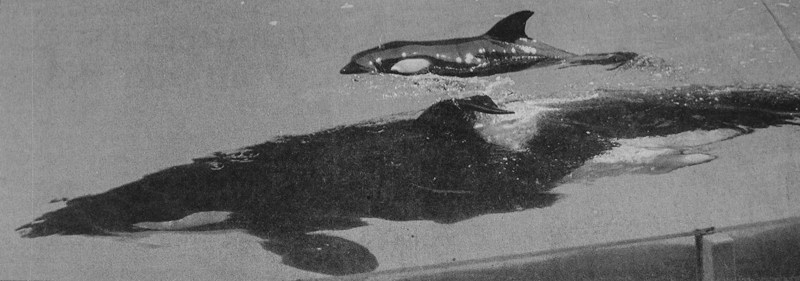
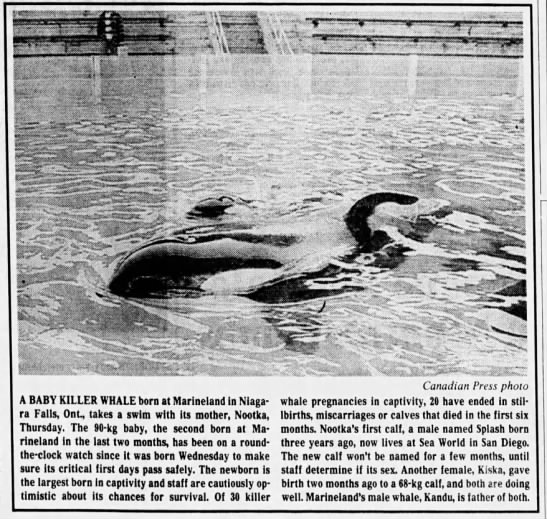
Nootka 5 and her calf of 1998

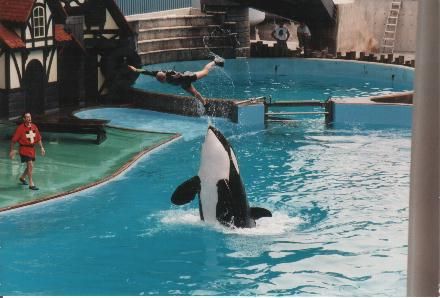
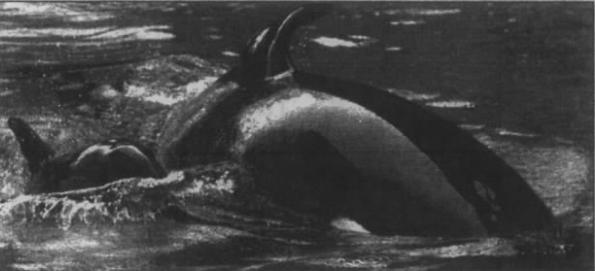
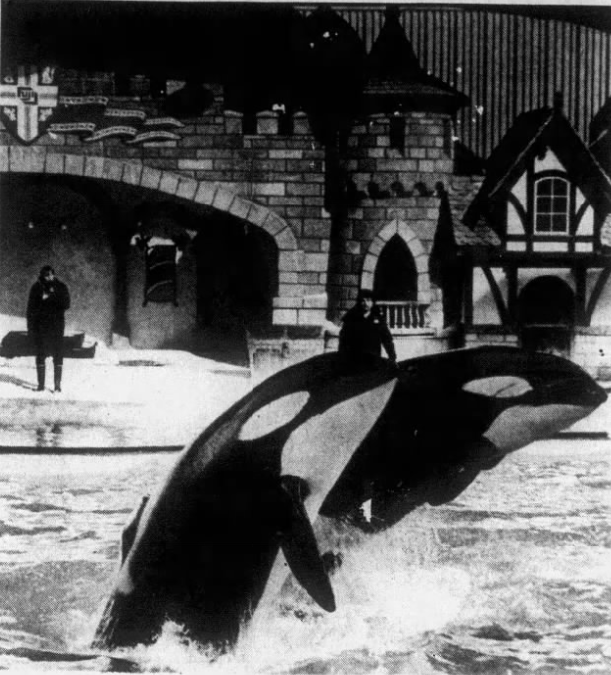
Kanduke and Nootka 5 (front to back)
Nootka 5 and Splash
Splash and Nootka 5
Nootka 5 and Splash
Nootka 5 and unnamed female at Marineland Ontario (front to back)
Photos provided by Marineland: In Depth.
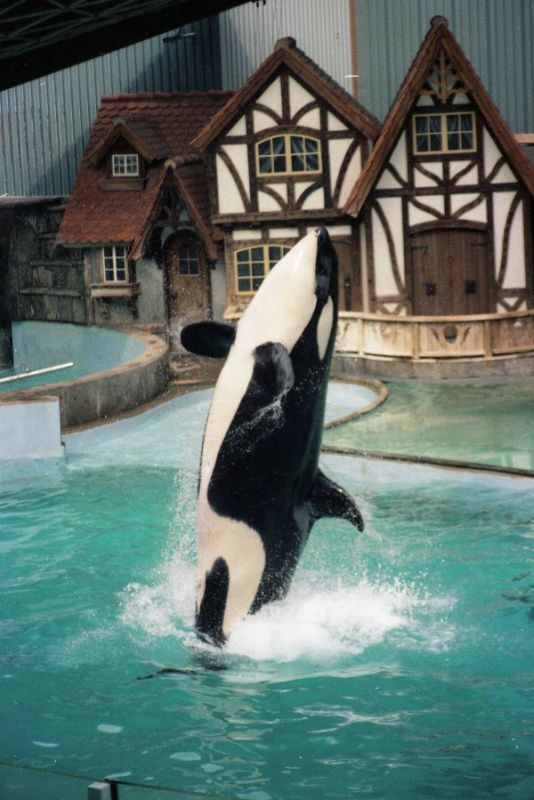
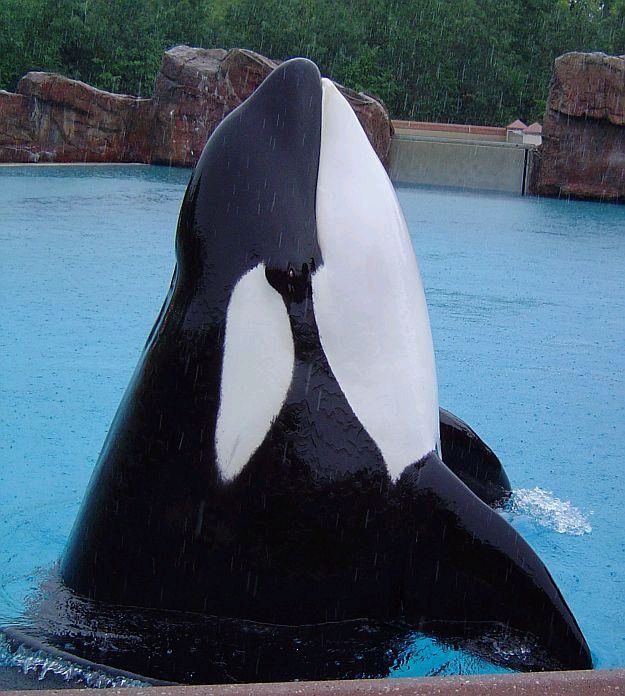
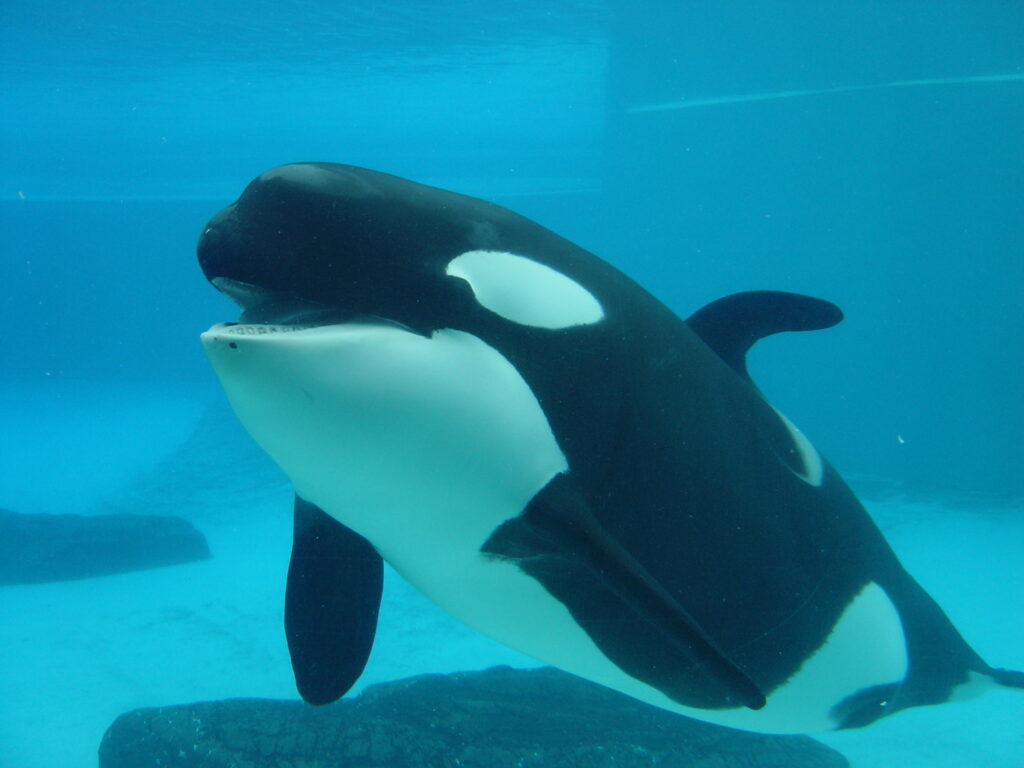
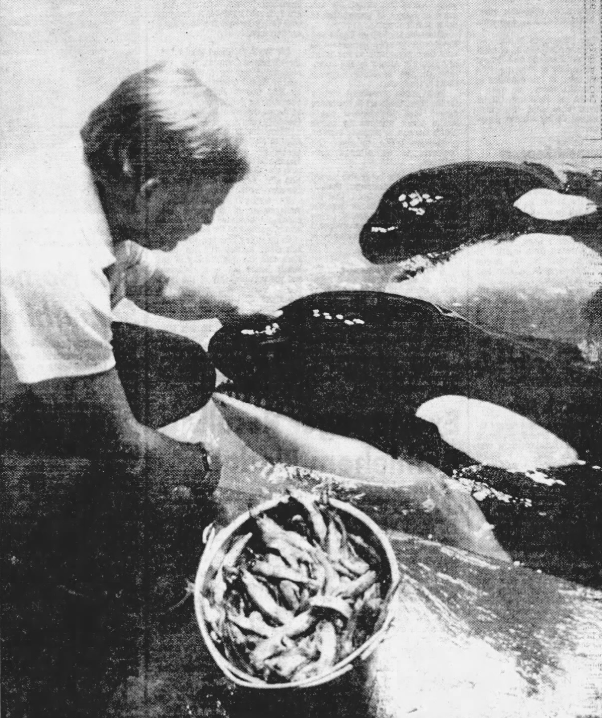
Young Nootka 5 (circa 1987)
Photo provided by Kerk Pomosa and Kimmy Vengeance.
Nootka 5 and Neocia
Photo by The Windsor Star (provided by Sara Farrell).
Photos provided by Katerina Studios.
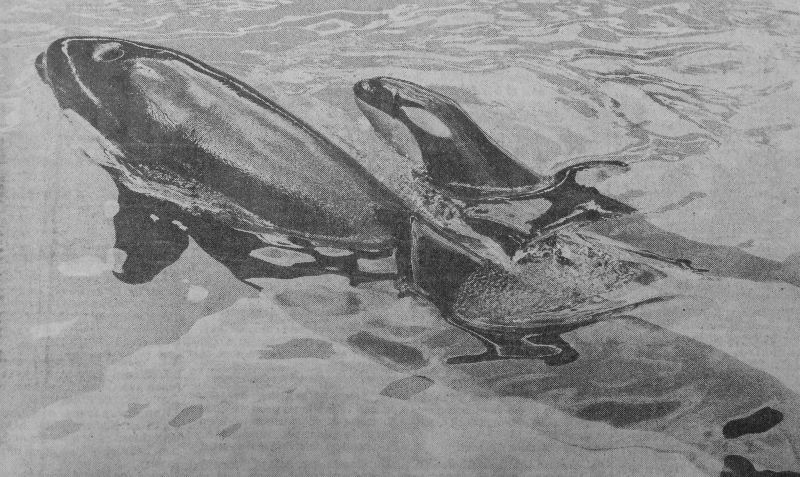
Nootka 5 and Splash
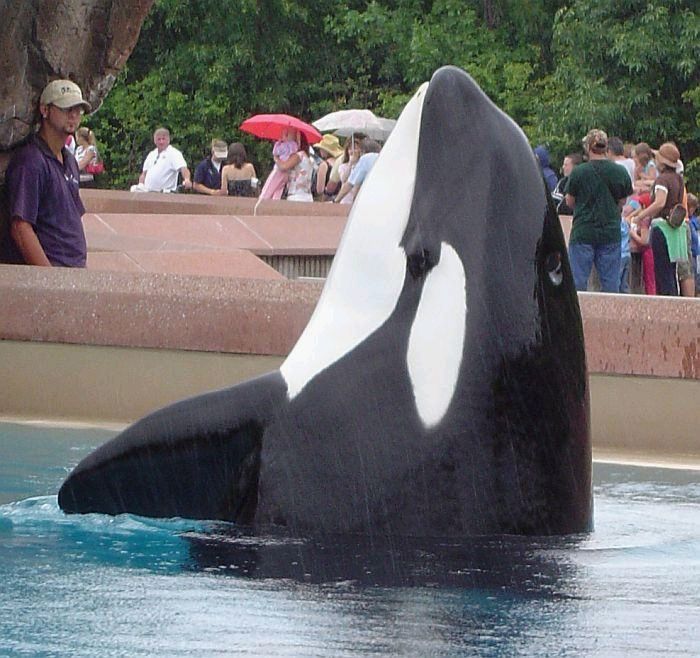
Photo by Marineland (provided by Sara Farrell)
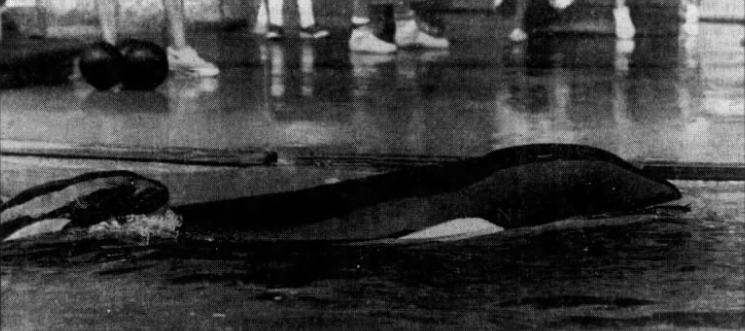
Nootka 5 (front) and Knootka
Nootka 5 and Splash

Nootka 5 and Splash
Nootka 5 and Splash
Kiska, Kiska’s 1992 Calf and Nootka 5
Malik and Nootka 5
Malik and Nootka 5
Splash and Nootka 5
Splash (top) and Nootka 5
Splash (top) and Nootka 5

Splash and Nootka 5
Nootka 5 and Splash (top)
Kandu 7 and Nootka 5

Nootka 5 and Splash
Photos provided by Sara Farrell