Disclaimer: These photos do not belong to the owner of this website but were kindly submitted by photographers. Some photos may be PR images produced by marine parks and aquariums. In all cases appropriate credit is given. Photos with multiple whales include identification which is listed from left to right (according to eye patch) unless stated otherwise.
You may repost these photos as long as you credit the photographer and refer back to this website.
Please contact me at inherentlywild@gmail.com if you wish to add to this gallery.
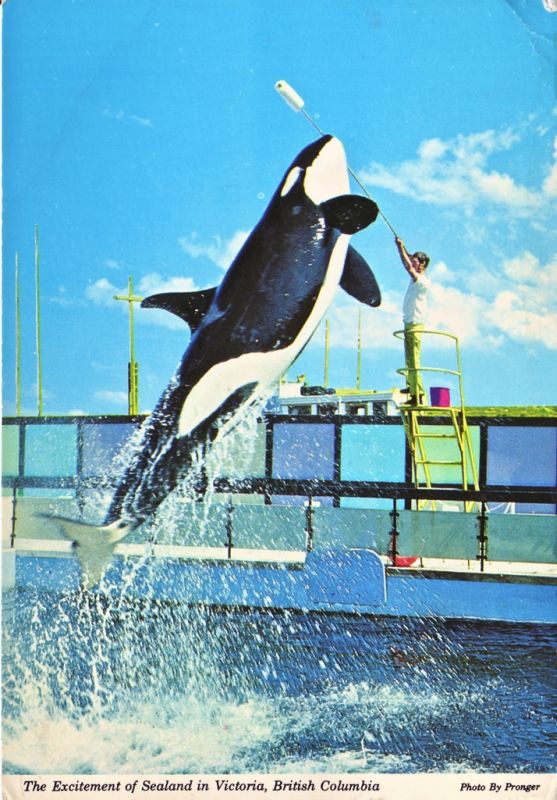

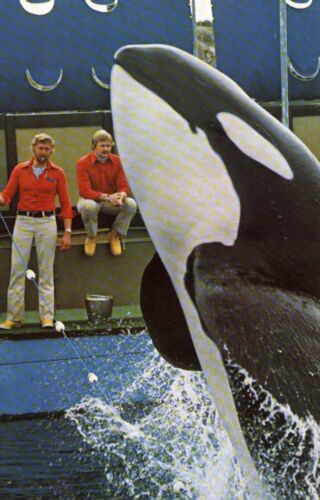
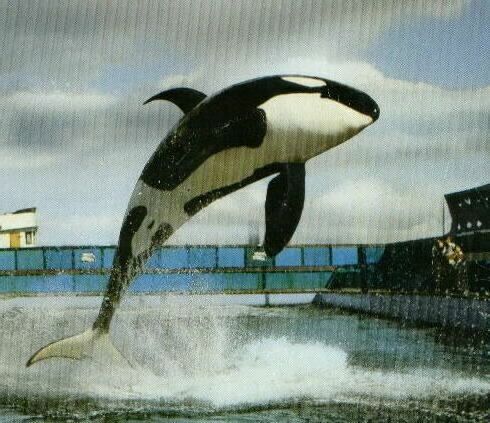
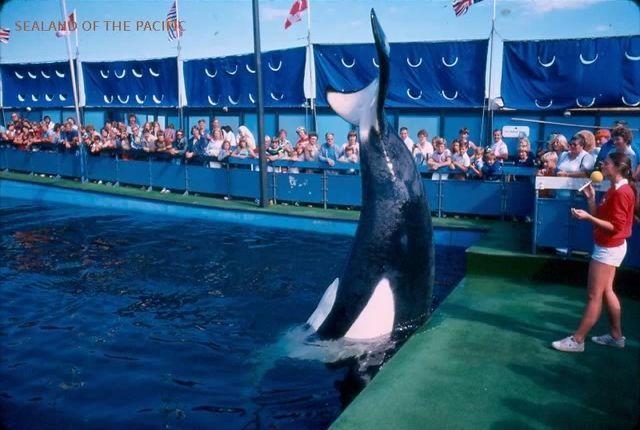
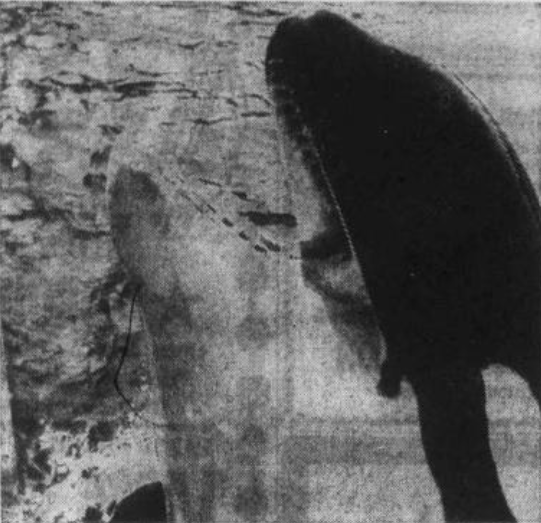
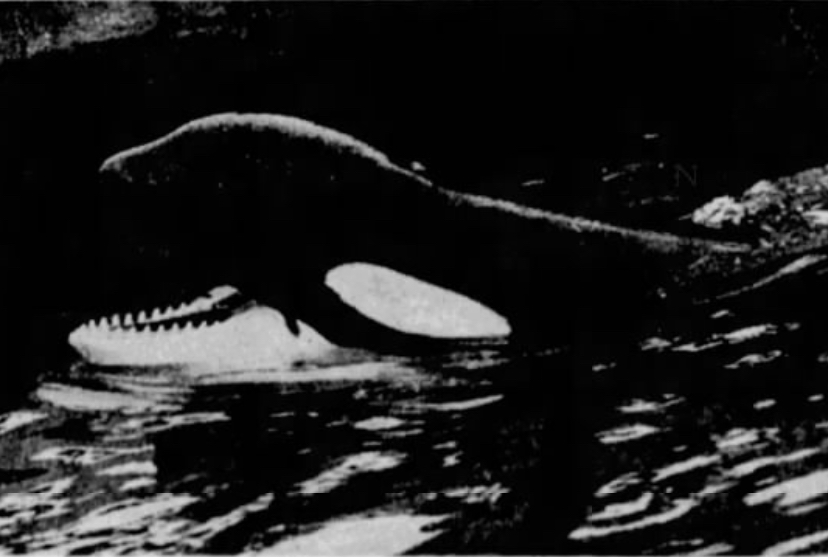
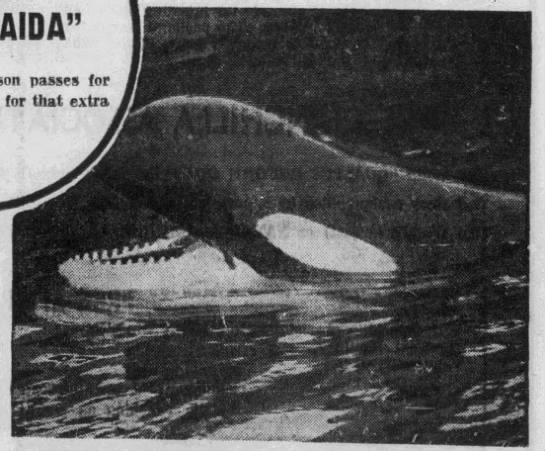
Chimo and Haida
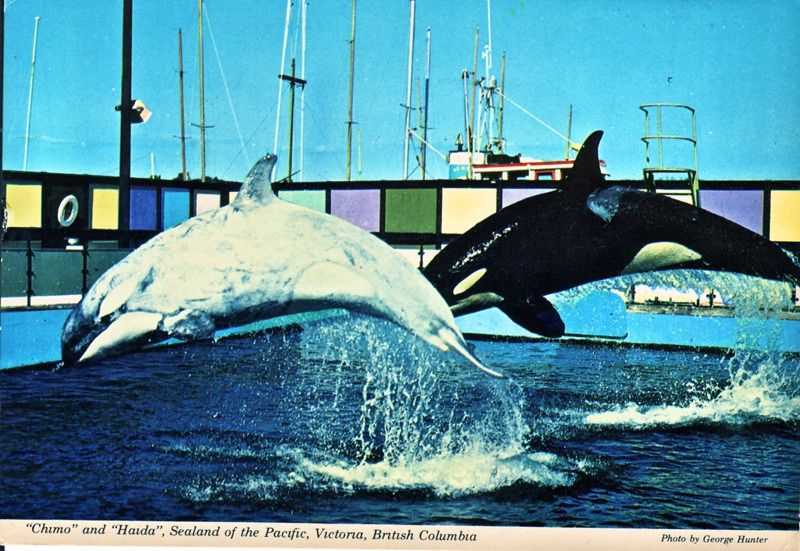
Chimo and Haida
Photos provided by Valentin666.

Photos provided by Bas Wassink.
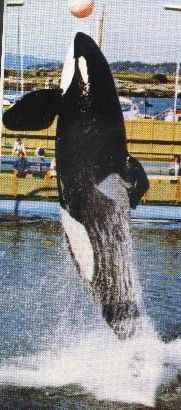
Photo provided by Rachel Cali.
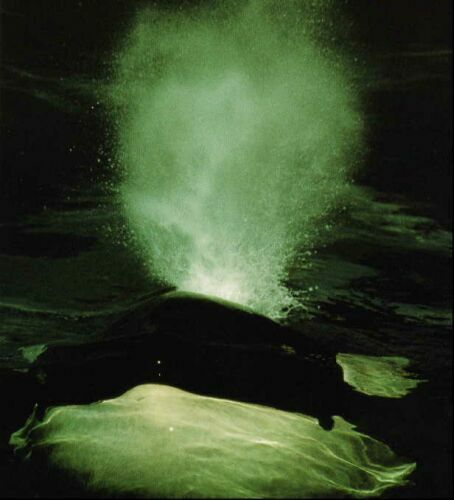
Photos provided by Laurie Néron.

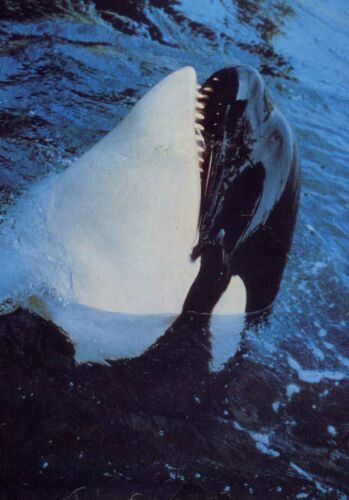
Photos provided by KE Wiley.
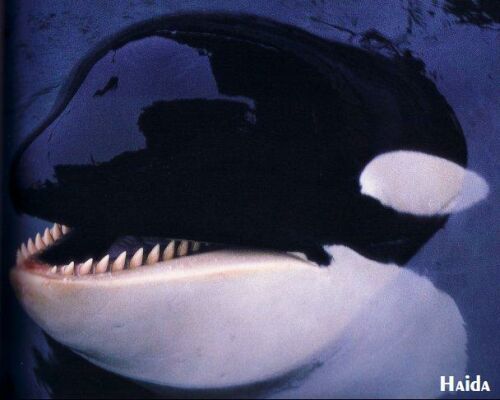
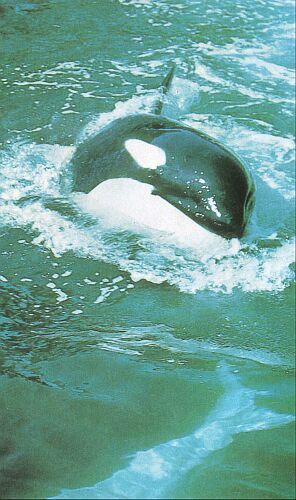
Photo provided by Rebecca Partridge.
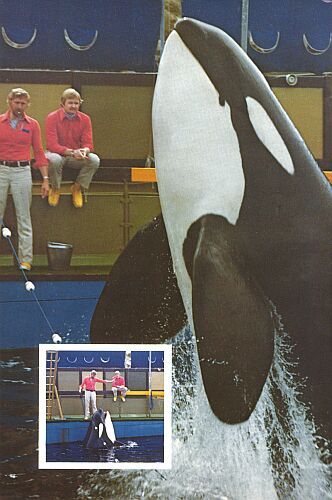
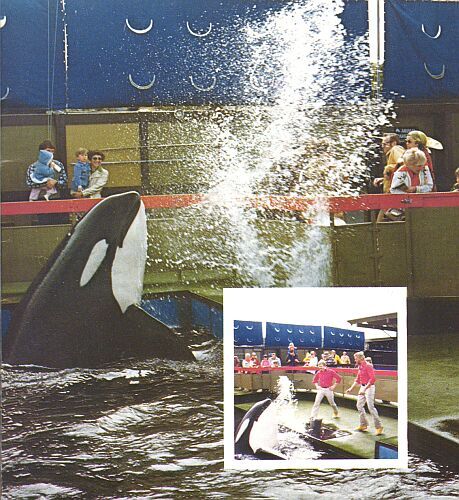
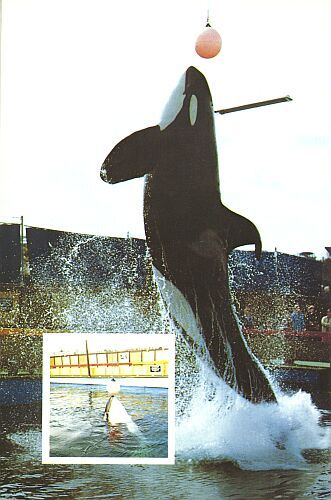
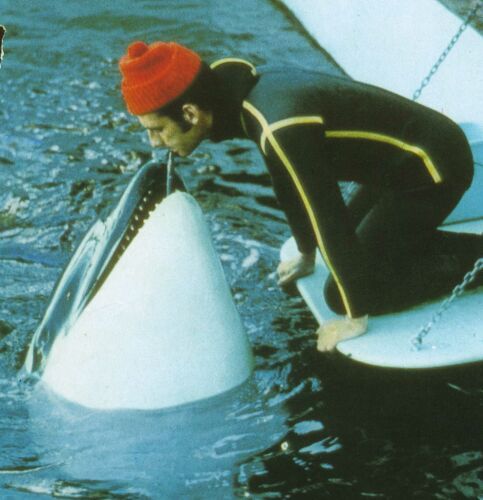
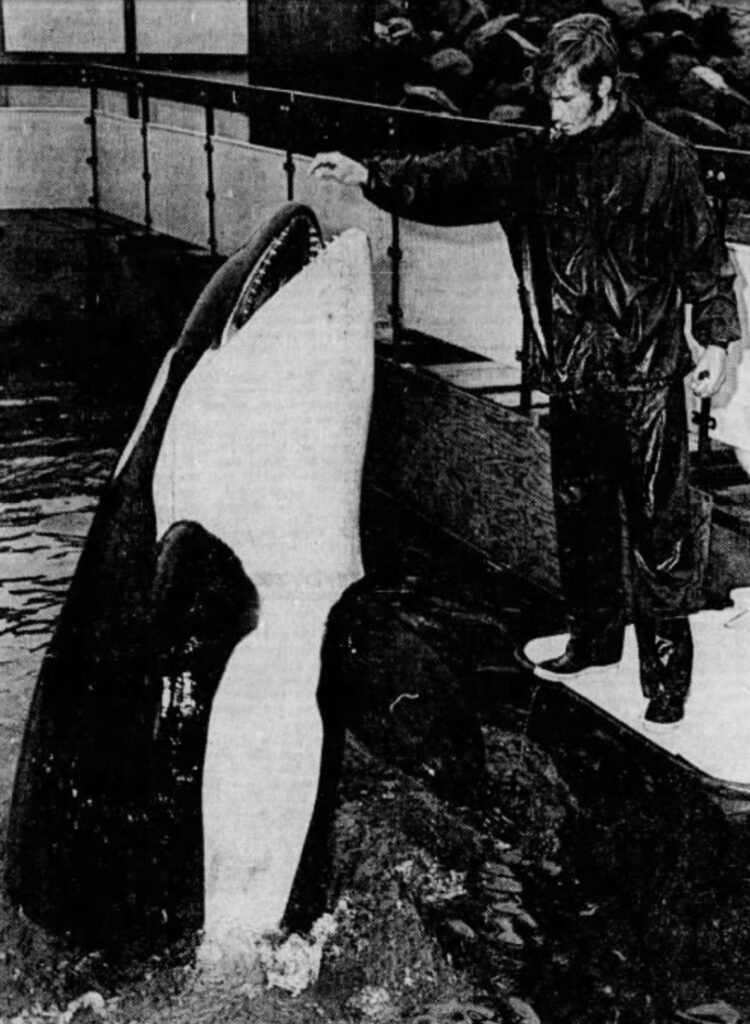
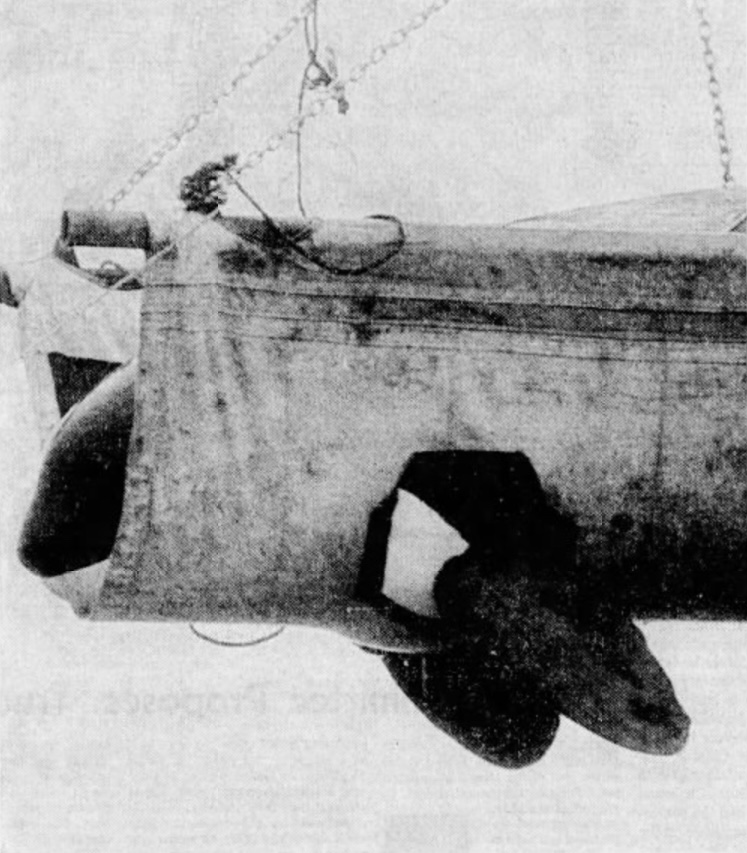
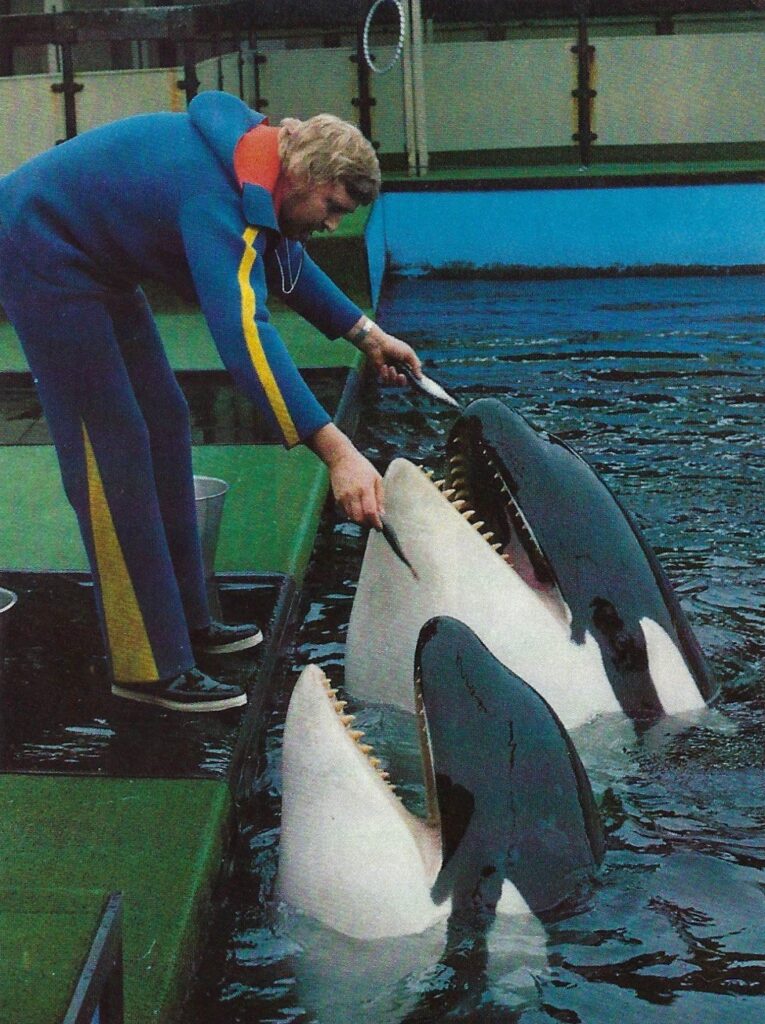
Photos from the booklet “The Training & Care Of A Killer Whale” by Cees Schrage.
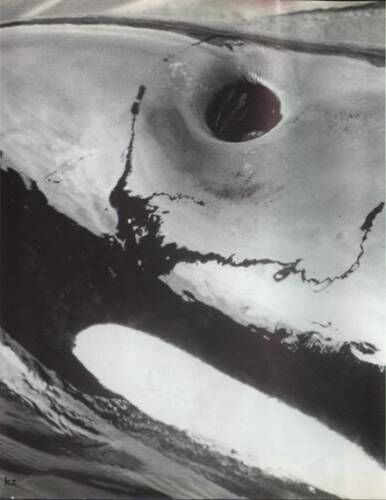
Photo provided by Kim Zerbe.
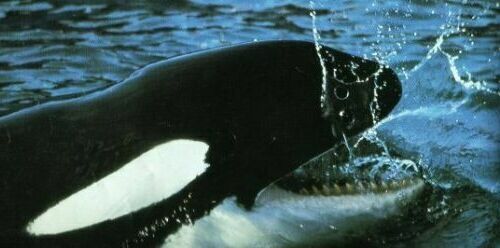
Photo provided by Rebecca Partridge.
Photos provided by OrcaArtist.
Photos provided by Valérie Meyer.
Photos provided by Blackmoon2101.
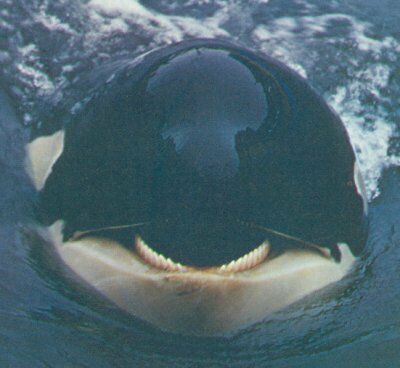
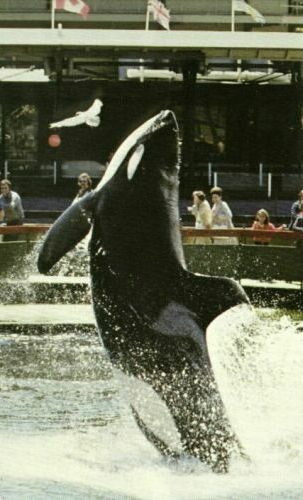
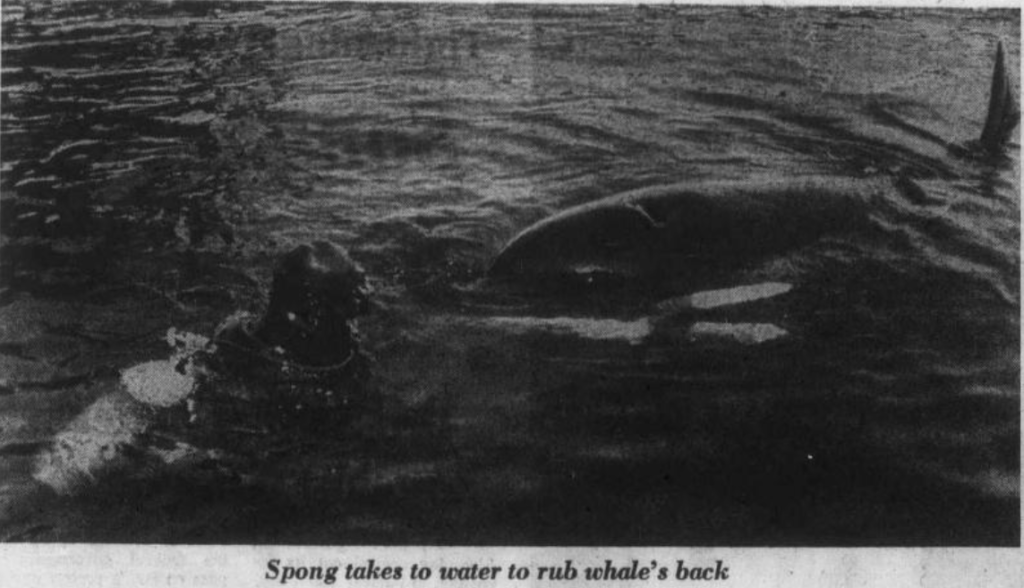
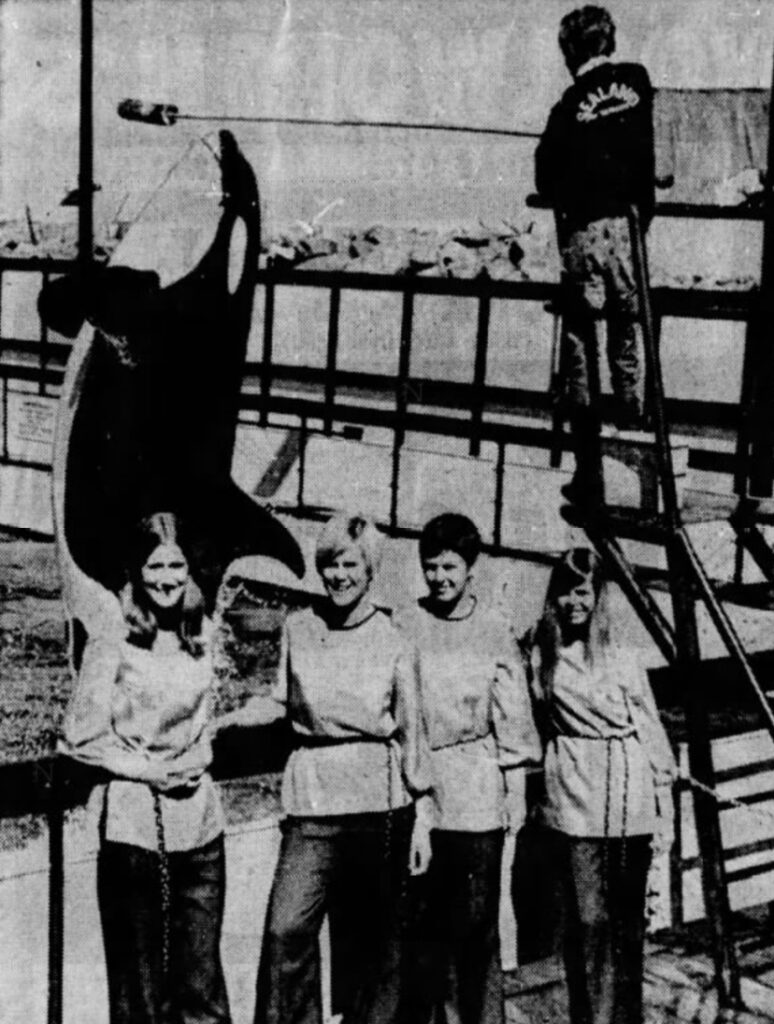
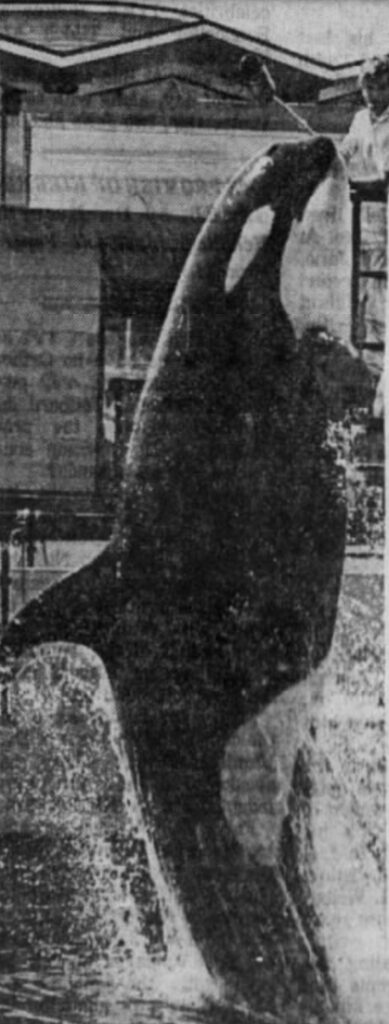
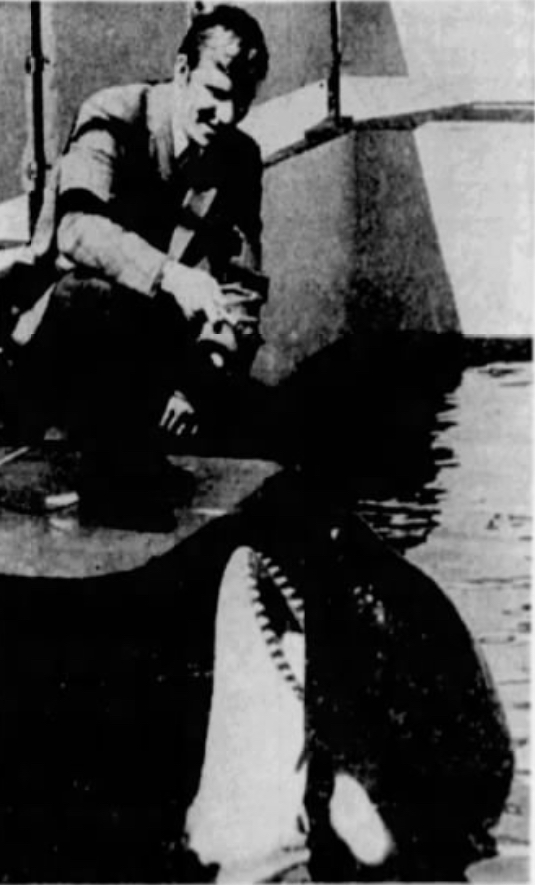
Haida and Chimo with Paul Spong
Photo provided by Remedy.
Photo provided by Babyorca2005.
Photos provided by Benowen.
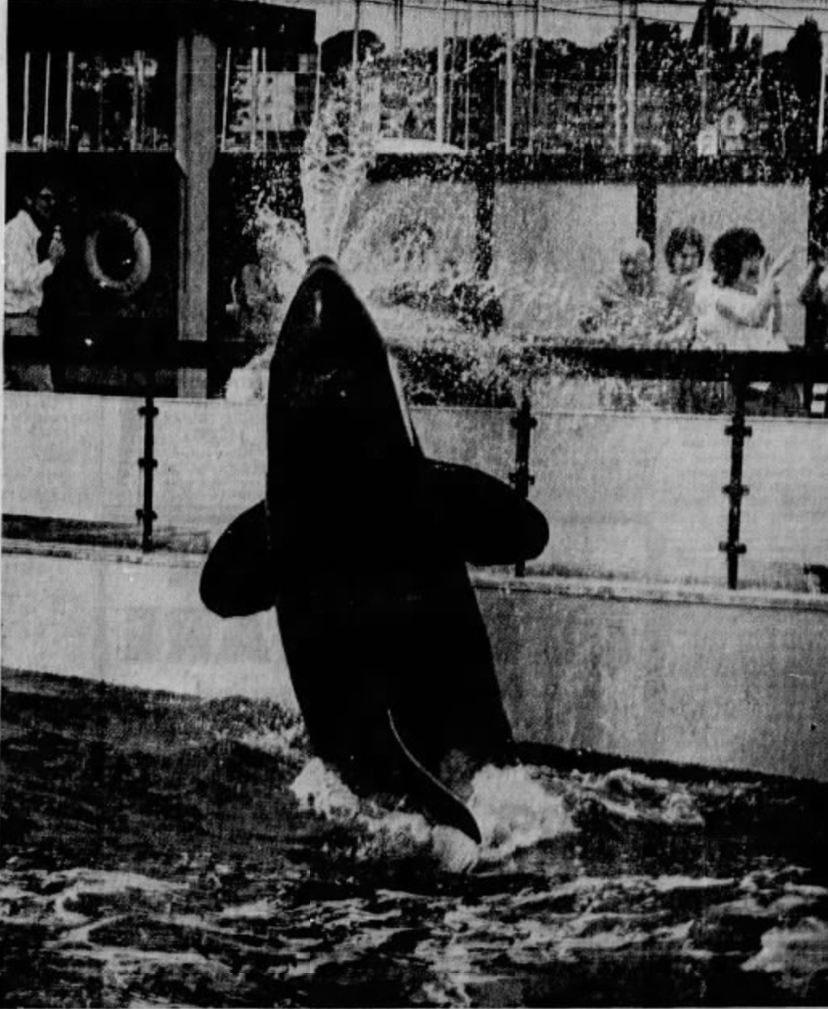
Photos provided by wburris (c. 1981).
Photo provided by Jovana Ivastanin.
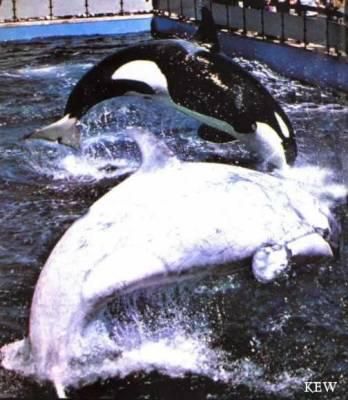
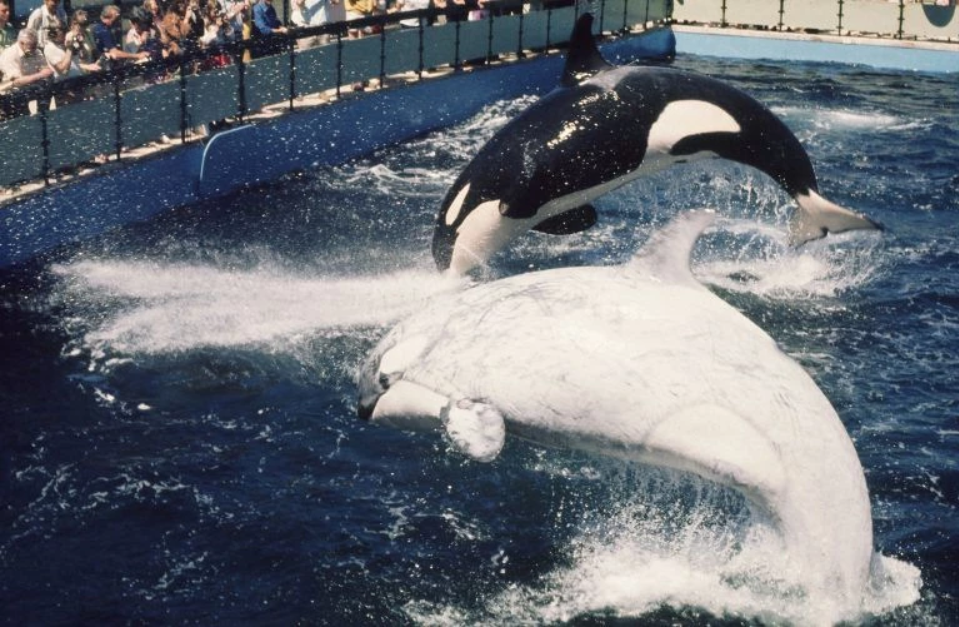
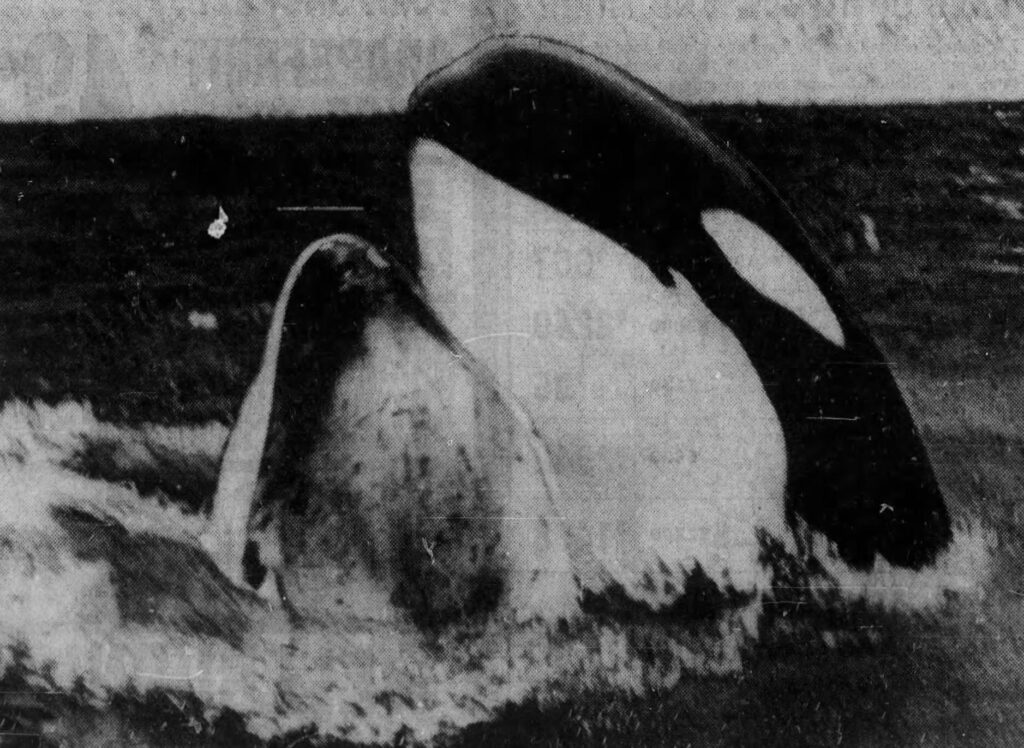
Chimo and Haida (front to back)
Photo provided by KE Wiley and Kimmy Vengeance.
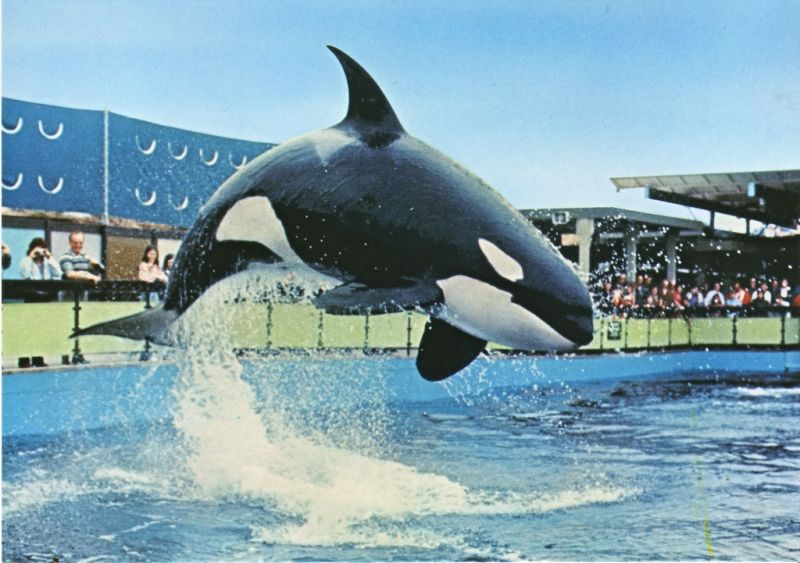
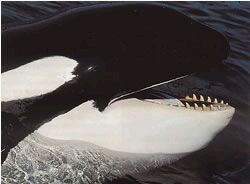
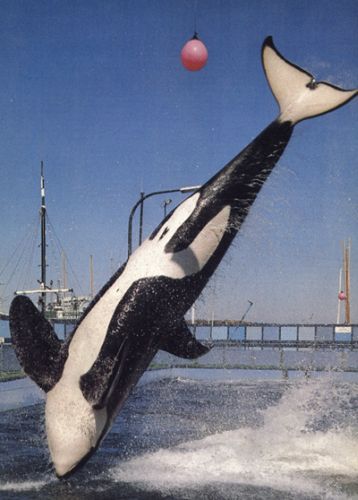
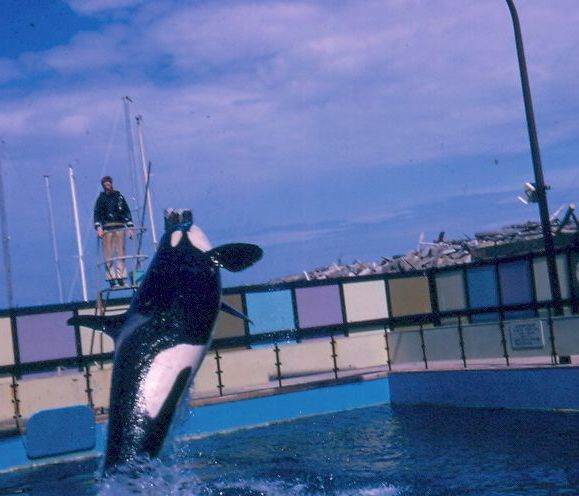
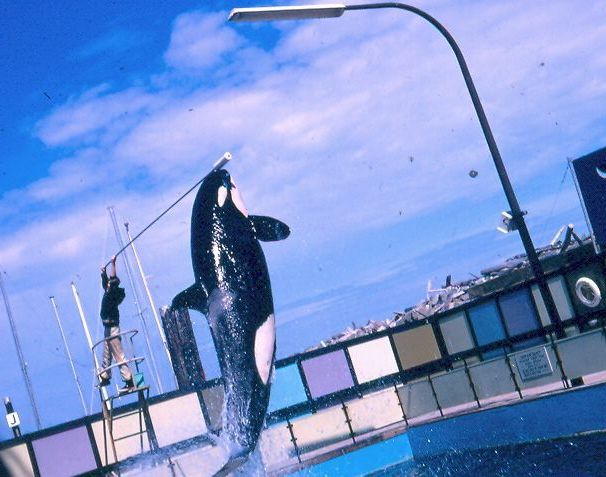
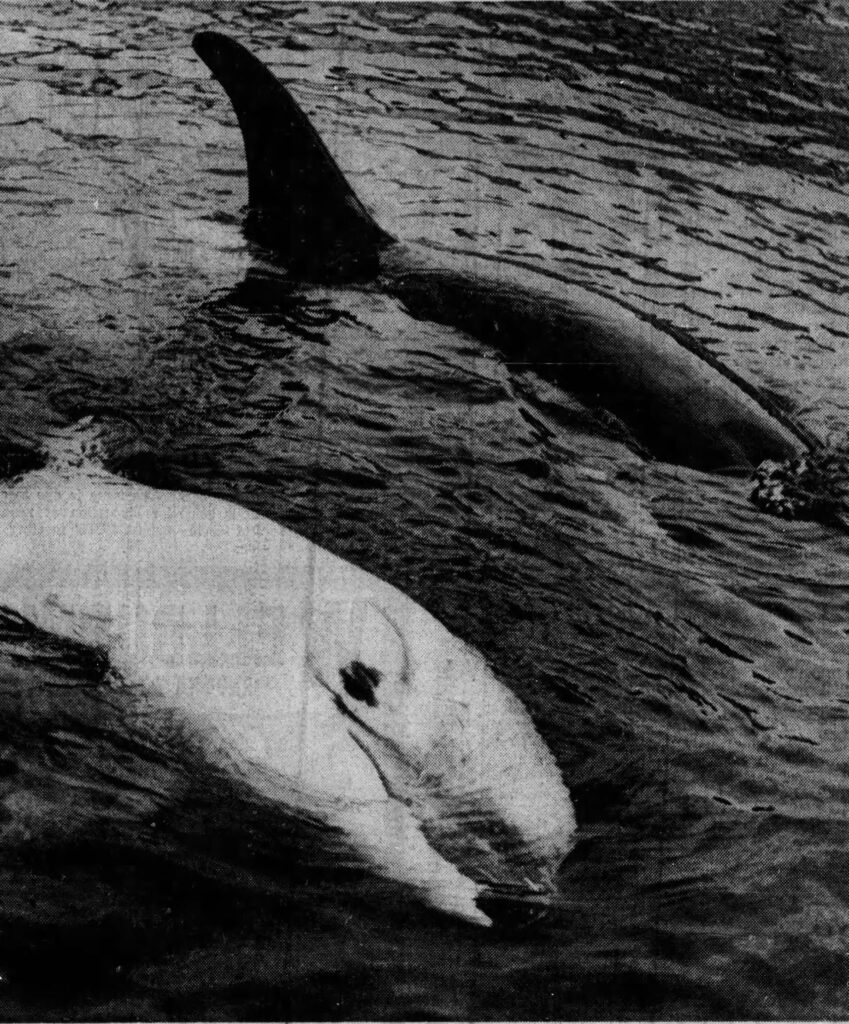
Haida and Chimo
Photo provided by Jovana Ivastanin.
Photo provided by Kimmy Vengeance and Leon Winer.
Photo by Bill Wolferstan from his book “Cruising Guide to British Columbia Vol 1 – Gulf Islands and Vancouver Island from Sooke to Courtenay”.
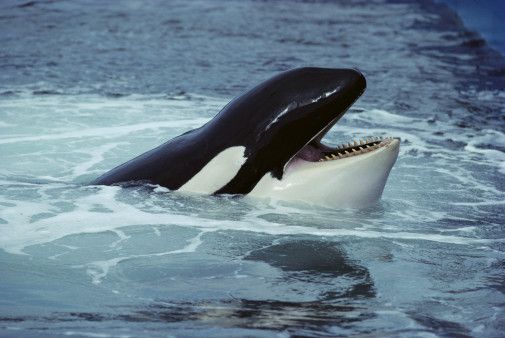
Photo provided by Kimmy Vengeance.
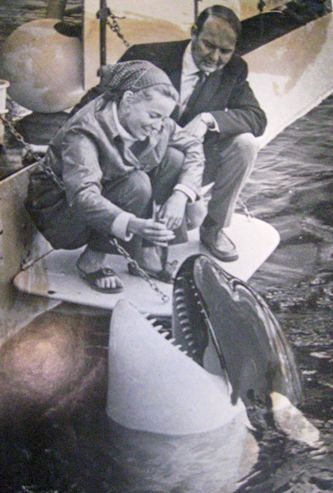
Photo provided by Kimmy Vengeance and Oak Bay Marina Group.
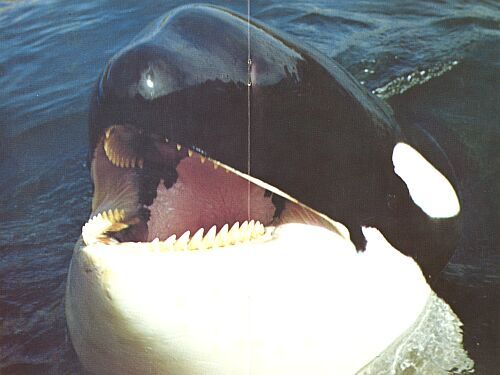
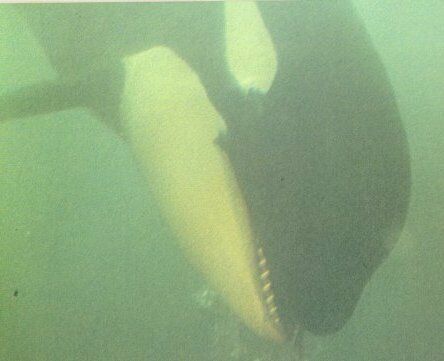
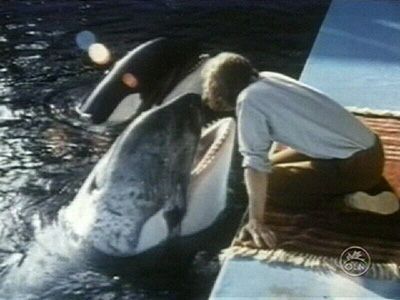
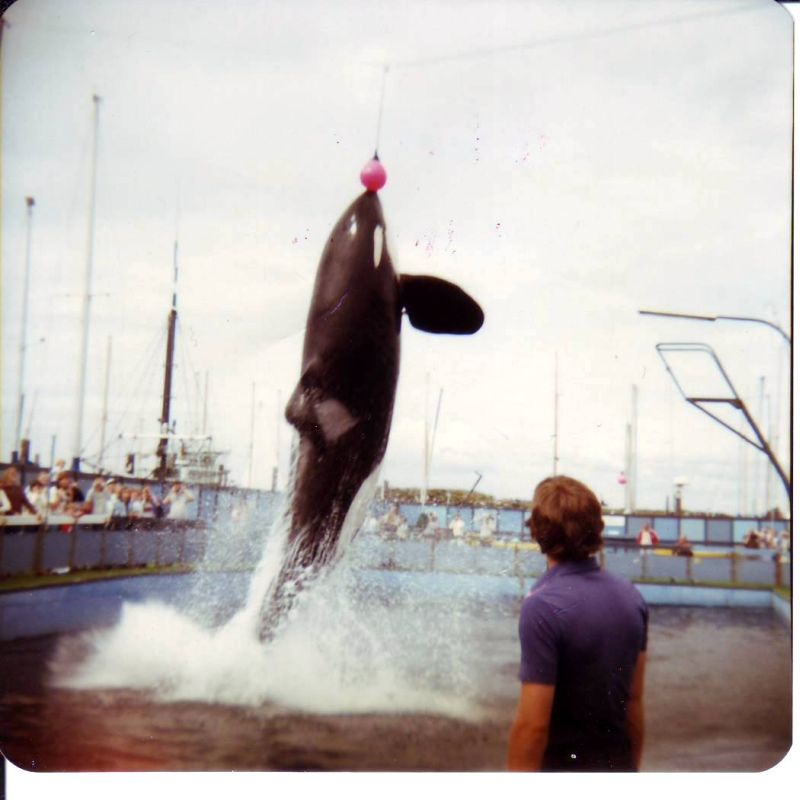
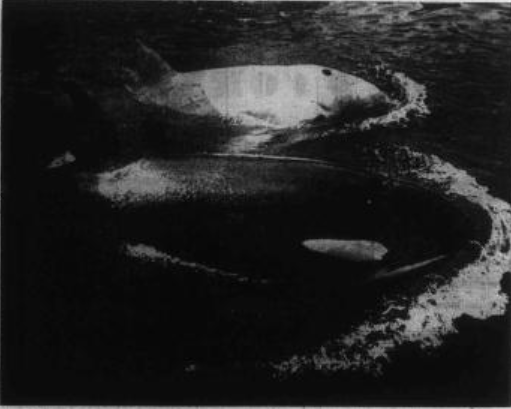
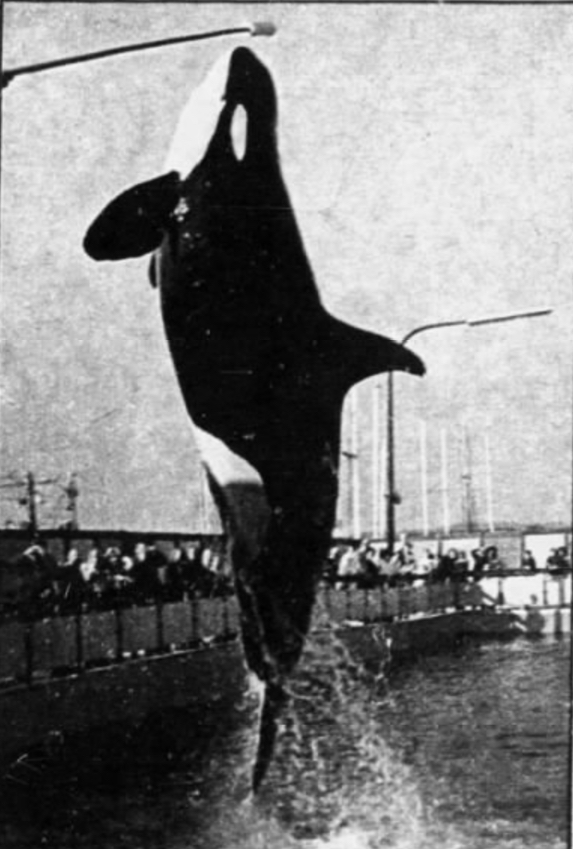
Haida and Chimo
Photos provided by HaH.
Chimo and Haida
Photo by Jason Colby, provided by Sara Farrell.
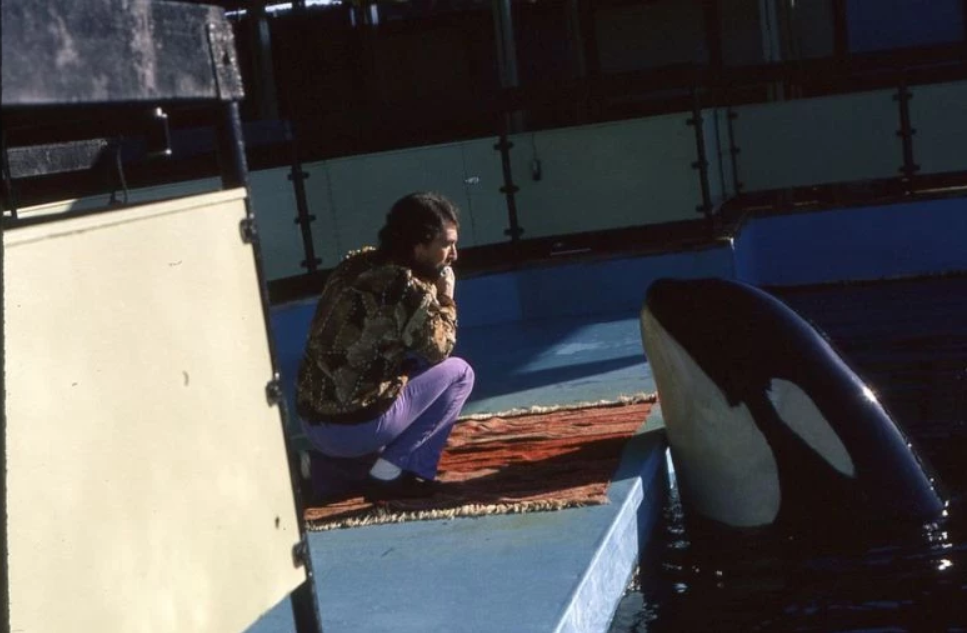
Photo by Mark Perry from the book “Orca – How We Came to Know and Love the Ocean’s Greatest Predator” by Jason M. Colby, provided by Kimmy Vengeance.
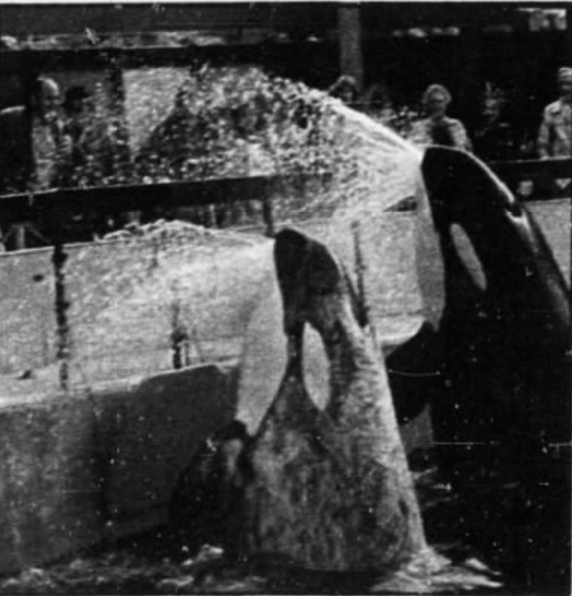
Chimo and Haida
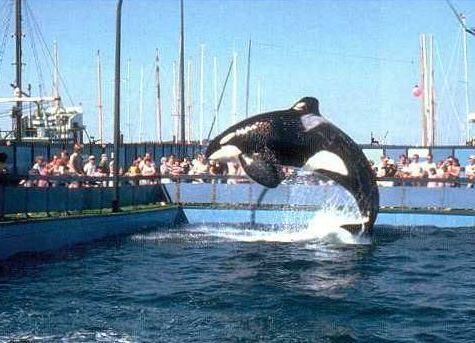
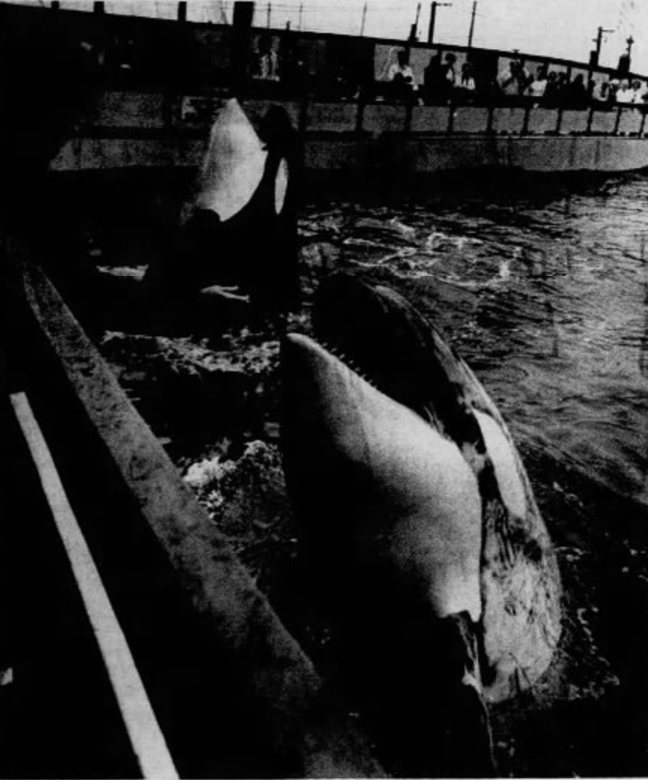
Chimo and Haida
Photos provided by Ocean Echoes.
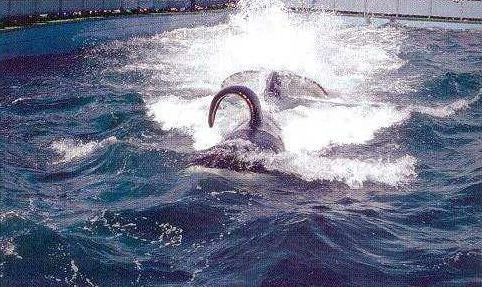
Haida and Chimo (front to back)
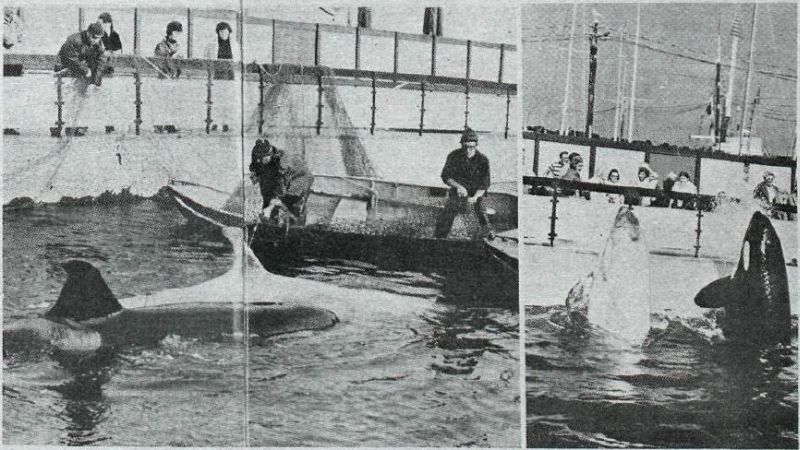
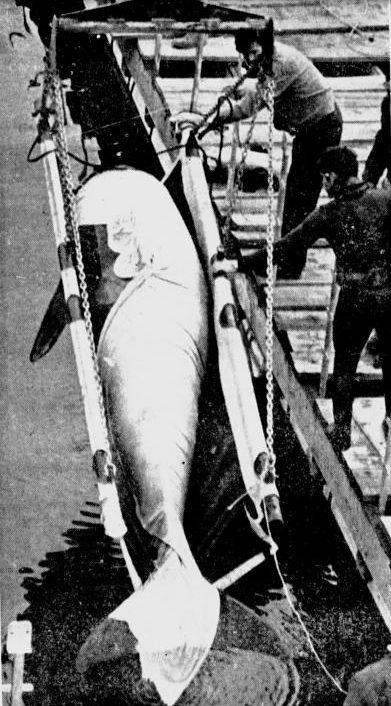
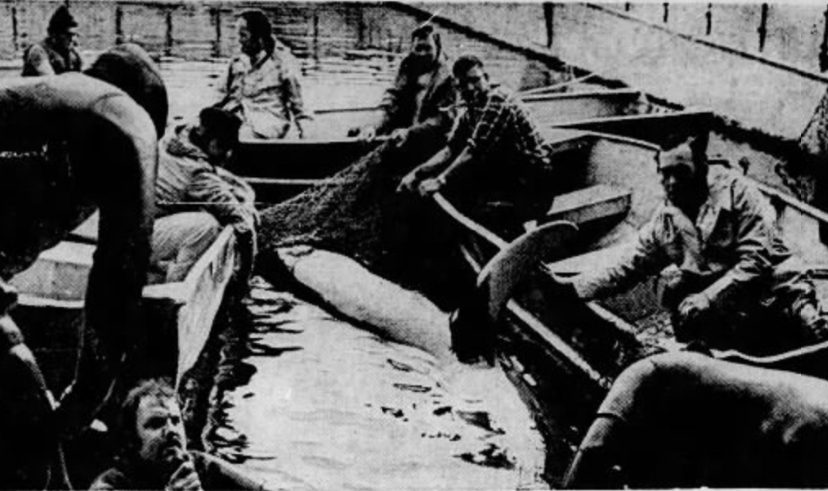
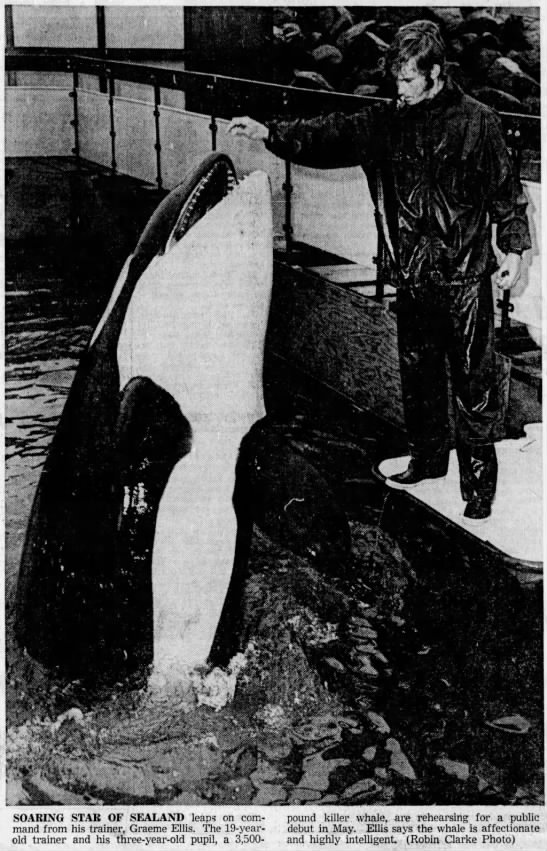
Photos by The British Colonist (provided by Sara Farrell).
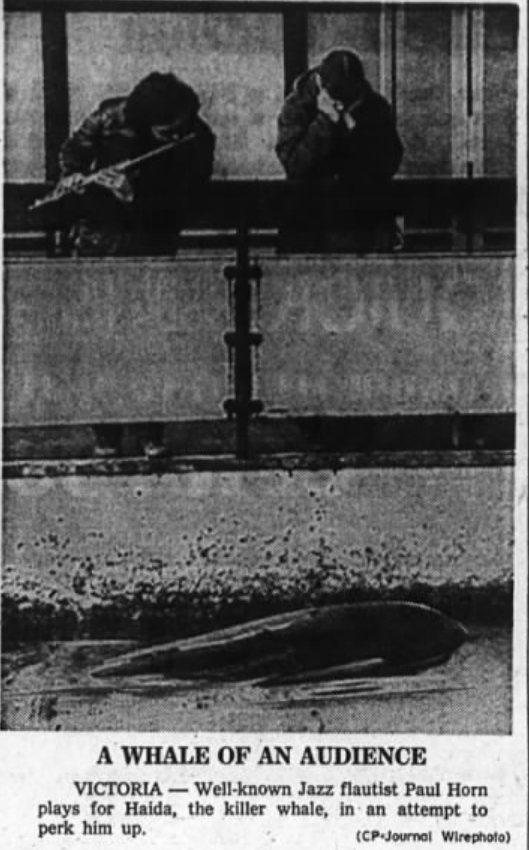
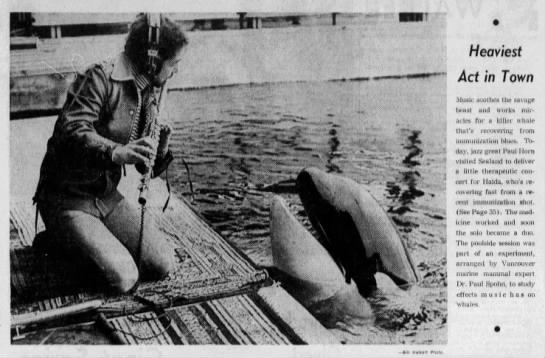
Photo by The Ottawa Journal (provided by Sara Farrell).
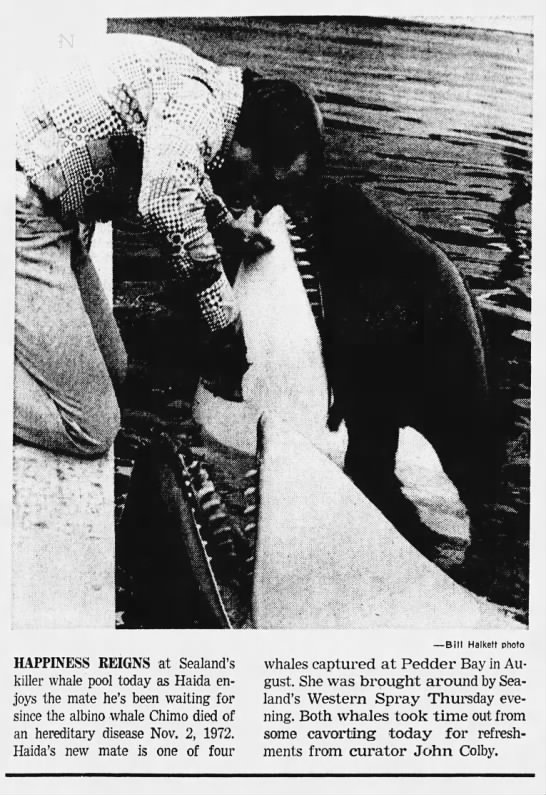
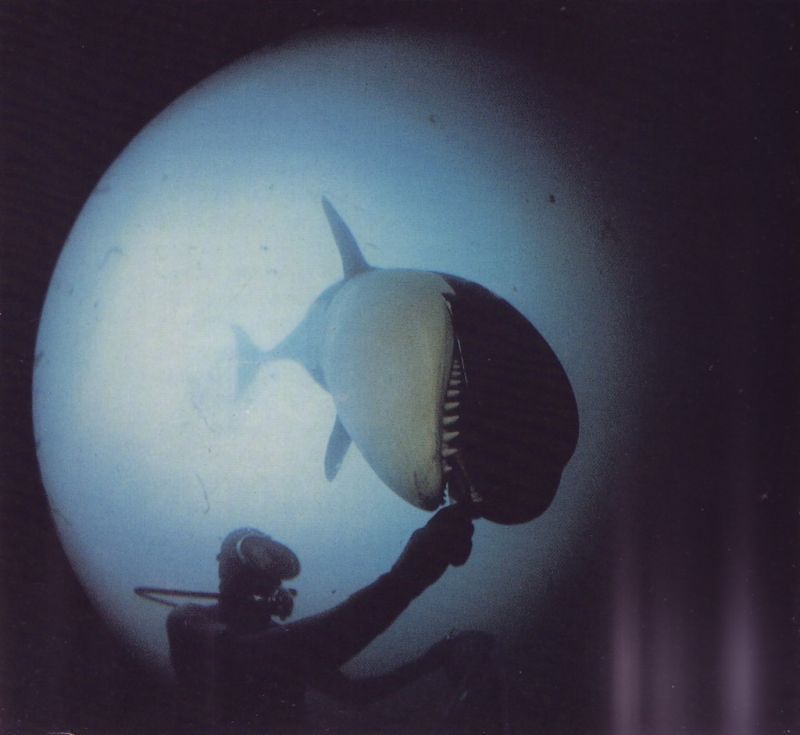
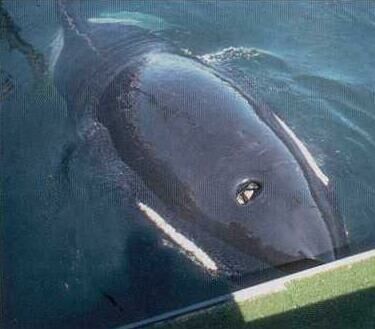
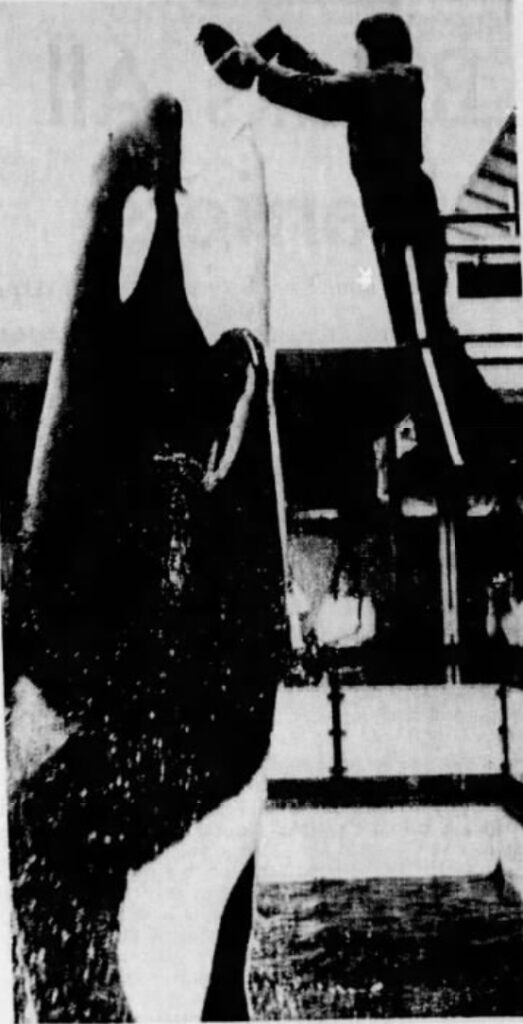
Nootka 2 and Haida (front to back)
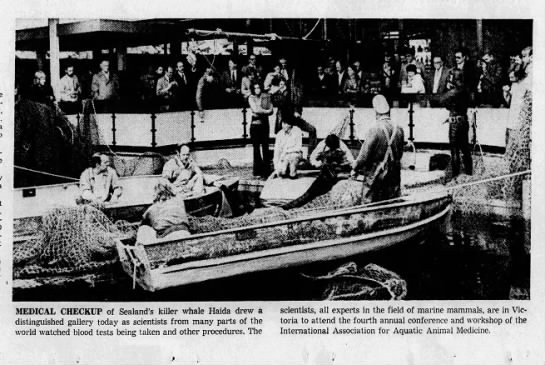
Photo by The Times Colonist (provided by Sara Farrell).
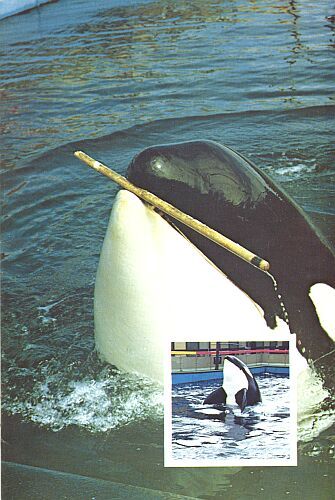
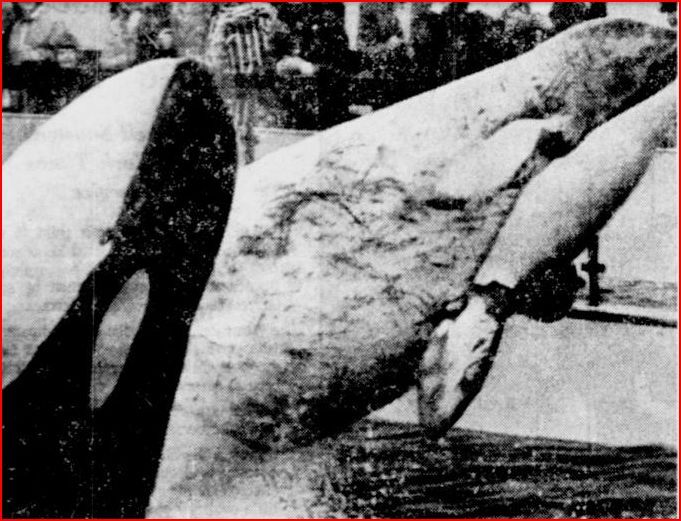
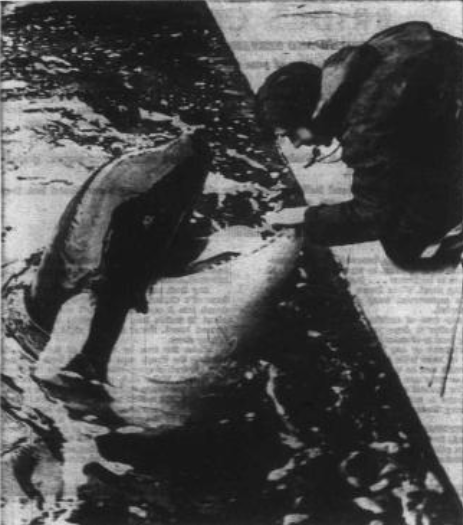
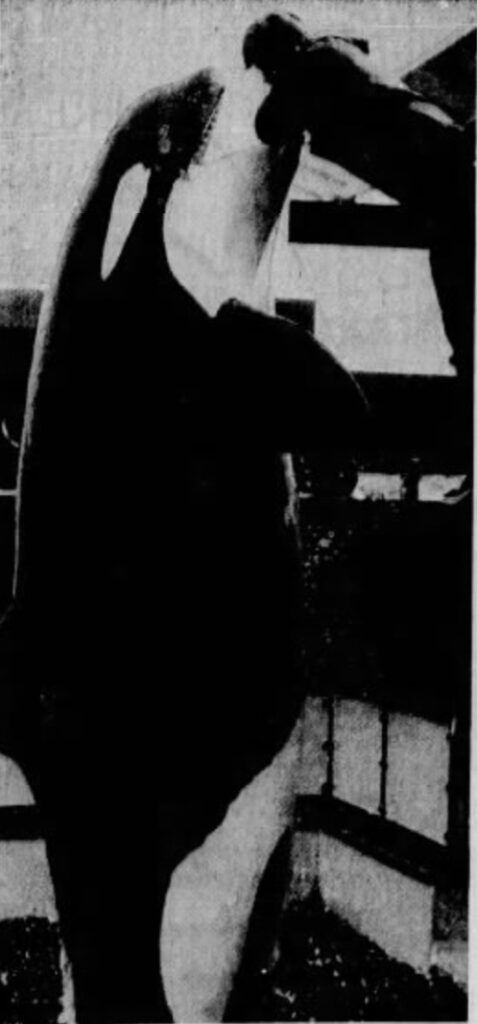
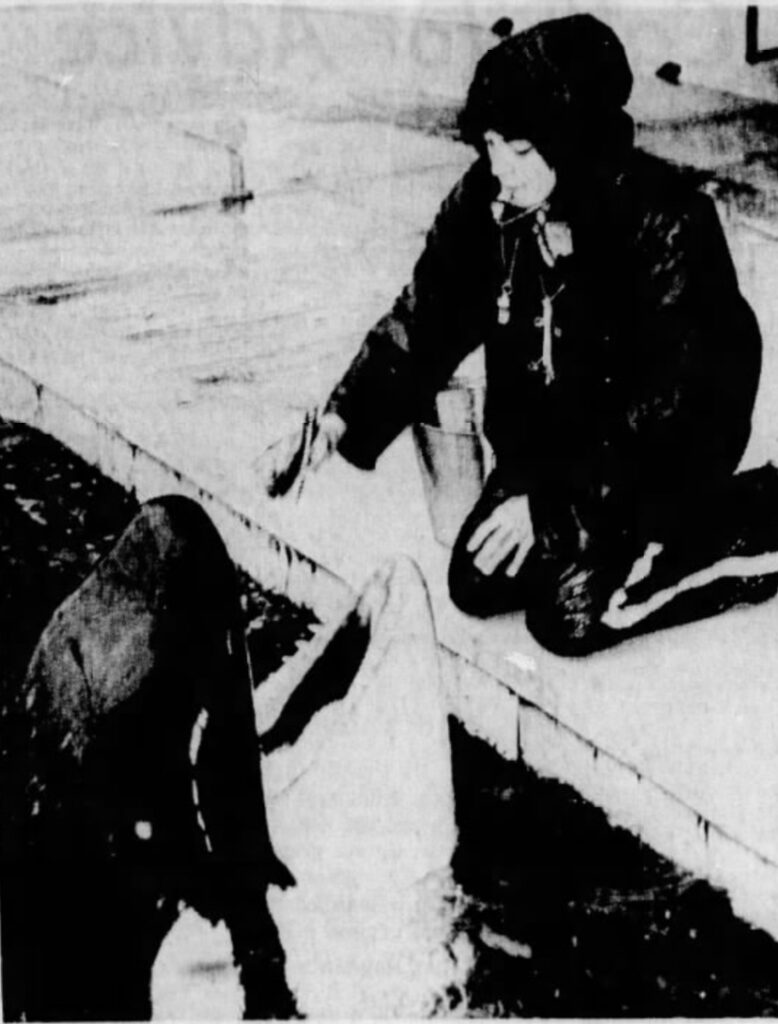
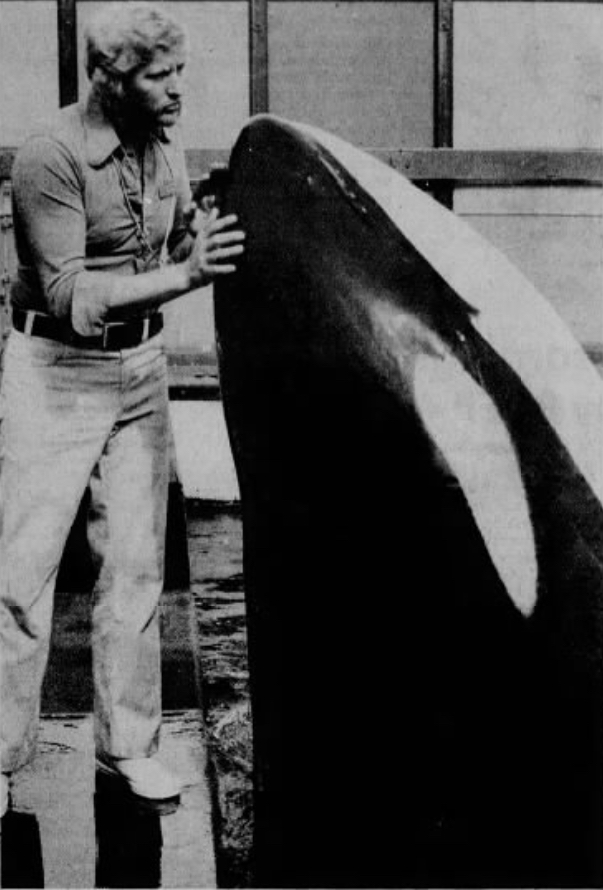
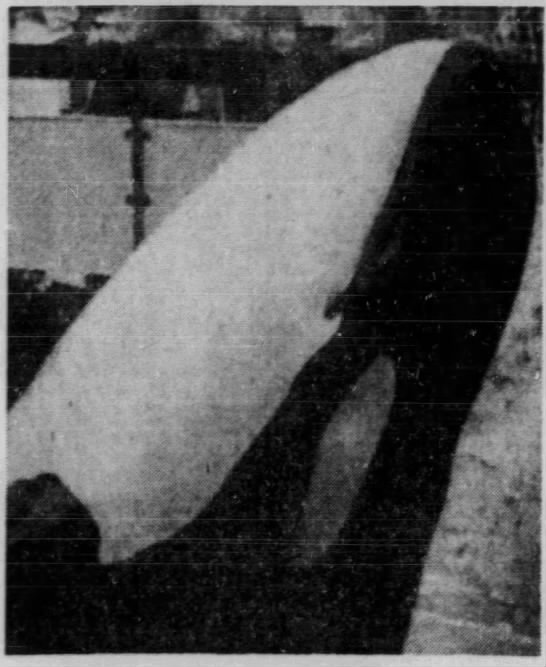
Haida getting fitted for a tracker prototype.
Photo provided by Sara Farrell.
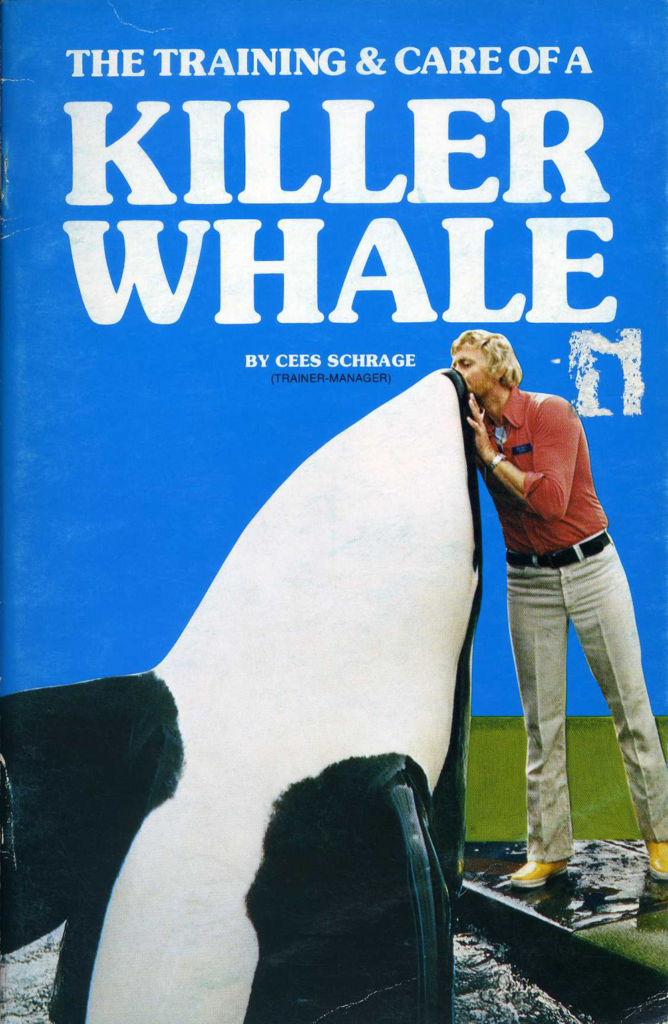
Photo provided by Sara Farrell
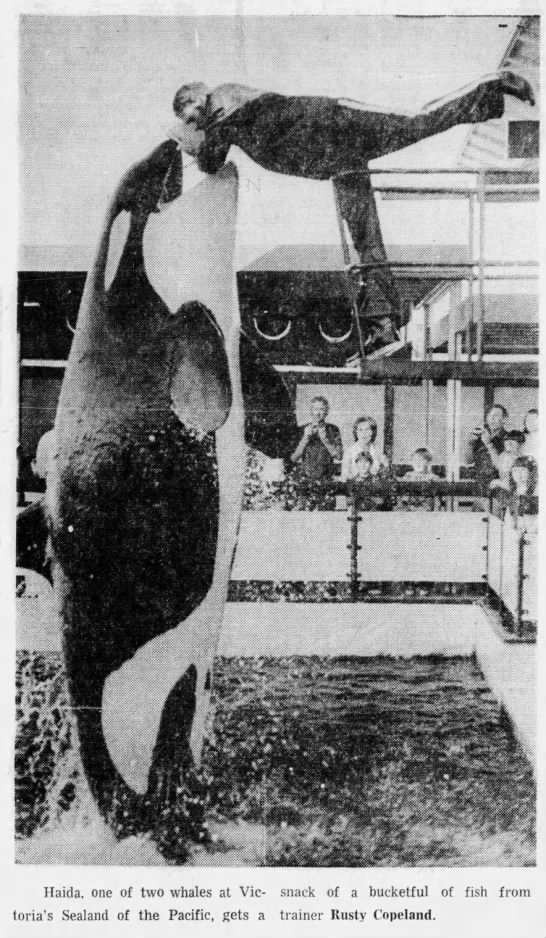
Photos from Times-Colonist (provided by Sara Farrell)
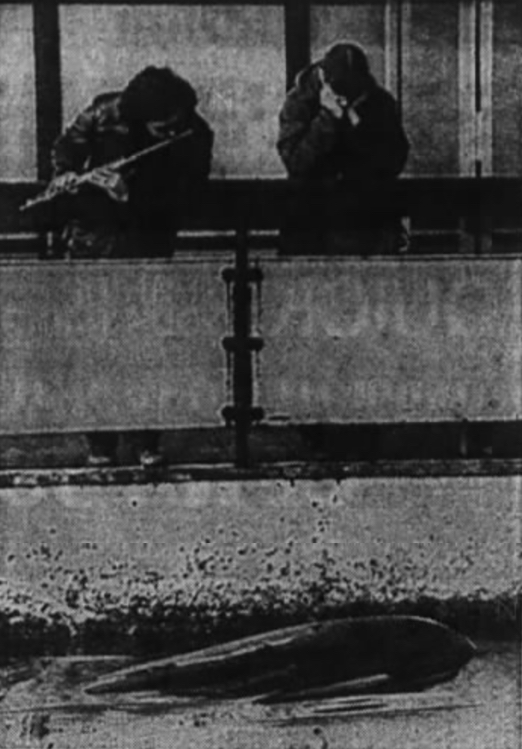
Photo provided by Sara Farrell.

Haida and Chimo (front to back)
Chimo and Haida (front to back)
Chimo and Haida (front to back)
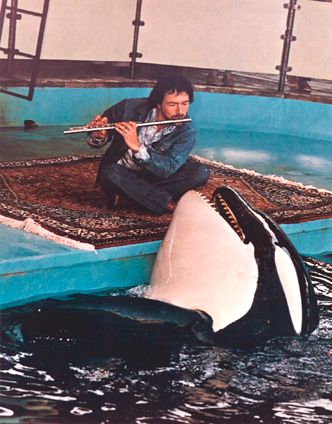
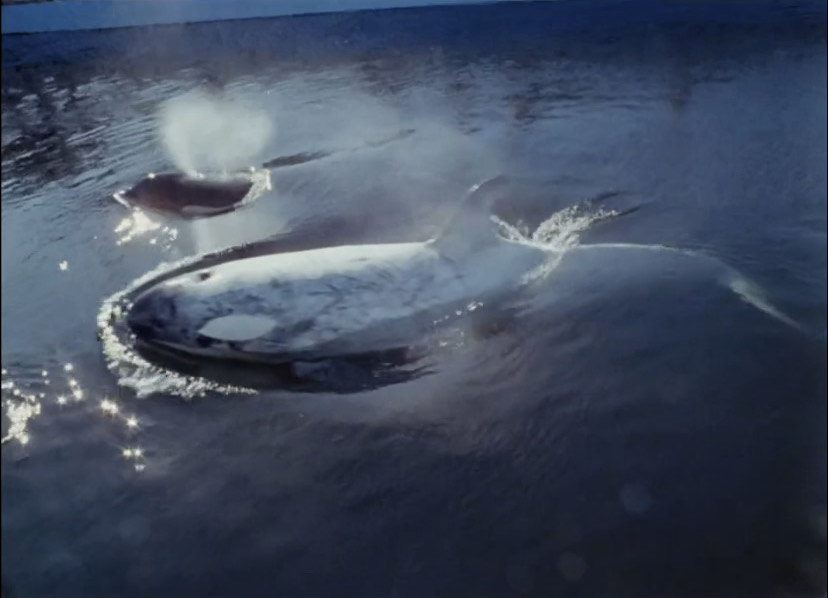
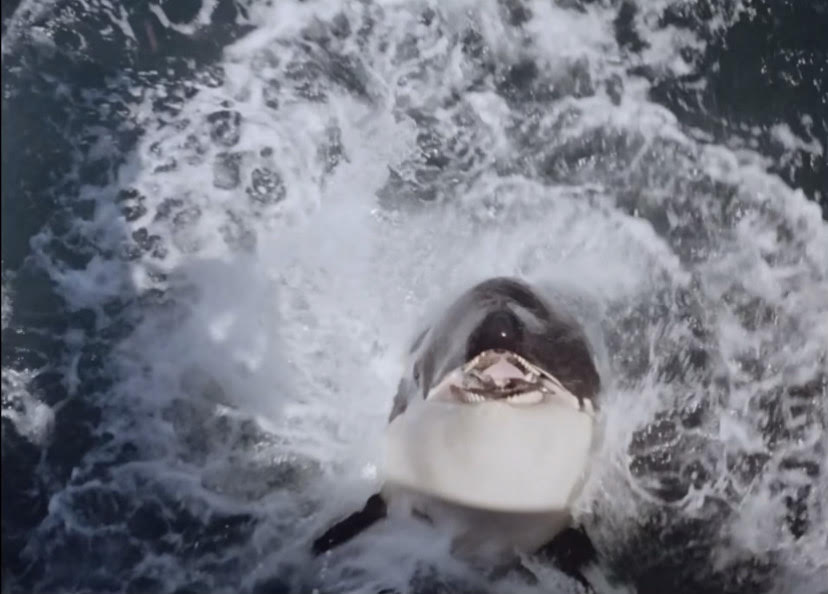
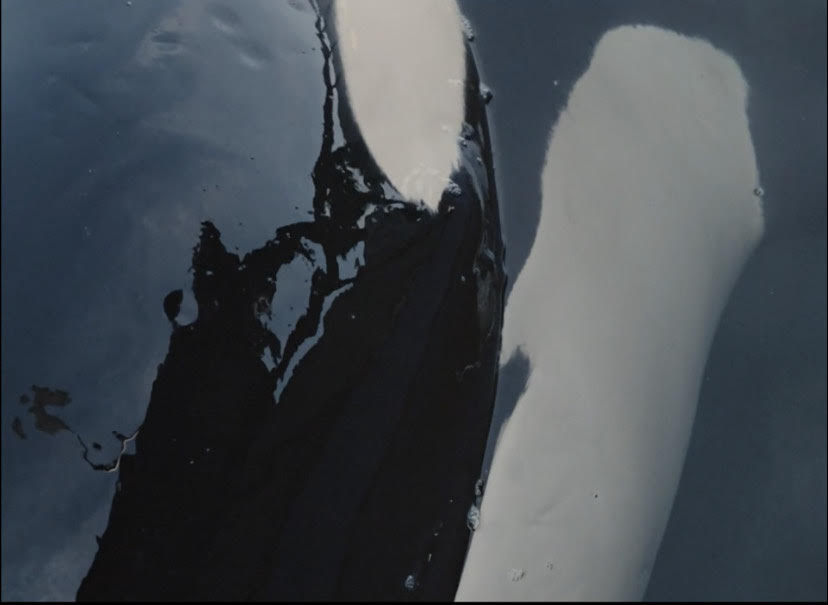
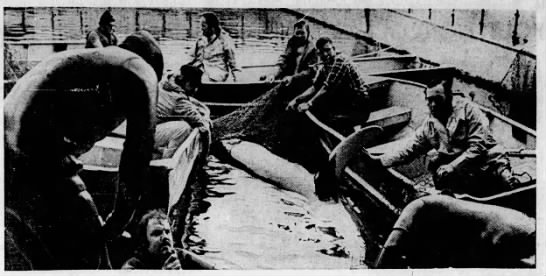
Screenshots from “We call them killers” produced by Peter Jones 1972 (provided by Lauren Grimes).


Photos provided by Lauren Grimes.
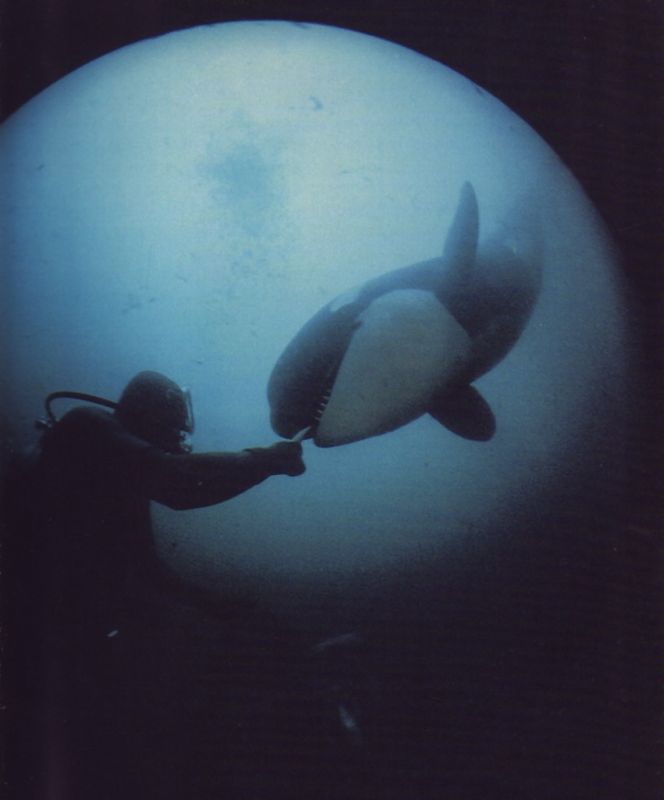
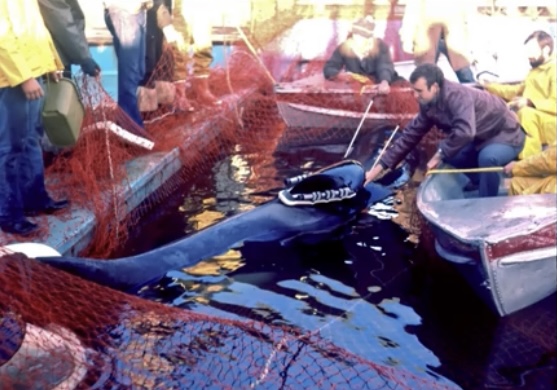
Nootka 3 and Haida (front to back)
Photo provided by Ocean Echoes.
Chimo and Haida
Chimo and Haida
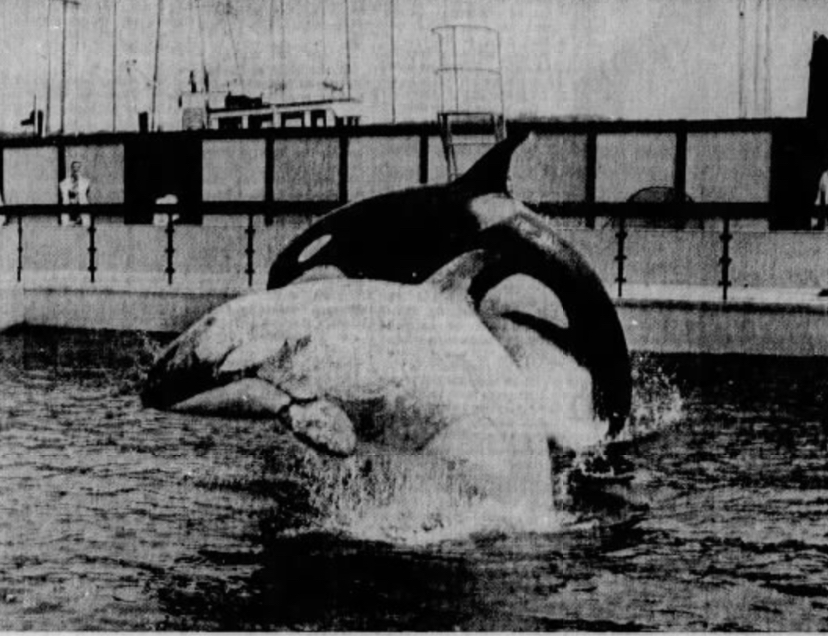
Haida and Chimo
Photos provided by Sara Farrell.

Photos provided by Katerina Studios.
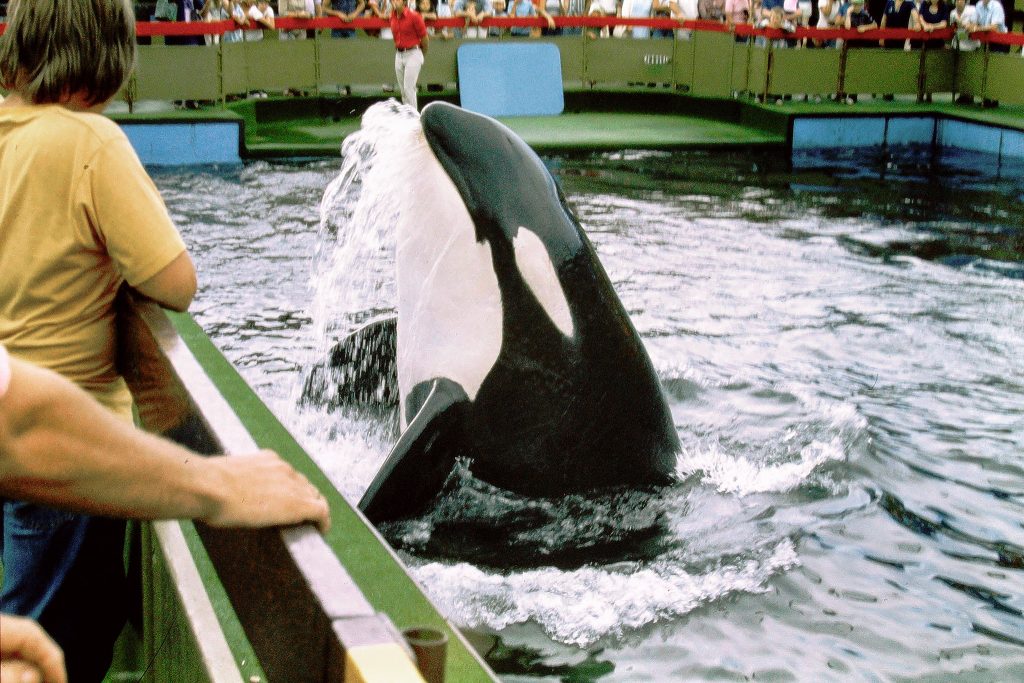
Haida and Chimo
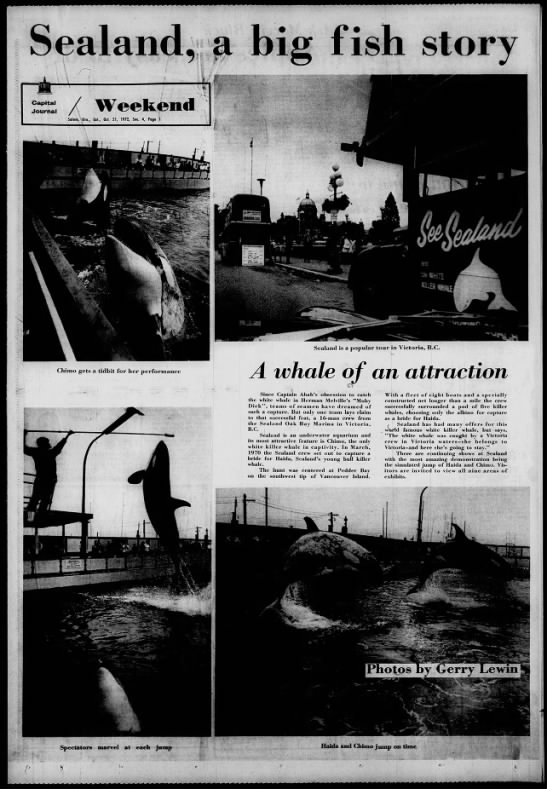
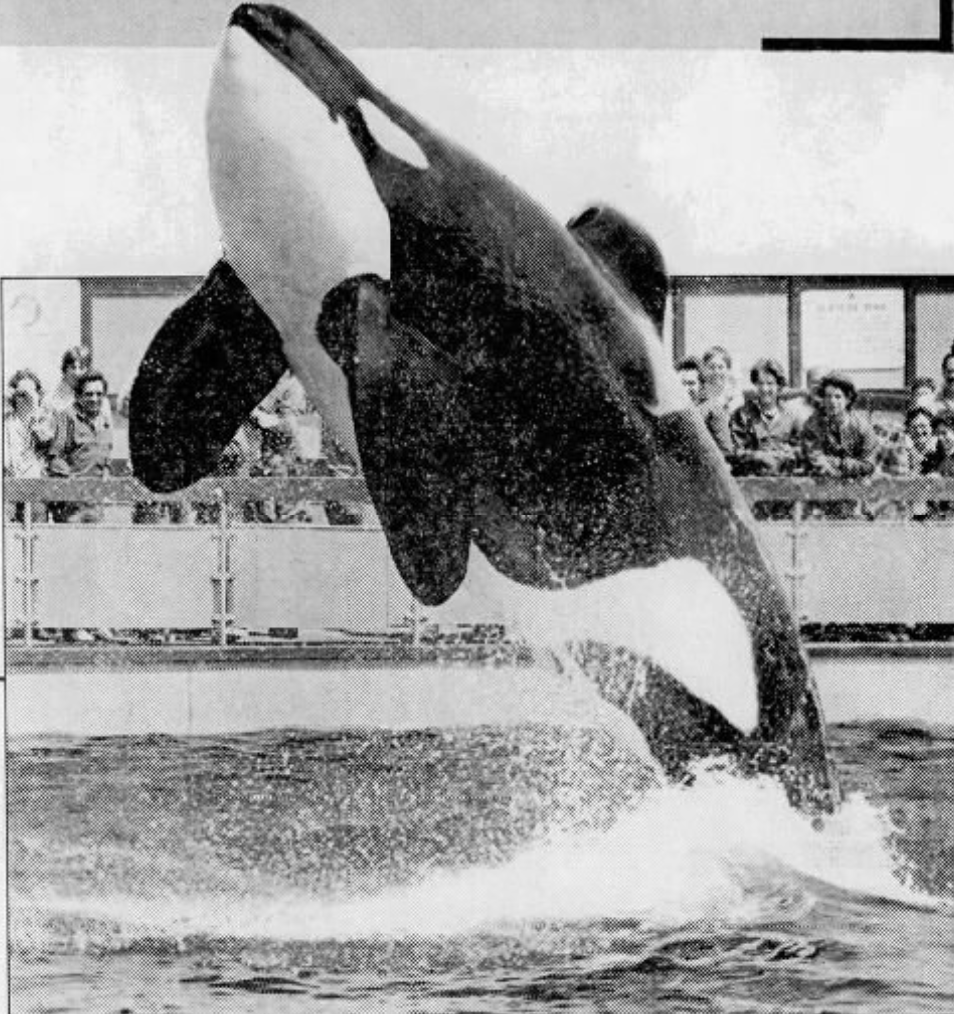
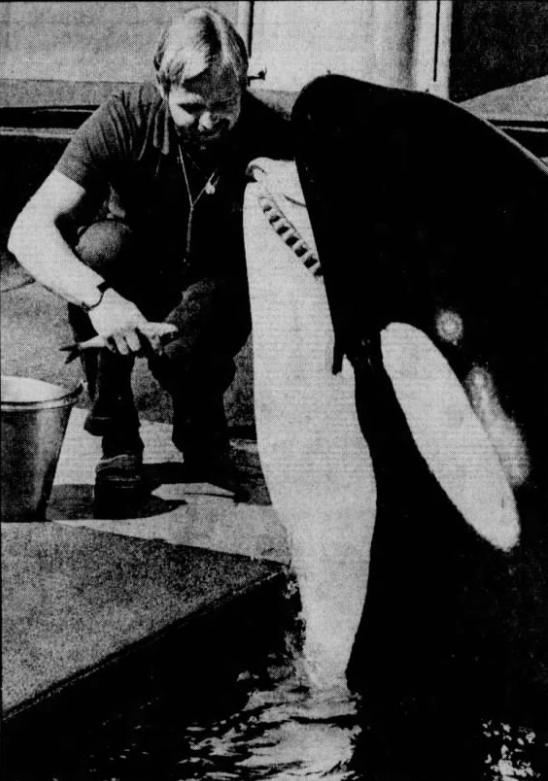
Photos by Gerry Lewin, provided by Katerina Studios.
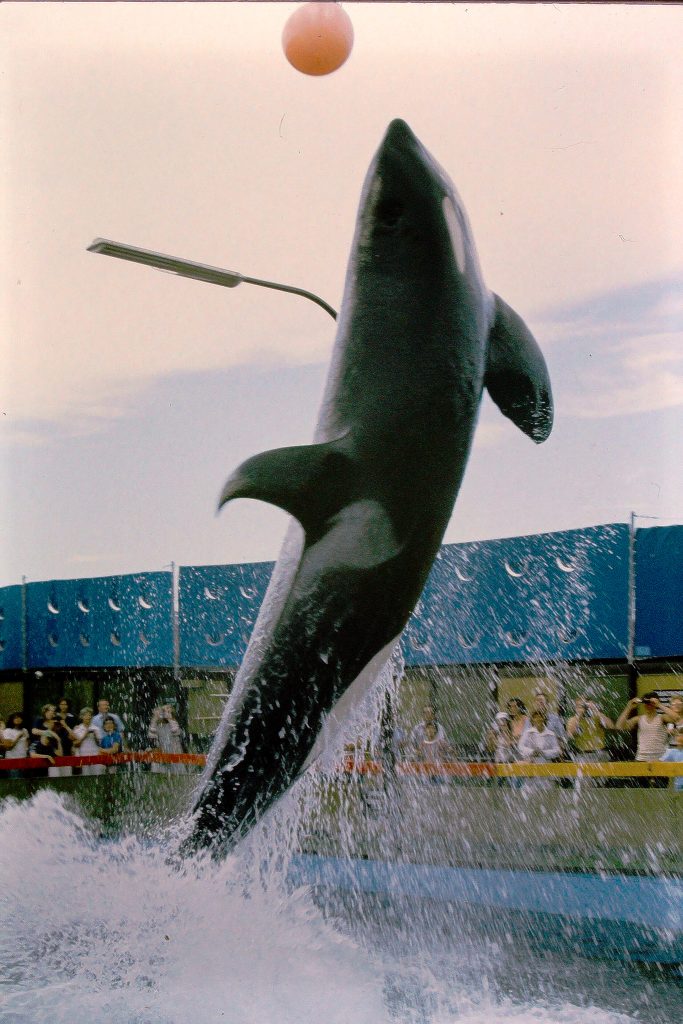
Photos provided by Sara Farrell
Photos via Cetacean Collective